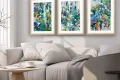




Innerspark.us – Achieving professional-grade artwork photography at home requires a cross-polarized lighting setup using two lights positioned at 45-degree angles to eliminate glare and ensure accurate color reproduction. This approach minimizes texture distortion and highlights the true intent of the artist without compromising the integrity of the piece.
The Fundamentals of Artwork Lighting
Photographing artwork is fundamentally different from portrait or product photography because the goal is absolute neutrality. You are not trying to create dramatic shadows or mood; you are trying to create a digital surrogate that looks exactly like the original. The primary challenge is avoiding “hot spots,” which are bright, blown-out reflections caused by light bouncing off glossy paint, varnish, or glass frames.
To master this, you must understand the angle of incidence. When light hits a surface, it reflects at the same angle it arrives. By positioning your lights at 45 degrees relative to the artwork, you direct the reflection away from the camera lens. This simple geometric correction is the single most effective way to improve your home studio results.
Essential Gear for Your Setup
📷 Photo by amazon.com
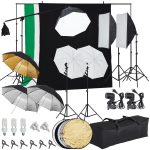
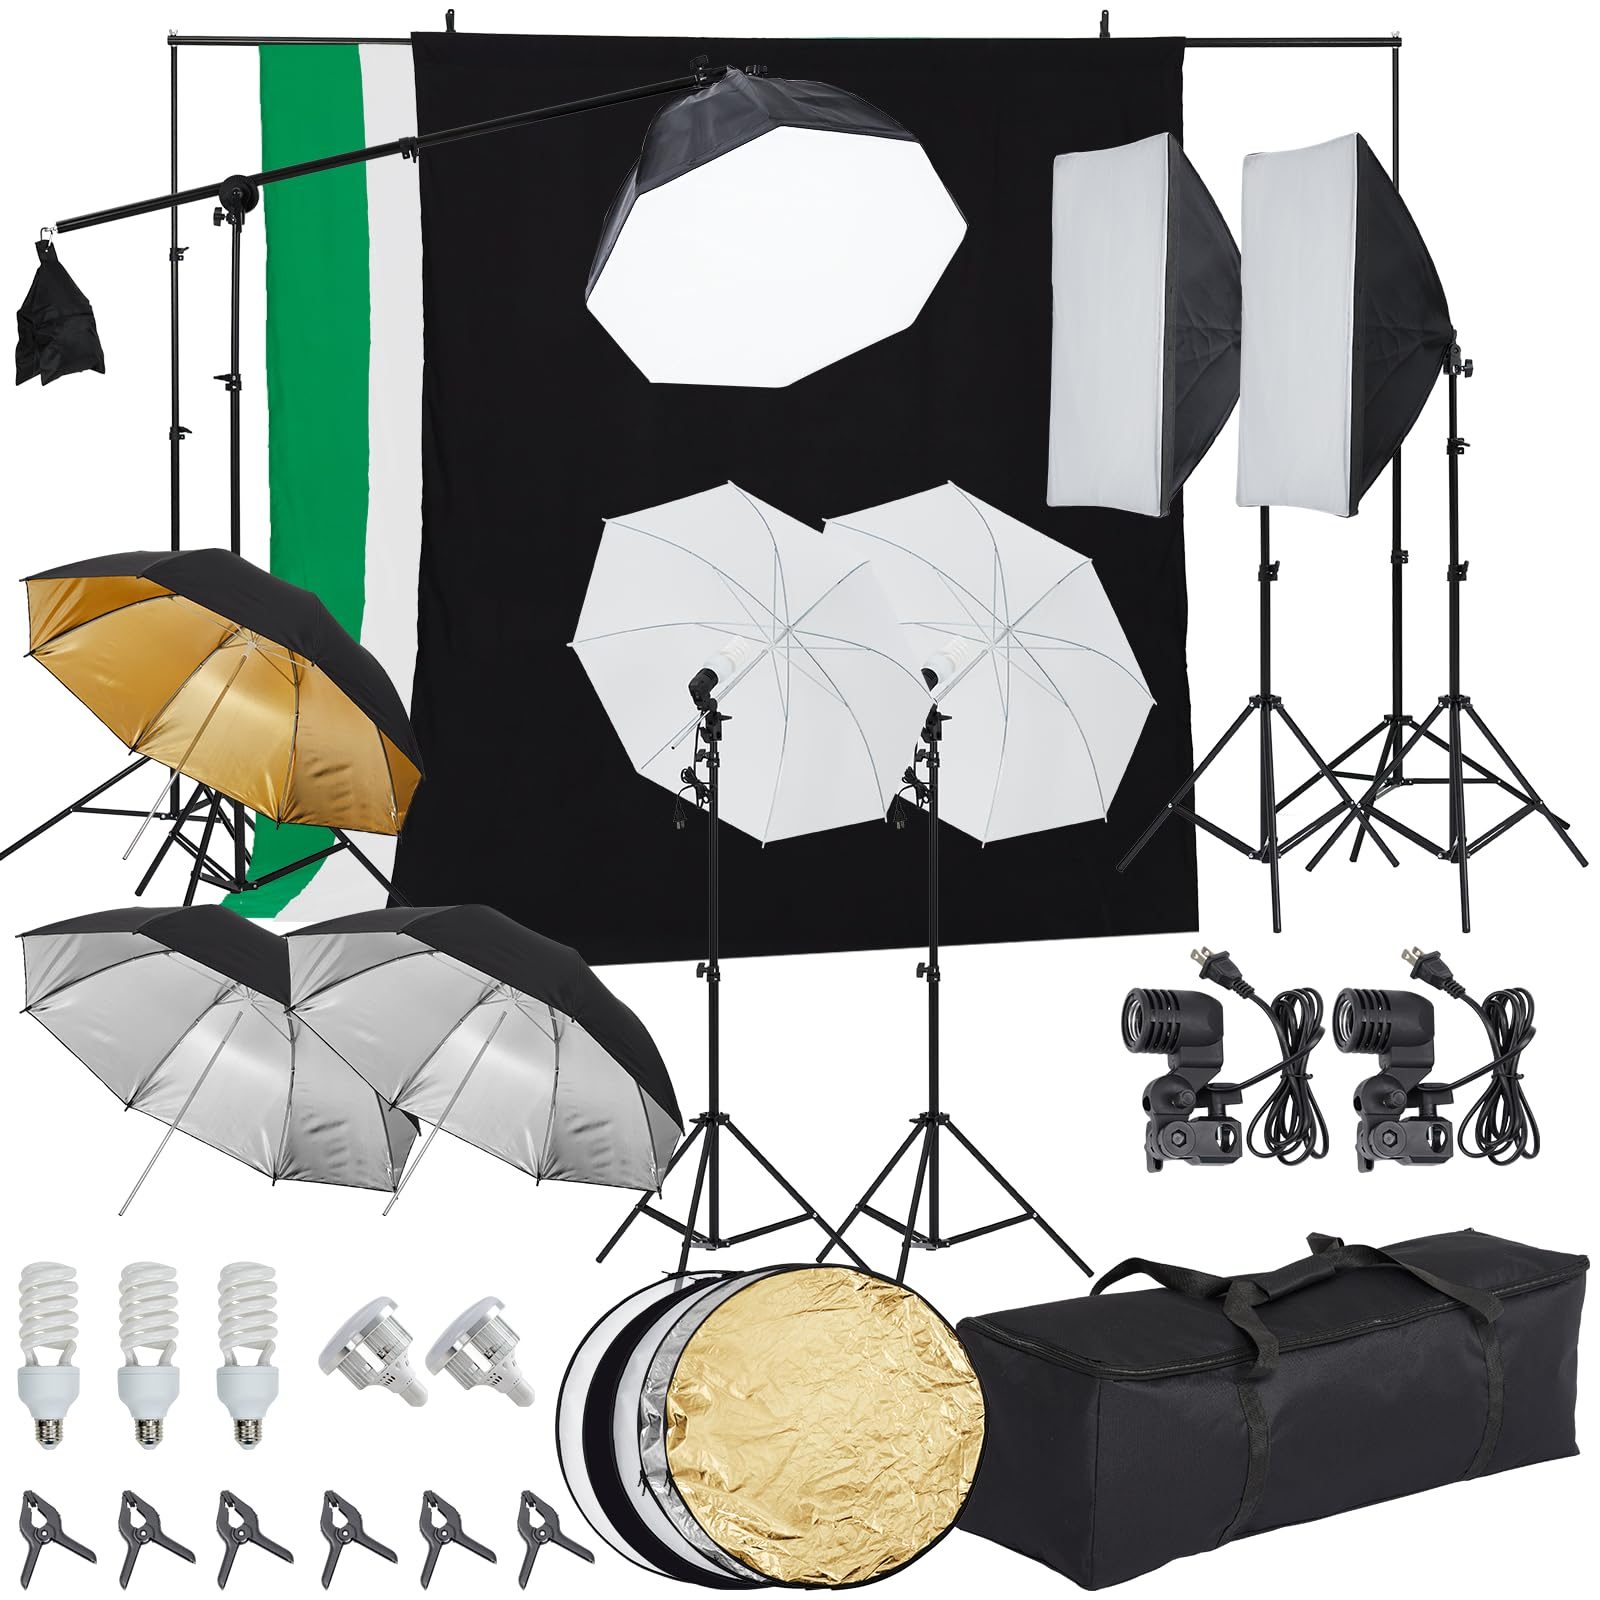
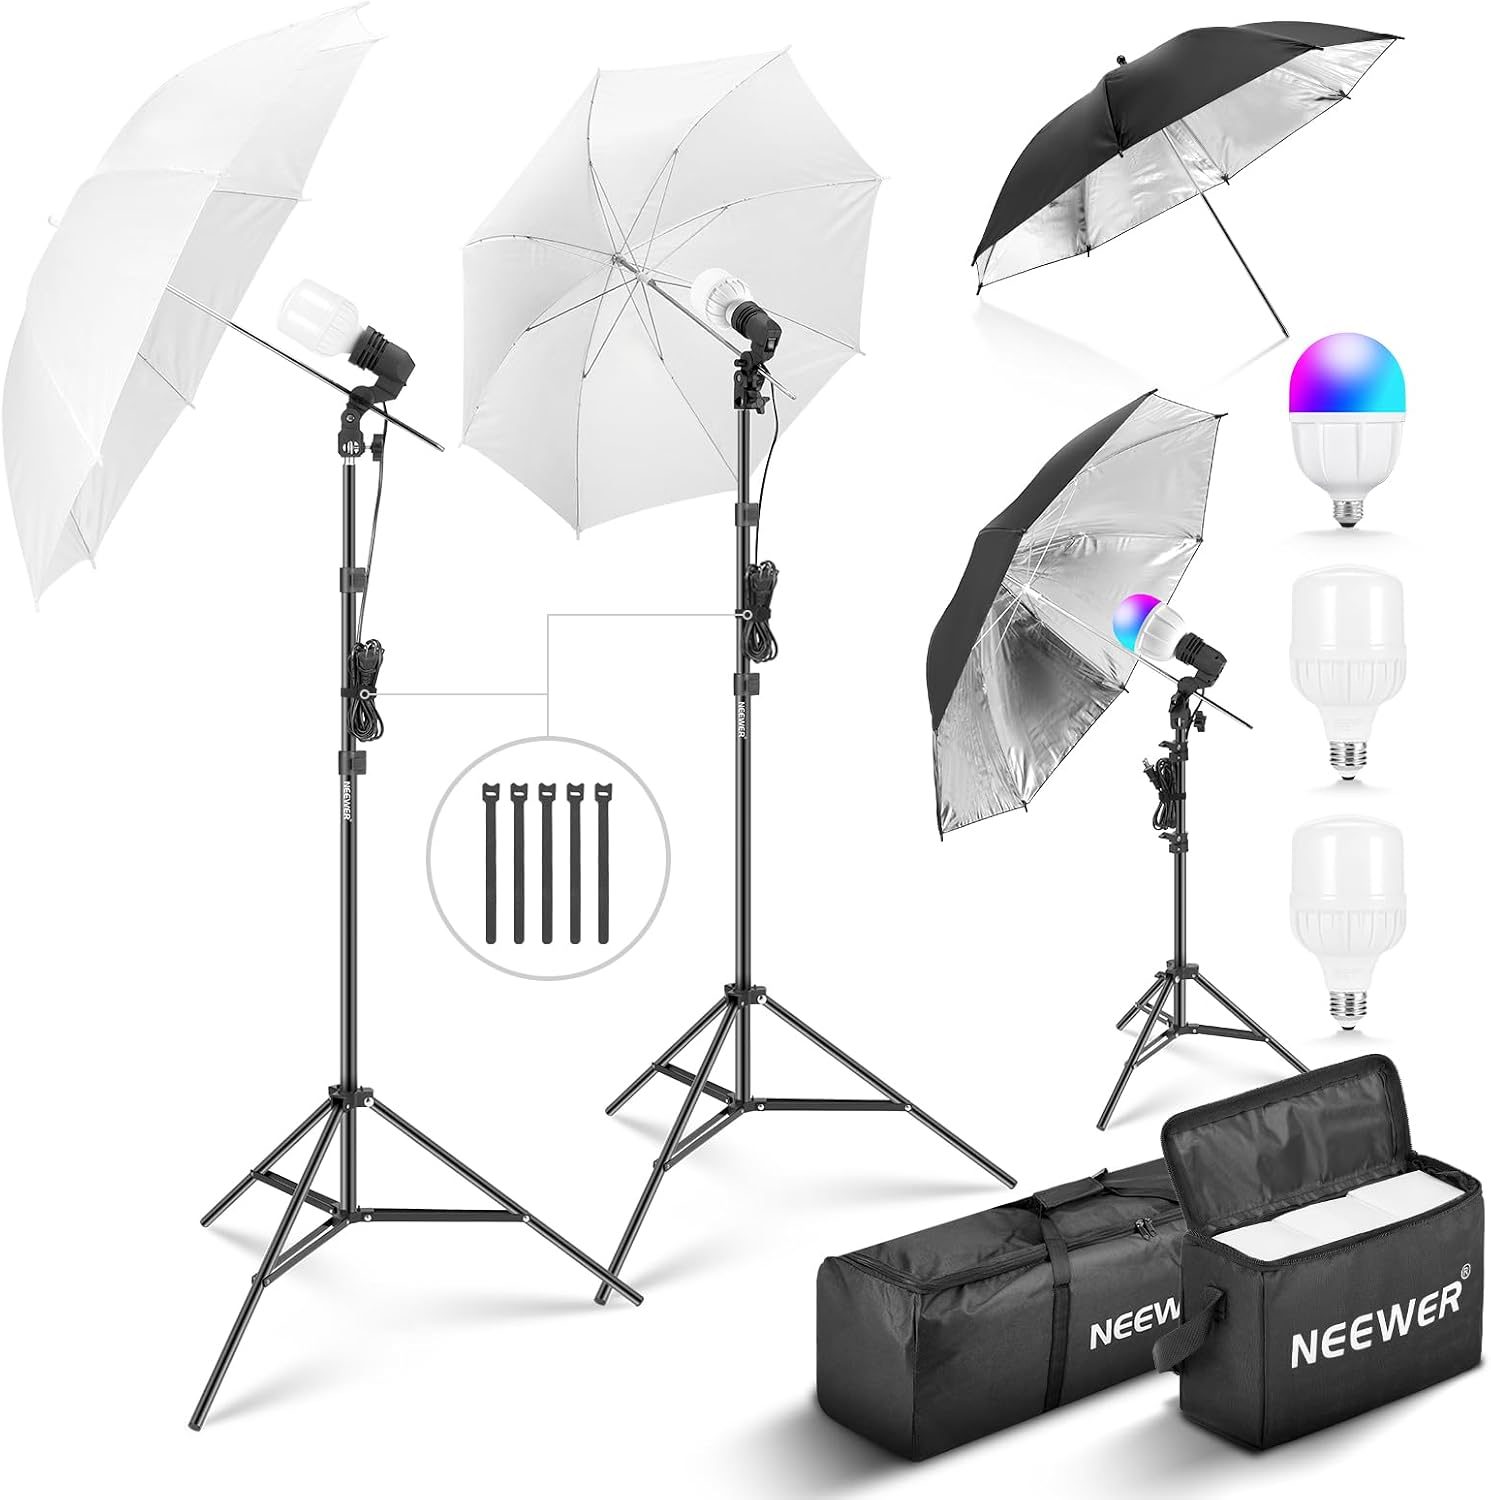
You do not need a commercial studio budget to achieve high-quality results. However, consistency is key. Investing in lights with high CRI (Color Rendering Index) ratings—ideally 95 or above—is non-negotiable. If your light source has a low CRI, your reds will look muddy and your blues will look flat, making post-production color correction an uphill battle.
| Component | Requirement | Why It Matters |
|---|---|---|
| Lighting Source | LED Panels or Softboxes | Provides diffuse, even light across the canvas. |
| Light Stands | Heavy-duty, adjustable | Ensures stability and precise 45-degree angles. |
| Tripod | Sturdy with bubble level | Prevents camera shake during long exposures. |
| Polarizing Filters | Circular Polarizer (CPL) | Essential for eliminating glare on varnished surfaces. |
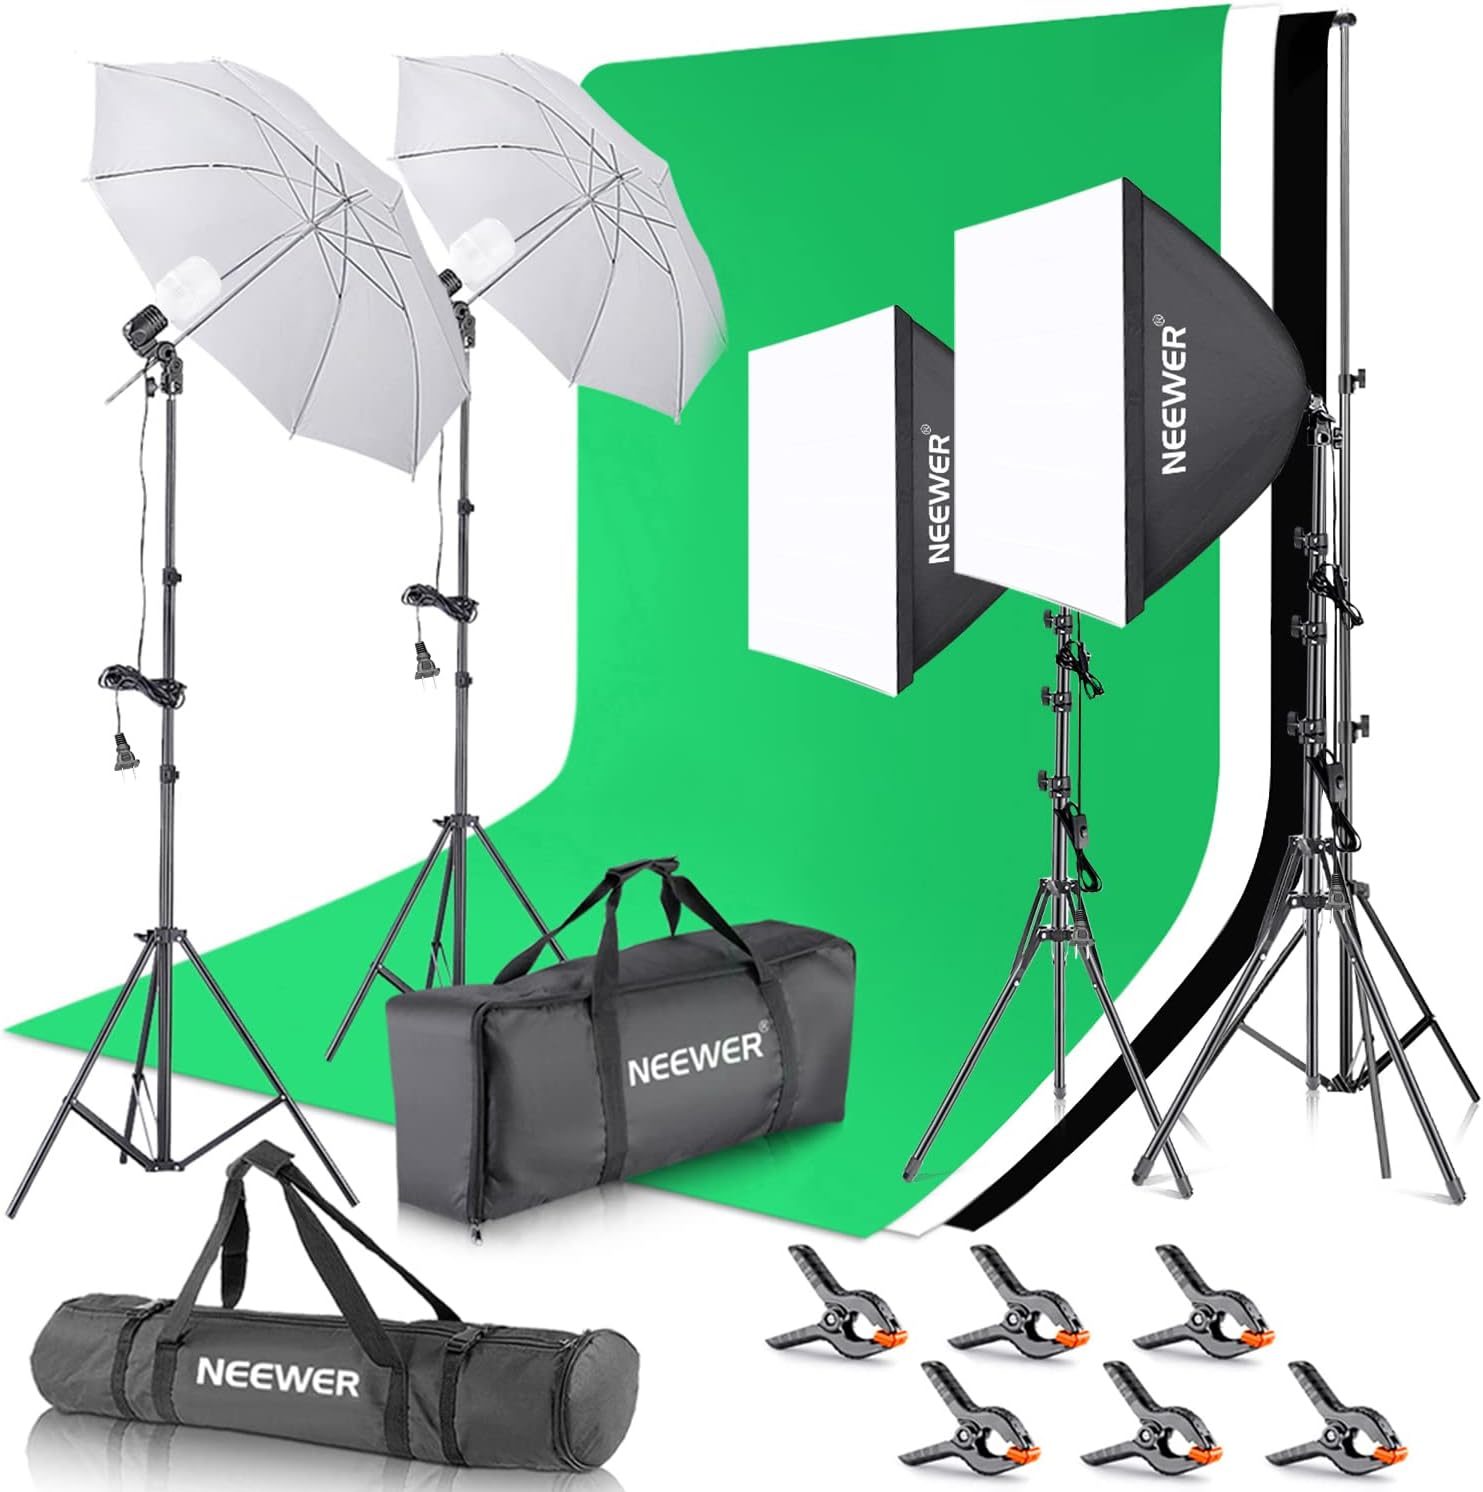
📷 Photo by amazon.com
Step-by-Step Setup Guide
Follow this systematic approach to calibrate your home studio environment for professional-quality captures. Consistency in this setup will save you hours in editing software later.
- Clear a space with neutral-colored walls to prevent color casting from reflecting onto the artwork.
- Mount your camera on a tripod, ensuring the center of the lens is perfectly level with the horizontal center of the artwork.
- Place your two light sources on stands, one on each side of the artwork, at a 45-degree angle to the surface of the piece.
- Adjust the distance of the lights to be equidistant from the artwork to maintain even exposure across the entire frame.
- Attach a circular polarizer to your lens and rotate it until the glare on the surface of the artwork disappears through the viewfinder.
- Set your camera to a low ISO (100 or 200) and use a remote shutter or the self-timer function to eliminate micro-vibrations when you press the button.
Common Pitfalls to Avoid
One of the most frequent mistakes beginners make is mixing light sources. Never combine daylight from a window with artificial LED lights. The color temperatures will clash, creating a color cast that is nearly impossible to fix perfectly in Photoshop. Always work in a room where you can control the ambient light completely by closing curtains or blinds.
Another common error is failing to account for the “keystone” effect. If your camera is tilted slightly upward or downward, the artwork will appear trapezoidal rather than rectangular. Use a spirit level on both your camera and your artwork surface to ensure they are perfectly parallel. If you cannot get them perfectly parallel, you will have to correct the perspective in editing, which results in a loss of image resolution.
Managing Reflections and Texture
If you are shooting an oil painting with heavy impasto (thick, raised paint), the 45-degree lighting might still create small shadows behind the paint peaks. If this happens, move the lights slightly closer to the camera axis—perhaps to 30 degrees—to soften the shadows. Alternatively, use larger softboxes or diffusion panels to create a wider “wrap” of light that fills in those recessed areas.
For glass-framed artwork, the struggle with reflections is magnified. In addition to using a CPL filter, you may need to hang a large piece of black fabric behind your camera with a hole cut out for the lens. This prevents the camera and the photographer from reflecting onto the glass surface of the frame.
FAQ
Q: Should I use a flash or continuous lighting for artwork?
A: Continuous LED lighting is generally better for beginners because it allows you to see exactly where the light falls and where reflections occur in real-time, whereas flash requires trial and error.
Q: Is it necessary to shoot in RAW format?
A: Yes, always shoot in RAW. RAW files contain significantly more color data than JPEGs, which is critical for accurately reproducing the subtle hues and gradients found in professional artwork.
Q: How do I ensure my colors are accurate?
A: Use a color checker card placed in the frame for the first shot of your session. You can use this as a reference in your editing software to white-balance and profile your images for perfect color fidelity.
Final Thoughts on Post-Processing
Even with the perfect setup, some minor adjustments are usually required. Once you have captured your files, focus on exposure and white balance first. Avoid over-saturating the image to make it “pop,” as this often misrepresents the original medium. Your goal is to provide a digital reproduction that honors the artist’s original work, ensuring that viewers see the nuances of the brushstrokes, the depth of the color, and the intended texture of the surface.
📷 Photo by desertcart.in