


Innerspark.us – Photographing oil paintings without glare requires positioning your light sources at a 45-degree angle to the canvas and utilizing a polarizing filter on your camera lens to neutralize reflected light waves.
Capturing the texture, brushwork, and true colors of an oil painting is notoriously difficult due to the reflective nature of dried paint and varnish. When light hits the surface of an oil painting, it often bounces back directly into the camera lens, creating “hot spots” or white glare that obscures details. Achieving a professional-grade reproduction requires a combination of proper lighting geometry, specialized equipment, and careful camera settings.
The Physics of Reflection
The primary reason oil paintings produce glare is the law of reflection: the angle of incidence equals the angle of reflection. When you place lights directly in front of the painting, the light bounces off the glossy surface and travels straight back to your sensor. To eliminate this, you must manipulate the light so that the reflection is directed away from the camera lens rather than into it.
Most professional photographers use a cross-polarization technique. This involves placing polarizing gels over your light sources and a circular polarizing filter (CPL) on your camera lens. By rotating the CPL, you can effectively block the light waves that are bouncing off the varnish, leaving only the light reflected from the paint pigments themselves.
Equipment Essentials
Before you begin, ensure you have the right tools to minimize distortion and maximize detail. A tripod is non-negotiable for this process, as you will be shooting at lower ISO settings to maintain maximum image quality and color depth.
| Equipment | Purpose |
|---|---|
| Tripod | Eliminates camera shake for sharp, high-resolution textures. |
| Circular Polarizer (CPL) | Blocks glare and reflections on the painting surface. |
| Two Light Sources | Ensures even illumination across the entire canvas. |
| Polarizing Film/Gels | Applied to lights to work in tandem with the CPL filter. |
| Remote Shutter | Prevents movement during the long exposure process. |
Step-by-Step Guide to Glare-Free Photography
Follow these steps to set up your studio space for optimal results. Consistency is key when dealing with reflective surfaces.
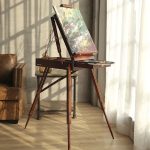
- Position the painting on a wall or easel, ensuring it is perfectly parallel to your camera sensor to prevent perspective distortion.
- Set up two light sources on either side of the painting at a 45-degree angle. This pushes the primary reflection away from the camera.
- Place your camera on a tripod at the same height as the center of the painting, ensuring the distance is sufficient to avoid wide-angle lens barrel distortion.
- Attach the circular polarizing filter to your lens and rotate it slowly while looking through the viewfinder or at your live-view monitor until the glare disappears.
- Set your camera to a low ISO (e.g., 100) to ensure high dynamic range and minimal digital noise.
- Use a mirror-lockup feature or a 2-second timer to ensure the shutter release does not cause minor vibrations.
Common Mistakes to Avoid
One of the most frequent errors is using a light source that is too small or too close to the canvas. Small light sources create harsh, concentrated reflections that are difficult to polarize effectively. Always use softboxes or diffusion panels to spread the light evenly across the surface. If you do not have diffusion, bouncing your lights off a white wall or ceiling can help create a softer, more manageable light source.
Another common mistake is neglecting the environment. If you are shooting in a room with white walls, the light from your lamps may bounce off the walls and back onto the painting, creating secondary reflections. Drape black fabric or curtains around the perimeter of your shooting area to absorb stray light and increase the contrast of your final image.
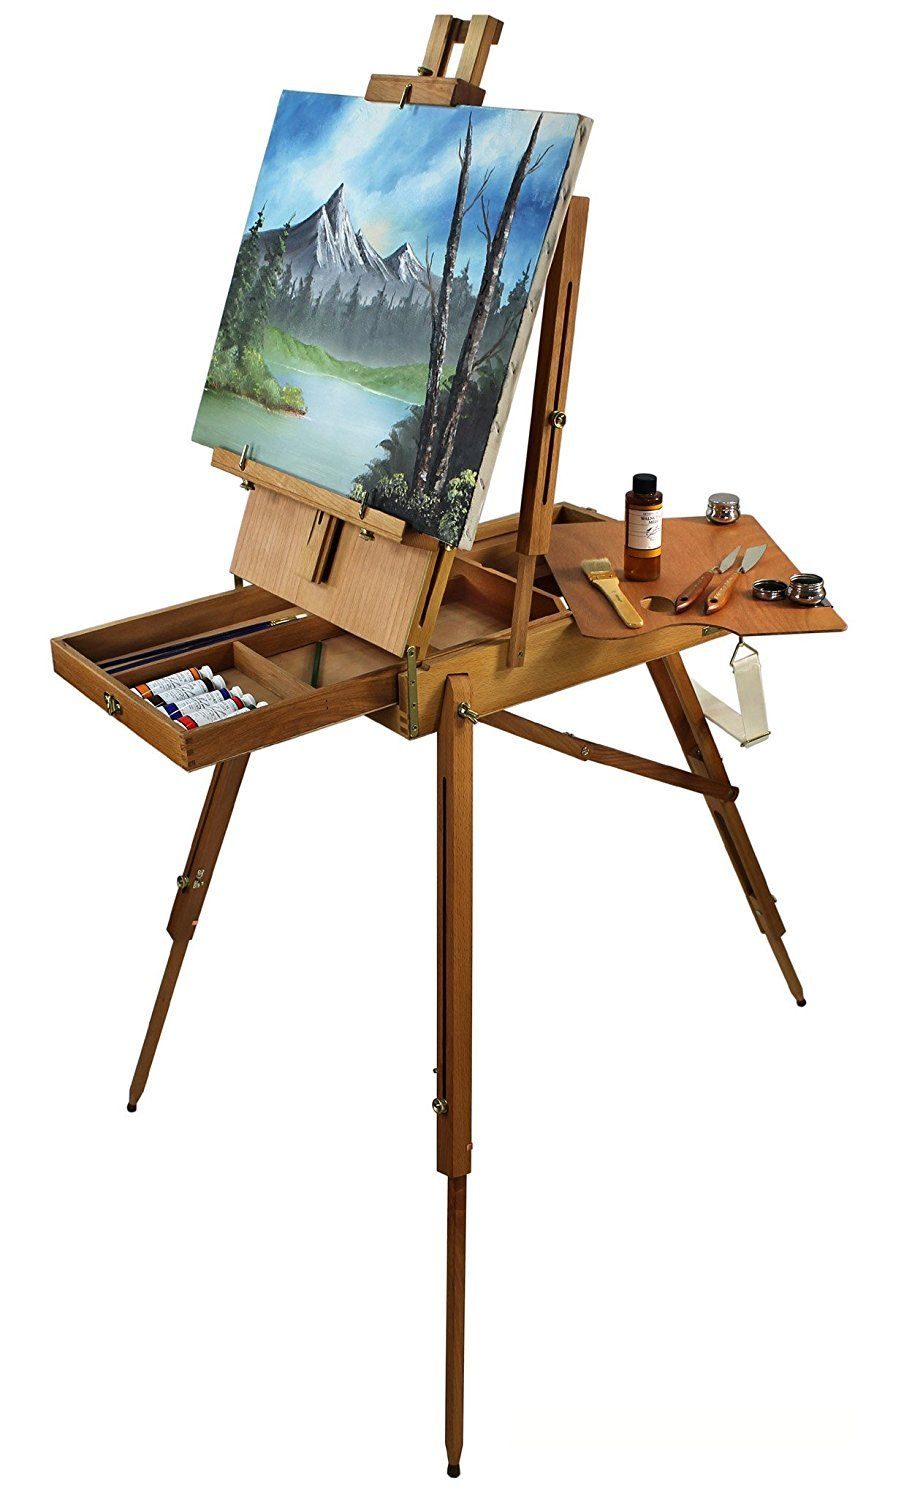
📷 Photo by pinterest.com
Understanding Color Accuracy
Beyond glare, color accuracy is the second biggest challenge in documenting oil paintings. Oil paints often have subtle shifts in tone that are easily lost if your white balance is incorrect. Always use a color checker card in the first shot of your session. This provides a reference point for your post-processing software, allowing you to neutralize color casts and ensure the digital file matches the physical artwork.
When color grading, focus on the mid-tones. Many photographers over-sharpen their images, which can create artificial halos around thick brushstrokes (impasto). Instead, focus on preserving the soft transitions between colors. If you are shooting in RAW format, you will have the necessary data to adjust white balance and exposure without losing the integrity of the original paint application.
Frequently Asked Questions
Q: Can I photograph an oil painting using only natural light from a window?
A: Yes, but it is difficult to control. If you use natural light, position the painting at a 45-degree angle to the window and use a large white reflector on the opposite side to fill in shadows, though polarization will be nearly impossible to achieve without artificial lighting.
Q: Why does my image look distorted at the edges?
A: This is usually caused by using a wide-angle lens too close to the canvas. Use a 50mm or 85mm lens and step back further from the painting to maintain flat, accurate geometry.
Q: Is it necessary to remove the painting from its frame?
A: It is highly recommended. Frames often cast shadows on the edges of the canvas, and glass or metal frames create reflections that are nearly impossible to remove completely without complex post-production masking.
By controlling your light source geometry and utilizing the power of polarization, you can transform the way your oil paintings appear in digital formats. The goal is to make the viewer feel as though they are standing in front of the physical canvas, seeing the depth and texture of the oil rather than the glare of the studio lights.
📷 Photo by storage.googleapis.com