


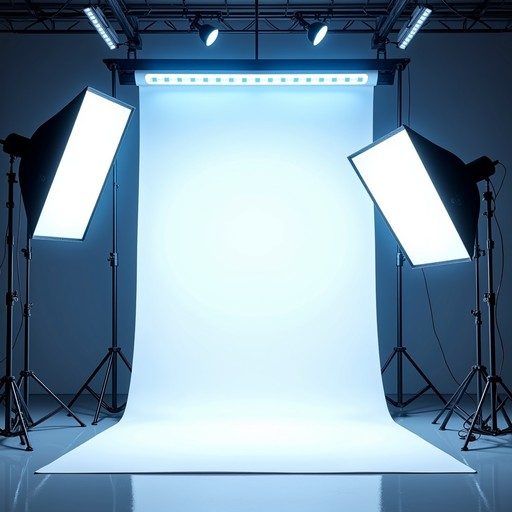
Innerspark.us – Eliminating hotspots on canvas prints requires positioning softbox diffusers at a 45-degree angle relative to the artwork while maintaining a distance that allows light to wrap evenly across the textured surface without creating specular reflections. By utilizing indirect lighting and adjusting the intensity, you prevent the harsh glare that typically ruins the visibility of fine art details.
Understanding the Physics of Canvas Hotspots
Canvas is a unique medium because it possesses a distinct texture and often features a semi-gloss or satin coating. When a direct light source hits this surface, the microscopic peaks of the canvas weave act like tiny mirrors, reflecting the light source directly back into the camera lens or the viewer’s eye. This creates a “hotspot”—a bright, washed-out area that obscures the pigment and destroys the color accuracy of the print.
📷 Photo by stockcake.com
The core issue is the angle of incidence. When the light source is too close or placed at a shallow angle, the light rays bounce off the canvas surface directly into your optical path. To solve this, you must control the light quality and the geometry of your setup to ensure the light is diffused enough to “wrap” around the texture, effectively neutralizing the bounce-back effect.
Strategic Softbox Positioning Techniques
The most effective way to eliminate these glare spots is to move the light source away from the canvas. While it seems counterintuitive, increasing the distance between the softbox and the artwork allows the light to spread more uniformly. As the light travels further, it becomes softer, which helps fill in the shadows within the canvas weave rather than highlighting the reflective surface coating.
Another critical adjustment is the height and tilt of your softboxes. Placing them slightly above the eye level of the canvas and angling them downward ensures that the angle of reflection is directed toward the floor rather than the lens. You should also consider using circular polarizers if you are photographing the canvas, as these filters block the specific light waves that cause specular glare.
Step-by-Step Guide to Achieving Glare-Free Lighting
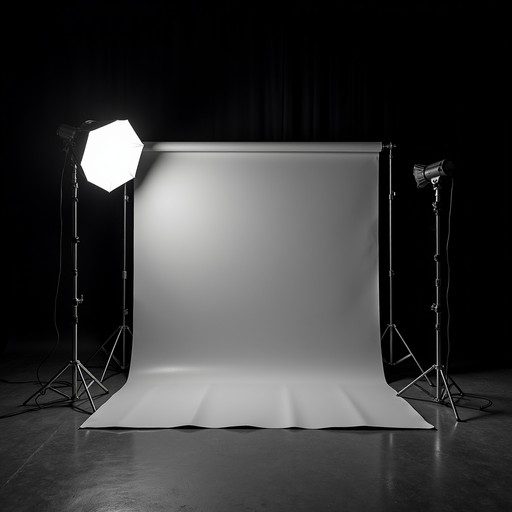
- Position your two softboxes on either side of the canvas at a 45-degree angle, forming an equilateral triangle between the light sources and the artwork.
- Increase the distance between the softbox and the canvas to at least 6 to 8 feet to allow the light to soften and diffuse naturally.
- Set your light intensity to a lower output and compensate with a longer exposure time or a wider aperture to maintain image quality without harsh brightness.
- Use a handheld light meter to ensure that the light intensity is consistent across the entire surface of the canvas, checking for any uneven brightness zones.
- If hotspots persist, move the lights further to the sides (pushing the angle toward 50 or 60 degrees) to force the reflections away from your central viewing point.
Comparing Lighting Configurations for Canvas
| Configuration | Glare Risk | Texture Detail | Best For |
|---|---|---|---|
| Direct Front Lighting | Very High | Poor | General flat prints |
| 45-Degree Softbox | Low | Excellent | Textured oil paintings |
| Cross-Polarized Lighting | Zero | High | Professional archiving |
Common Mistakes and Practical Tips
One of the most frequent mistakes creators make is using lights that are too small. A large softbox creates a larger light source, which is inherently softer and less prone to creating pinpoint hotspots. If you are struggling with glare, try adding an extra layer of diffusion fabric or a grid to your softbox to further refine the light spread.
Environmental factors also play a massive role. If you are working in a room with white walls, the light will bounce off those walls and hit your canvas from unexpected angles, creating secondary hotspots. Use black V-flats or dark curtains to control ambient light and ensure that only the light from your softboxes is hitting the canvas surface.
Read also: How to Build an Animation Portfolio Reel That Catches Eyes in 10 Seconds
The Role of Surface Texture
Not all canvases are created equal. Matte canvases are significantly easier to light because they absorb more light than they reflect. If you have the choice, opt for a matte finish for prints that will be displayed under bright indoor lighting. If you must work with glossy or satin canvases, your lighting discipline must be even stricter, as the reflective threshold is much lower.
Always inspect the canvas from the exact perspective of the viewer or the camera lens. Often, a hotspot is invisible to the photographer standing behind the camera but becomes glaringly obvious once the camera is mounted on a tripod. Perform a “walk-around” check to ensure that no matter where the viewer stands, the light is not hitting the canvas at a direct mirror-angle.
Frequently Asked Questions
📷 Photo by stockcake.com
Q: Can I use an umbrella instead of a softbox?
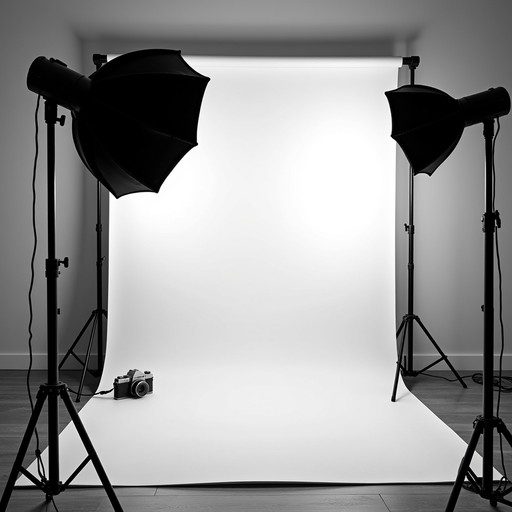
A: Umbrellas are less effective for canvas because they scatter light in multiple directions, which makes it harder to control reflections; softboxes with directional grids are superior for precision.
Q: Does the distance from the wall behind the canvas matter?
A: Yes, keeping the canvas slightly away from the wall prevents light from bouncing off the wall and back onto the sides of the canvas, which keeps your contrast levels high.
Q: How do I know if the light is too close?
A: If you see a bright, blinding white spot on the canvas that disappears when you move the light further away or change the angle, your light is too close and creating specular highlights.
📷 Photo by stockcake.com