




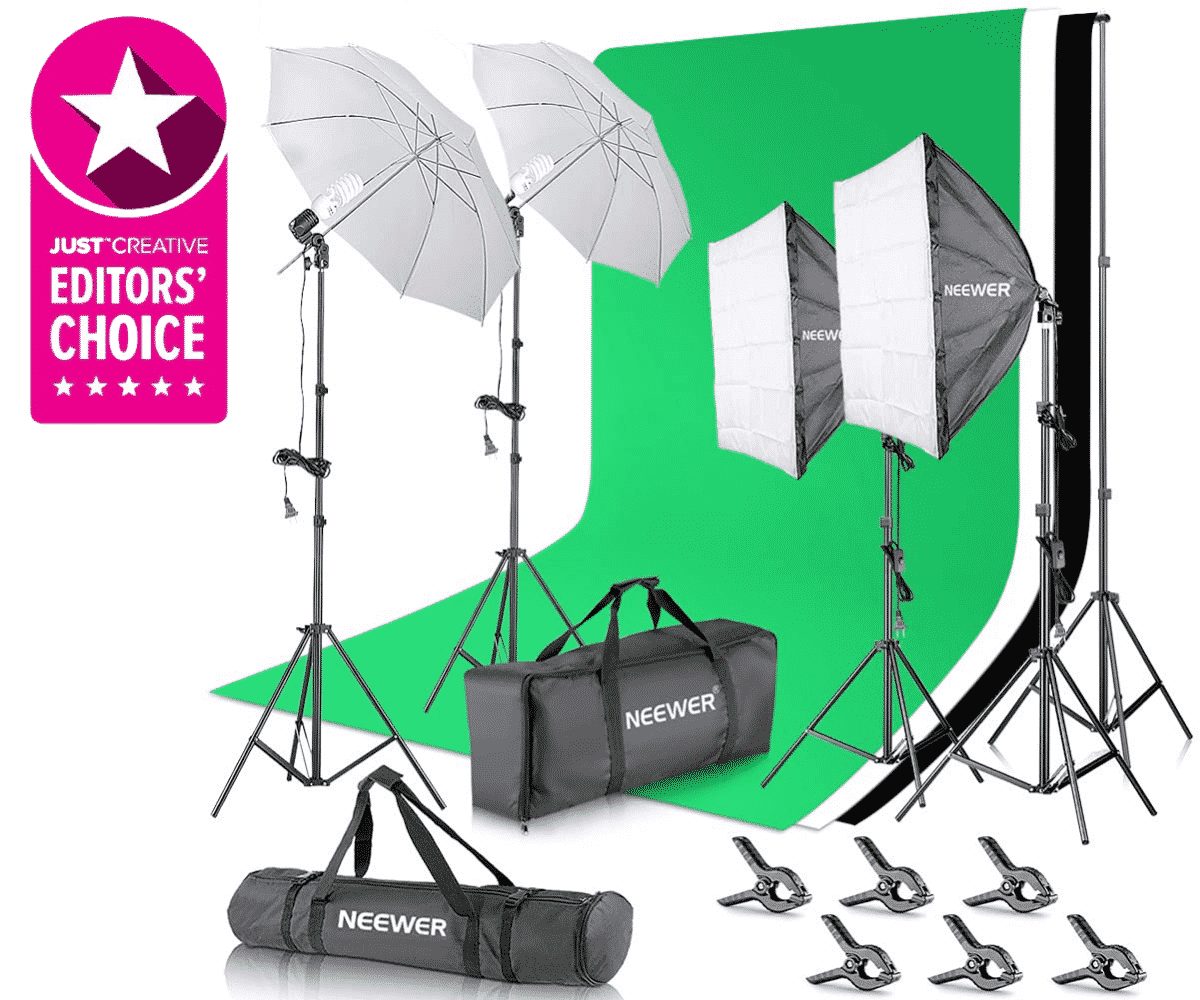
Innerspark.us – The best compact studio lighting kit for a small apartment art studio is a 3-point LED panel system with adjustable color temperature and foldable stands, as it offers the perfect balance of professional illumination and space-saving portability.
Working in a small apartment requires a strategic approach to lighting. You do not have the luxury of permanent overhead rigs or massive softboxes that clutter your floor space. When selecting lighting for a home art studio, you must prioritize equipment that can be set up in minutes and tucked away in a closet or under a bed when the creative session ends.
Why Compact Lighting Matters for Apartment Artists
Standard studio gear is often designed for large, dedicated spaces. In an apartment, every square foot counts. Bulky C-stands and massive strobe heads can turn a living room into a safety hazard. Compact LED panels provide a cooler, more efficient alternative to traditional tungsten bulbs, ensuring your small space does not become uncomfortably hot during long painting or crafting sessions.
Furthermore, color accuracy is non-negotiable for artists. If your lighting has a low Color Rendering Index (CRI), your color mixing will look different under gallery lights or natural sunlight. Always look for kits that explicitly state a CRI of 95 or higher to ensure your artwork looks exactly the same on the canvas as it does in your photos or videos.
Key Components of a Space-Saving Kit
To maximize your limited square footage, look for kits that utilize desk-clamp mounts instead of floor tripods whenever possible. Desk-mounted lights allow you to illuminate your workspace without sacrificing floor space, which is essential if you are working on a drafting table or a small easel.
If you must use stands, look for “reverse-folding” or “compact-leg” stands. These stands collapse into a much tighter profile than standard studio equipment. Additionally, check for bi-color capabilities. Being able to adjust between warm and cool light allows you to match the ambient light of your apartment, preventing the “unnatural” look that often plagues home-based studio photography.
Comparison of Lighting Solutions
| Feature | LED Panel Kit | Ring Light | Softbox Kit |
|---|---|---|---|
| Space Footprint | Low | Minimal | High |
| Adjustability | High | Low | Medium |
| Best For | Painting/Crafting | Vlogging/Portraits | Product Photography |
| Portability | Excellent | Good | Poor |
Practical Steps to Set Up Your Lighting
Setting up your lighting correctly is just as important as the gear you buy. Follow these steps to achieve a professional look in a cramped environment:
- Clear your primary workspace and identify where you need the most focus. Place your primary light (key light) at a 45-degree angle to your subject to create soft shadows that add depth to your work.
- Install your secondary light (fill light) on the opposite side, but at a lower intensity. This will soften the harsh shadows created by your key light without washing out the texture of your artwork.
- Use a diffuser or a soft white cloth over your panels if the light feels too harsh. This mimics the soft, north-facing window light that many artists prefer for color matching.
- Test for glare. If you are working with glossy paints or varnished surfaces, adjust the angle of your lights to ensure the reflection does not obscure the details of your brushwork.
- Organize your cables using velcro ties to prevent tripping hazards in your limited floor space.
Common Mistakes to Avoid
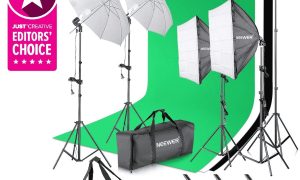
One of the most frequent errors artists make is placing lights too close to the canvas. While this seems logical for brightness, it often results in “hot spots” where the center of the artwork is overexposed while the edges remain in darkness. Aim for a distance of at least 3 to 4 feet to ensure even light distribution across your entire surface.
Another common mistake is neglecting background lighting. In a small apartment, the background is often just a wall a few feet behind you. If your main lights don’t reach the background, your video content or photos will look flat. Consider adding a small, inexpensive LED strip or a clip-on light to the background to create separation and depth.
Risks of Poor Studio Lighting
Ignoring proper lighting setup leads to significant issues beyond just poor aesthetics. Eyestrain is a major risk for artists working in dimly lit apartment corners. If you are constantly squinting to see fine details, your productivity will drop, and your physical health will suffer. Furthermore, poor lighting can lead to inaccurate color mixing, which means you might spend hours working on a piece only to realize the colors are completely off once you move it to a better-lit environment.
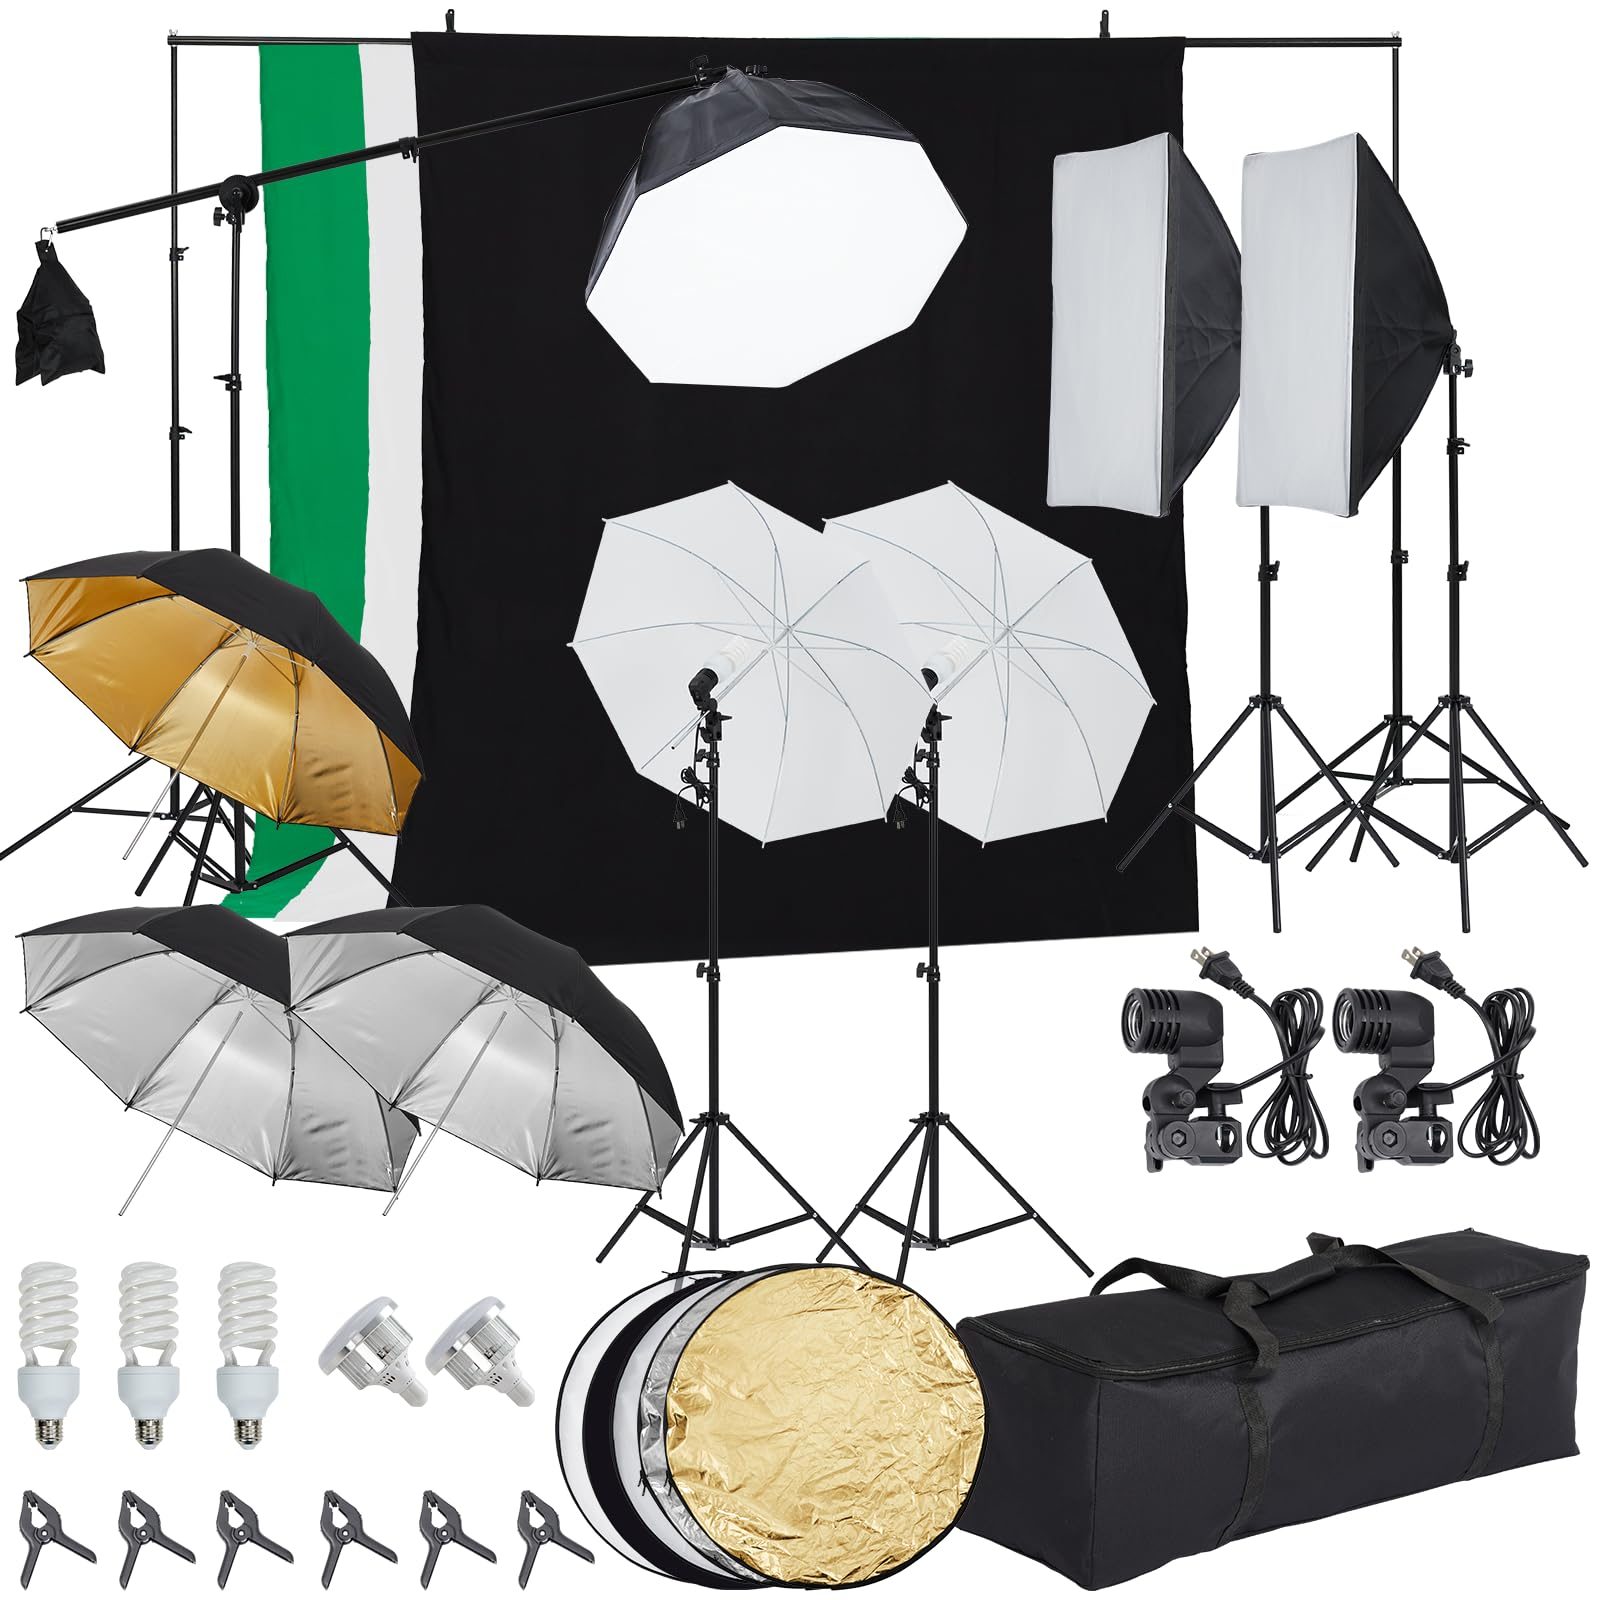
📷 Photo by desertcart.in
Frequently Asked Questions
Q: Can I use ring lights for painting?
A: While ring lights are great for video calls, they are often too small for large canvases and can cause distracting circular reflections on glossy surfaces; a rectangular LED panel kit is a much better investment for fine art.
Q: What is the most important spec to check?
A: The CRI (Color Rendering Index) is the most critical spec; ensure it is 95 or higher so that your colors appear vivid and accurate, preventing frustration when displaying your work in different lighting conditions.
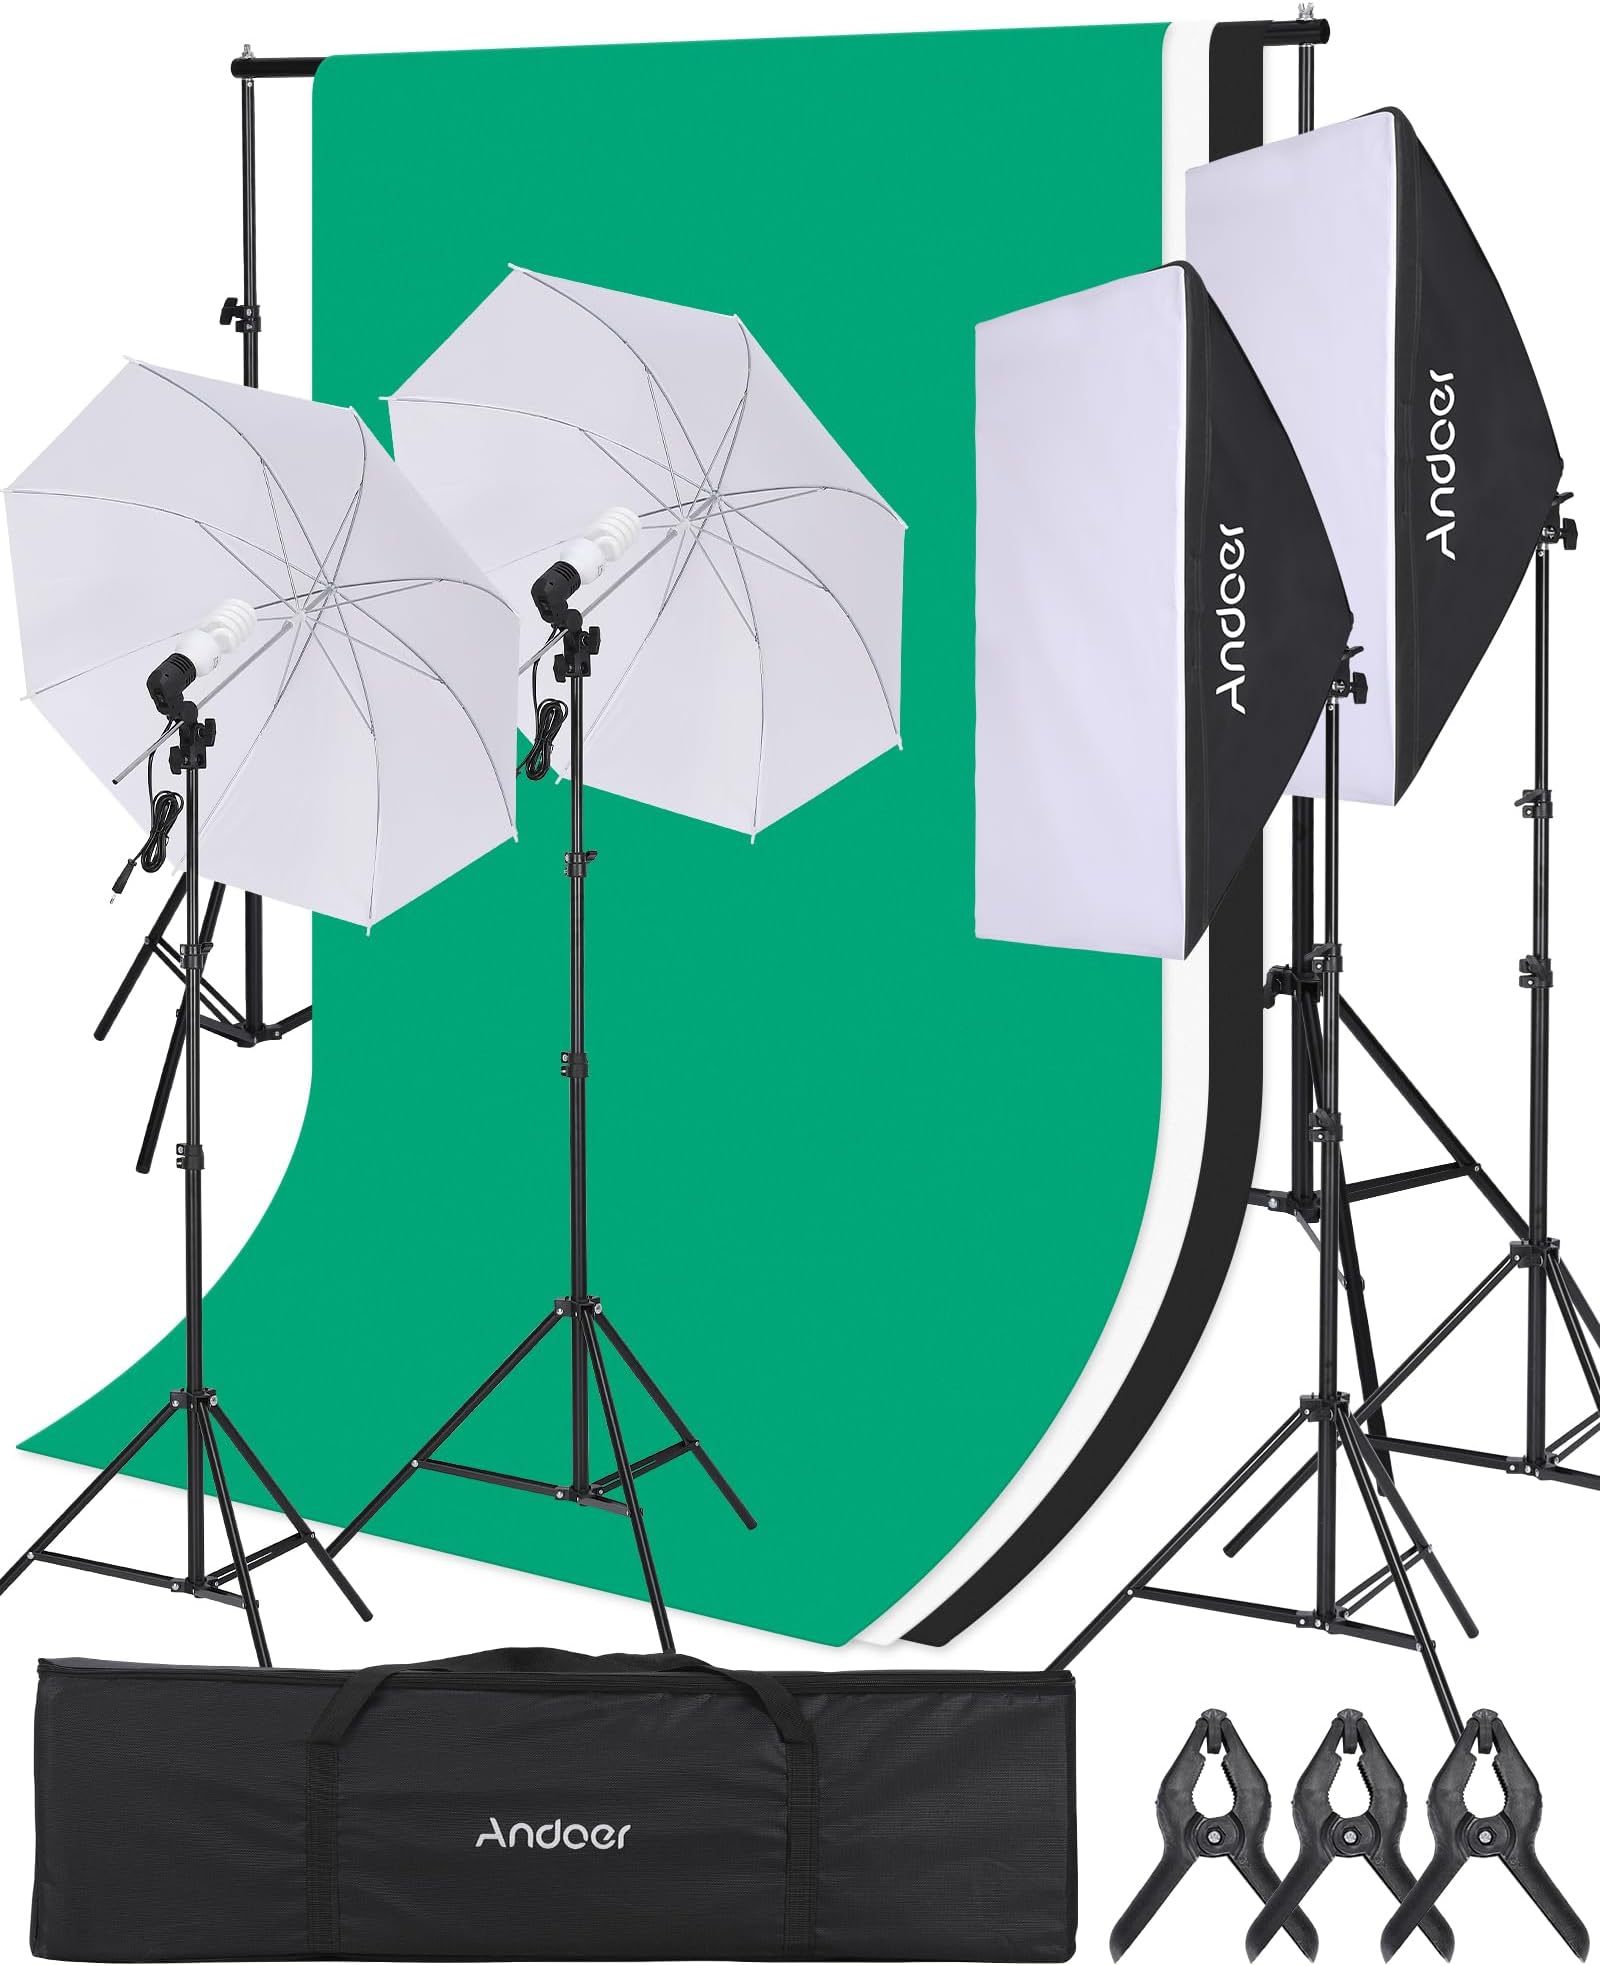
📷 Photo by amazon.com
Q: Do I need a professional studio kit?
A: No, you do not need expensive cinema-grade gear. For an apartment studio, a mid-range LED panel kit from a reputable photography brand will provide more than enough power and accuracy for both creating art and documenting your process for social media.
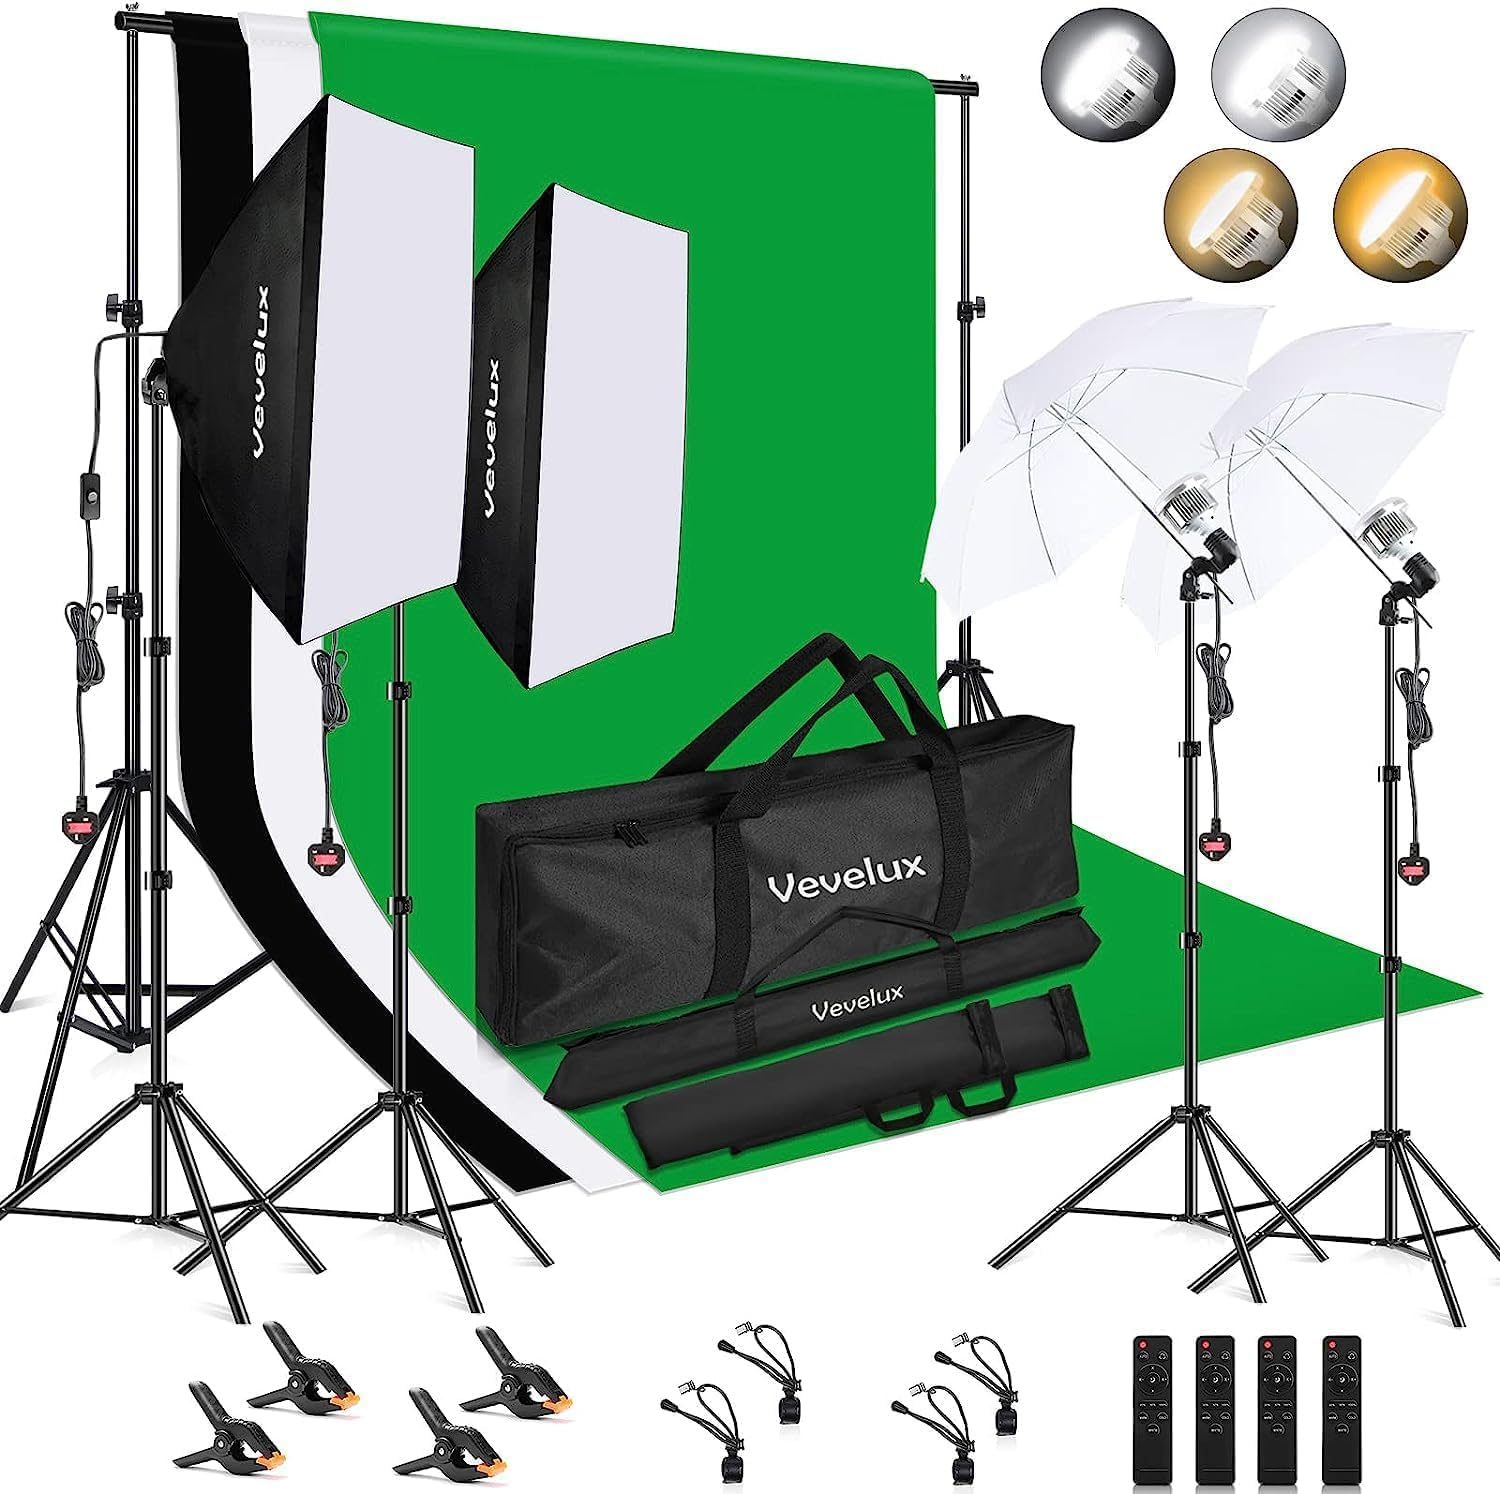
📷 Photo by amazon.co.uk
By investing in a compact, high-CRI LED kit, you transform your apartment into a professional-grade studio. You save physical space, improve the quality of your work, and ensure that your creative process is documented with the same level of detail that you put into your art. Focus on versatility and storage-friendly designs to keep your creative sanctuary organized and efficient.
Read also: What Art Directors Look for on an Illustrator About Me Page
📷 Photo by justcreative.com