

Innerspark.us – The gold standard for selling art prints online is a resolution of 300 DPI at the physical print size, ensuring crisp detail without unnecessary file bloat. Scaling your artwork to these specifications prevents pixelation and ensures your digital files translate perfectly to high-quality physical mediums.
Understanding the Relationship Between DPI and Resolution
Many artists confuse DPI (Dots Per Inch) with PPI (Pixels Per Inch). While PPI refers to the density of pixels in your digital file, DPI refers to the density of ink droplets applied by a printer. For digital-to-print workflows, treating them as interchangeable is common practice. The goal is to provide a file that contains enough data for the printer to render every detail of your brushwork or vector lines without blurriness.
If your file is set to 72 DPI—the standard for web viewing—and you attempt to print it at a large size, the printer will force those few pixels to stretch, resulting in a jagged, “blocky” appearance. By setting your file to 300 DPI, you are essentially packing more data into every inch of the physical print, which is the industry standard for professional-grade art reproductions.
Why 300 DPI is the Magic Number
Printing technology has a limit to how much detail the human eye can perceive at a standard viewing distance. At 300 DPI, the dots are so small that they blend together to form a continuous, smooth image. Going higher, such as 600 or 1200 DPI, usually results in diminishing returns; the file size becomes massive, which can slow down your upload speeds and overwhelm print-on-demand (POD) platforms without providing a noticeable visual upgrade to the final print.
Determining Your Target File Size
Before you export your final file, you must know the maximum size you intend to sell. A 5×7 inch print requires significantly less data than a 24×36 inch poster. If you create your artwork at the largest size you plan to sell, you can always downsize for smaller prints without losing quality. However, upscaling a small, low-DPI file to a large format will inevitably degrade the image quality.
| Print Size (Inches) | Dimensions in Pixels (at 300 DPI) | Recommended Use |
|---|---|---|
| 4 x 6 | 1200 x 1800 | Postcards / Small Prints |
| 8 x 10 | 2400 x 3000 | Standard Desk Art |
| 16 x 20 | 4800 x 6000 | Wall Decor / Prints |
| 24 x 36 | 7200 x 10800 | Large Format Posters |
Step-by-Step Guide to Preparing Files for Sale
Follow these steps to ensure your digital art is print-ready and optimized for online marketplaces:
- Open your artwork in your preferred editing software (Photoshop, Procreate, or Illustrator).
- Navigate to the Image Size or Canvas Size settings.
- Ensure the “Resample” box is unchecked if you are just changing the DPI, as this prevents the software from adding fake pixels to your work.
- Set the resolution to 300 pixels per inch.
- Input the physical dimensions in inches that match your desired print product.
- Export the file in a high-quality format, such as TIFF or a high-quality JPEG (with minimal compression).
- Verify that the color profile is set to CMYK if your print partner requires it, though many modern POD services prefer high-quality RGB files to convert internally.
Common Pitfalls to Avoid
One of the most frequent mistakes artists make is “up-resing” a low-resolution file. If you have an illustration that was originally created at 72 DPI, simply changing the settings to 300 DPI in your software will not make the image sharper. The software will simply interpolate the pixels, which often results in a blurry or muddy final product. Always start your project at 300 DPI from the very first stroke.
Another issue is color shift. Monitors display in RGB (light-based), while printers use CMYK (ink-based). If you are creating vibrant neon colors, they may appear duller when printed because CMYK has a smaller color gamut. It is wise to perform a “soft proof” in your software to see how colors will shift during the printing process, allowing you to make adjustments before the customer sees the final product.
Managing File Compression
While high resolution is vital, file size management is equally important. Large TIFF files are excellent for archiving, but they can be cumbersome for online uploads. Most POD platforms have a file size limit (often around 100MB to 200MB). Use a high-quality JPEG with the compression quality set to maximum (10-12 in Photoshop) to maintain visual fidelity while keeping the file size manageable for quick uploads.
Frequently Asked Questions
Q: Should I use RGB or CMYK for my print files?
A: Most modern print-on-demand services prefer high-quality RGB files because their proprietary printing software is highly optimized for color conversion. However, check your specific print partner’s guidelines; if they provide a specific ICC color profile, you should always use it.
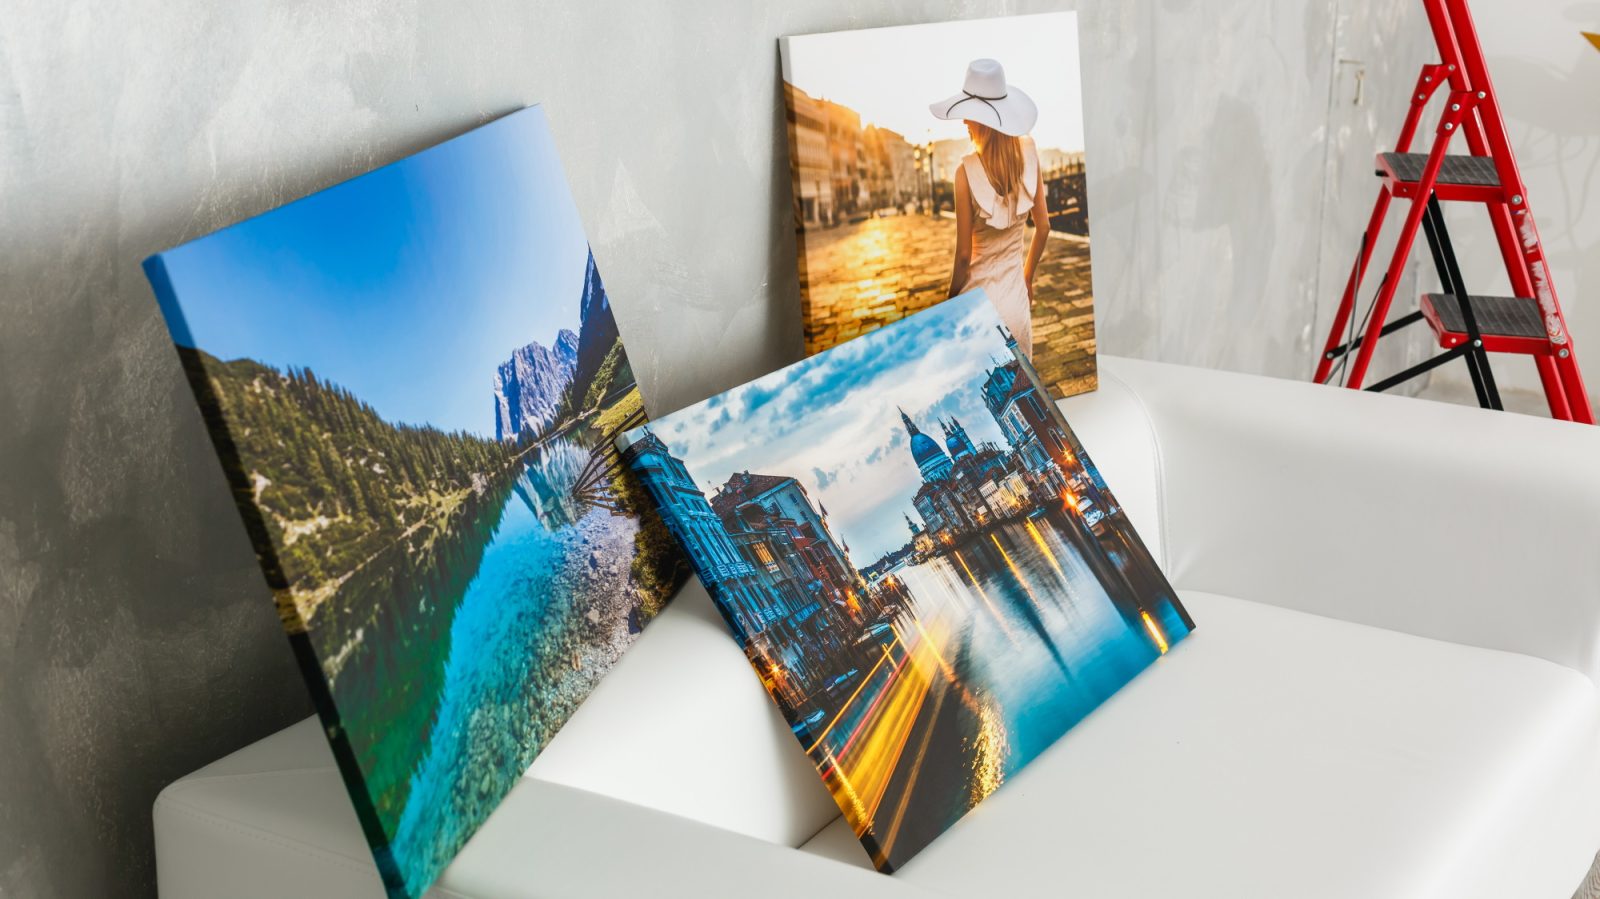
📷 Photo by exyfpqcef.blob.core.windows.net
Q: What happens if I upload a file that is lower than 300 DPI?
A: Most professional printing platforms will trigger a warning if your file is below 300 DPI. If you proceed, the print will likely appear soft, pixelated, or blurry, which can lead to customer complaints and high return rates.
Q: Does the file format matter?
A: Yes, avoid formats that use “lossy” compression like low-quality JPEGs or PNGs intended for web use. TIFF files are the industry standard for archival quality, while high-quality JPEGs are generally accepted for most commercial print-on-demand platforms.
By adhering to these technical standards, you ensure that your art looks just as professional on a physical wall as it does on your digital portfolio. Consistent preparation builds trust with your buyers, leading to repeat customers and a stronger reputation in the competitive world of online art sales.
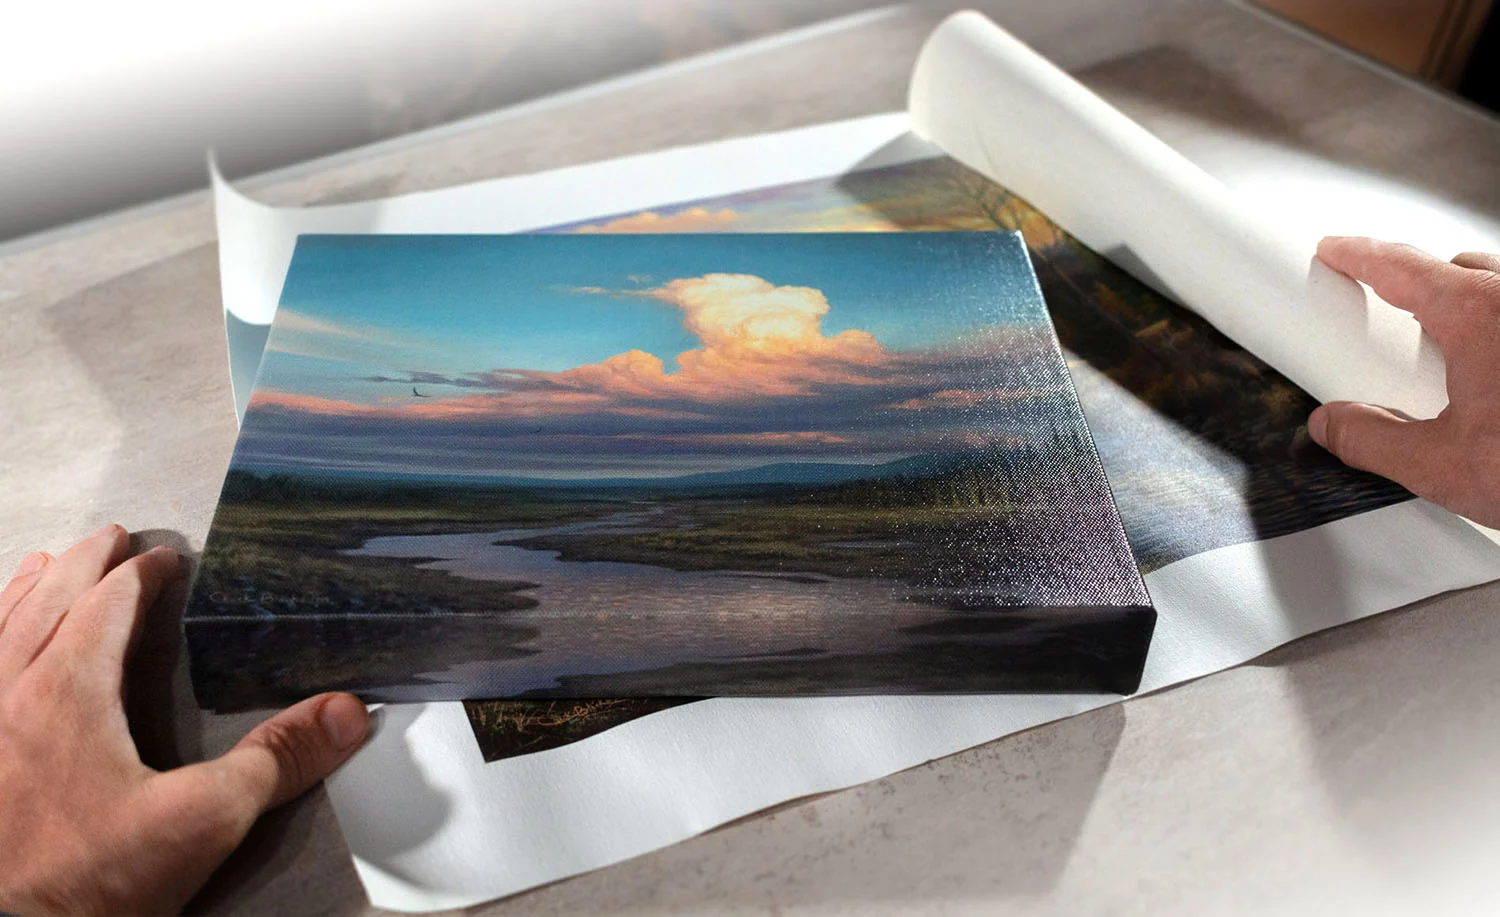
📷 Photo by chuckblackart.com