



Innerspark.us – The best ergonomic setup for digital illustrators centers on a height-adjustable desk paired with an articulating monitor arm and a specialized drawing tablet stand to ensure a neutral wrist position and reduced neck strain during long creative sessions.
Digital illustration is a physically demanding profession that often leads to repetitive strain injuries (RSI), neck pain, and lower back issues. Unlike standard office work, illustration requires precise, sustained movements of the hand and wrist. Optimizing your workspace is not merely about aesthetics; it is a fundamental requirement for the longevity of your career.
The Core Components of an Ergonomic Setup
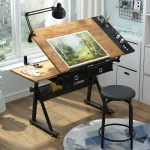
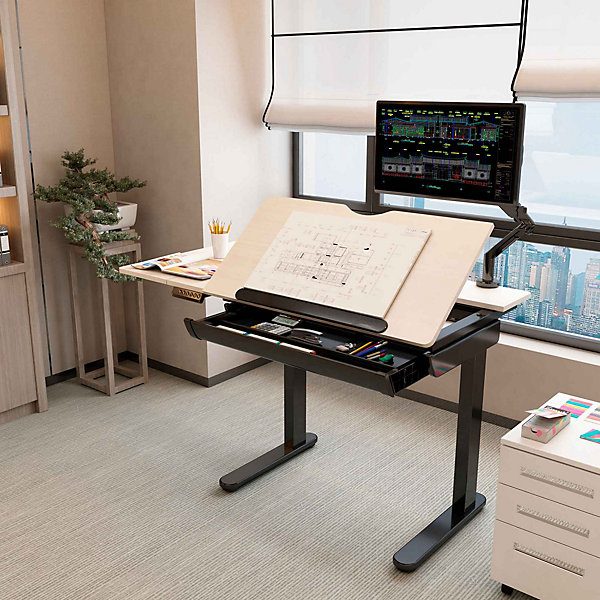
Your desk surface must be stable and deep enough to accommodate both your keyboard and your drawing tablet without forcing you to reach awkwardly. A height-adjustable desk is the gold standard because it allows you to alternate between sitting and standing, which is crucial for blood flow and spinal health.
The monitor position is equally critical. Illustrators often look down at their tablets, which creates a “tech neck” posture. By using an articulating arm, you can move your primary reference monitor to eye level, ensuring your head remains in a neutral position while you glance between your screen and your tablet.
Table 1: Essential Ergonomic Gear for Illustrators
| Equipment | Key Ergonomic Feature | Benefit |
|---|---|---|
| Adjustable Desk | Electric height adjustment | Reduces sedentary fatigue |
| Monitor Arm | Full range of motion | Aligns screen with eye level |
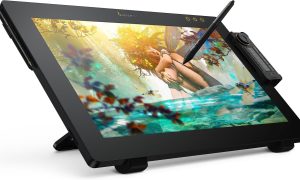
| Tablet Stand | Variable tilt angles (15-45 degrees) | Prevents wrist over-extension |
| Ergonomic Mouse | Vertical or trackball design | Reduces carpal tunnel stress |
Optimizing Your Drawing Angle
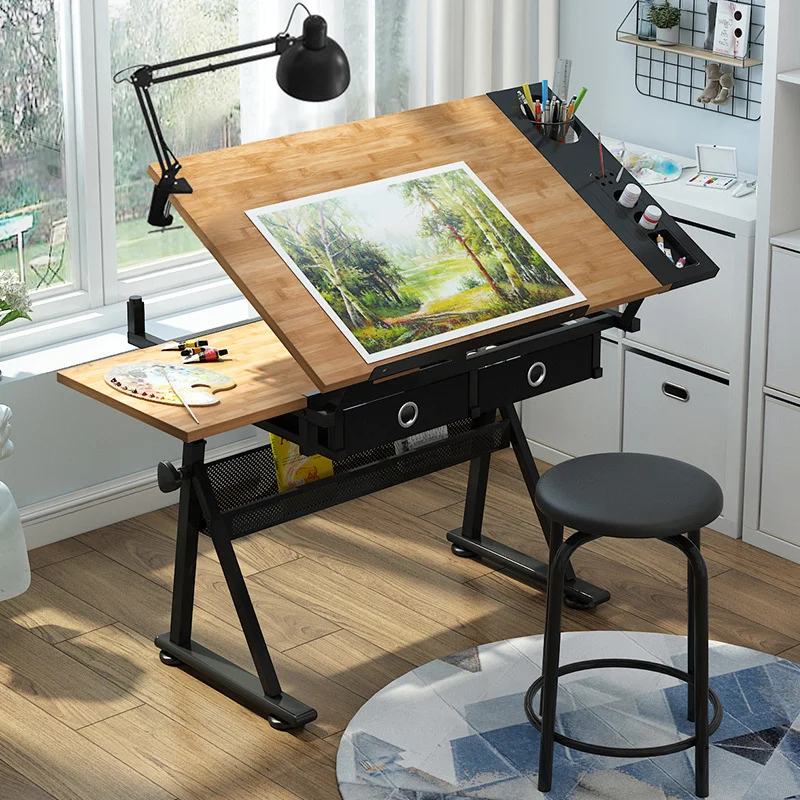
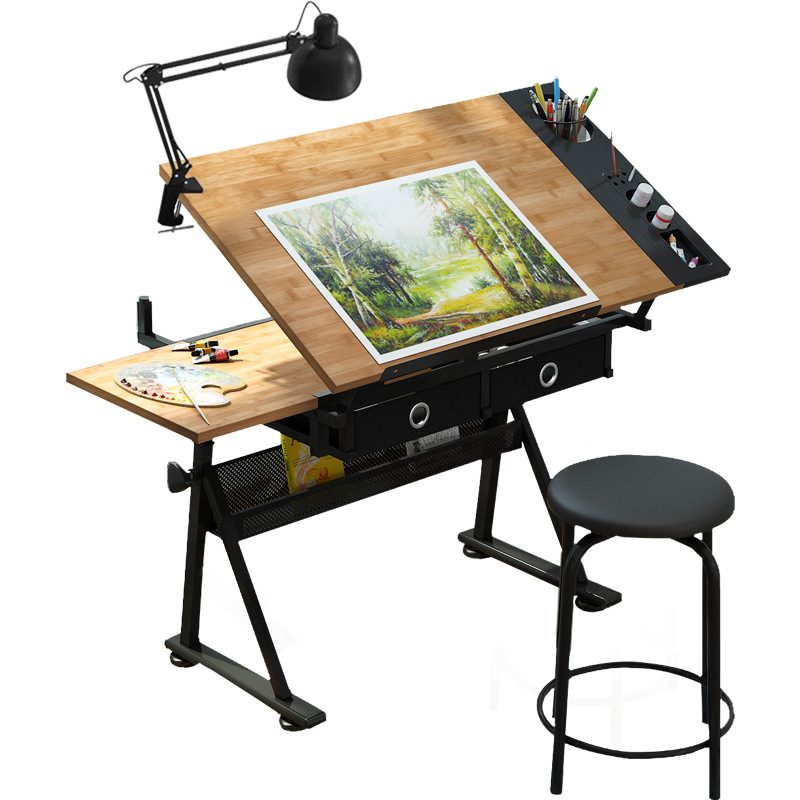
One of the most common mistakes illustrators make is drawing on a completely flat surface. When your tablet is flat, your wrist is forced into a state of extension, which compresses the carpal tunnel. Using a dedicated stand to elevate the tablet to a slight angle allows your hand to remain in a more natural, neutral posture.
Furthermore, consider your seating. A chair with adjustable lumbar support and armrests is non-negotiable. Your feet should rest flat on the floor, and your knees should be at a 90-degree angle. If your feet dangle, use a footrest to prevent pressure on the back of your thighs, which can impede circulation.
Step-by-Step Guide to Ergonomic Calibration
Follow these steps to configure your workspace for maximum comfort and productivity:
- Position your chair height so your elbows are at a 90-degree angle while your hands rest on your tablet surface.
- Place your main monitor roughly an arm’s length away, with the top third of the screen at or slightly below eye level.
- Adjust your tablet stand to an angle between 20 and 30 degrees to minimize the need to hunch forward.
- Clear the desk surface of clutter to allow your arm to move freely from the shoulder rather than relying solely on wrist movements.
- Set a timer for 45 minutes to stand up, stretch your shoulders, and look at a distant object to reduce eye strain.
Common Mistakes to Avoid
A frequent error is placing the keyboard too far away. If you have to overreach to use your keyboard shortcuts, you are putting unnecessary strain on your shoulders and upper back. Use a compact keyboard that fits comfortably beside your tablet, or invest in a dedicated macro pad that can be placed in your non-dominant hand’s ideal zone.
Another issue is lighting. Avoid placing your desk directly in front of a window, as the backlighting will cause eye fatigue. Instead, place your desk perpendicular to the window and use a task lamp with adjustable color temperature to mimic natural daylight, which helps maintain color accuracy during long sessions.
The Importance of Micro-Breaks
Even with the most expensive ergonomic equipment, human bodies are not designed to remain static for eight hours. Incorporating micro-breaks is the most effective way to prevent muscle fatigue. During these breaks, perform gentle wrist rotations and neck stretches. These small movements reset the tension in your muscles and improve focus, preventing the “creative burnout” that often sets in during the late afternoon.
Remember that ergonomics is a process, not a one-time setup. As your workflow evolves, periodically reassess your posture. If you feel discomfort in your shoulders, your tablet might be too high. If your lower back aches, your chair’s lumbar support may need adjustment. Listen to your body’s signals before they turn into chronic pain.
Frequently Asked Questions
Q: Is a standing desk necessary for an illustrator?
A: It is highly recommended but not strictly necessary if you have an excellent ergonomic chair. The goal is movement; if you sit, ensure you take frequent breaks to stand and stretch throughout the day.
Q: What is the best angle for a drawing tablet?
📷 Photo by diy.com
A: Most illustrators find that an angle between 15 and 30 degrees is optimal. This reduces the strain on your neck while still providing enough stability for the hand to rest comfortably while drawing.
Q: How do I stop my wrist from hurting while drawing?
A: Focus on drawing from your shoulder and elbow rather than your wrist. Using a slight incline for your tablet and ensuring your chair is at the correct height to support your forearm will significantly decrease wrist pressure.
📷 Photo by xpresswift.com
By investing in these ergonomic adjustments, you are not just buying furniture; you are protecting your most valuable asset—your ability to create. A well-configured desk minimizes the physical tax of your work, allowing you to focus entirely on your art rather than your aches.
📷 Photo by xpresswift.com