


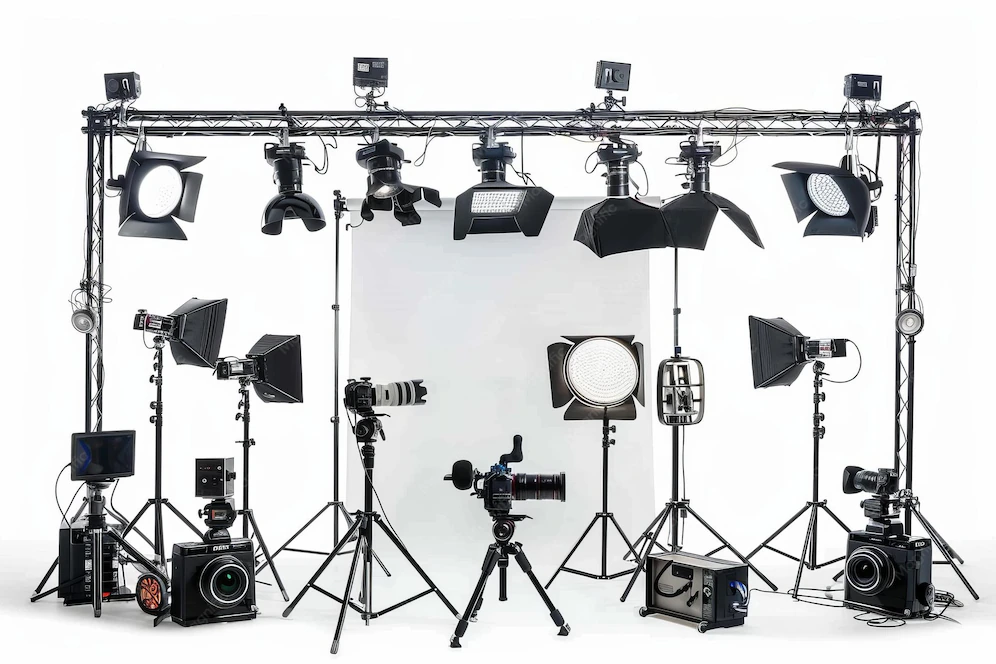
Innerspark.us – An effective overhead studio lighting rig for tabletop art demonstrations requires a stable ceiling-mounted or C-stand-based frame that positions high-CRI LED panels at a 45-degree angle to eliminate shadows and glare. Achieving professional results depends on balancing diffusion, light intensity, and camera positioning to ensure the artist’s hands do not obstruct the view during intricate work.
The Importance of Overhead Lighting in Art
When recording or live-streaming art demonstrations, the lighting setup is the single most significant factor in perceived quality. Unlike portrait photography, which focuses on the subject’s face, tabletop art requires uniform illumination across a flat surface. If the light source is too low or positioned incorrectly, you will encounter harsh highlights on paper, paint, or clay, and distracting shadows cast by your own hands or brushes.
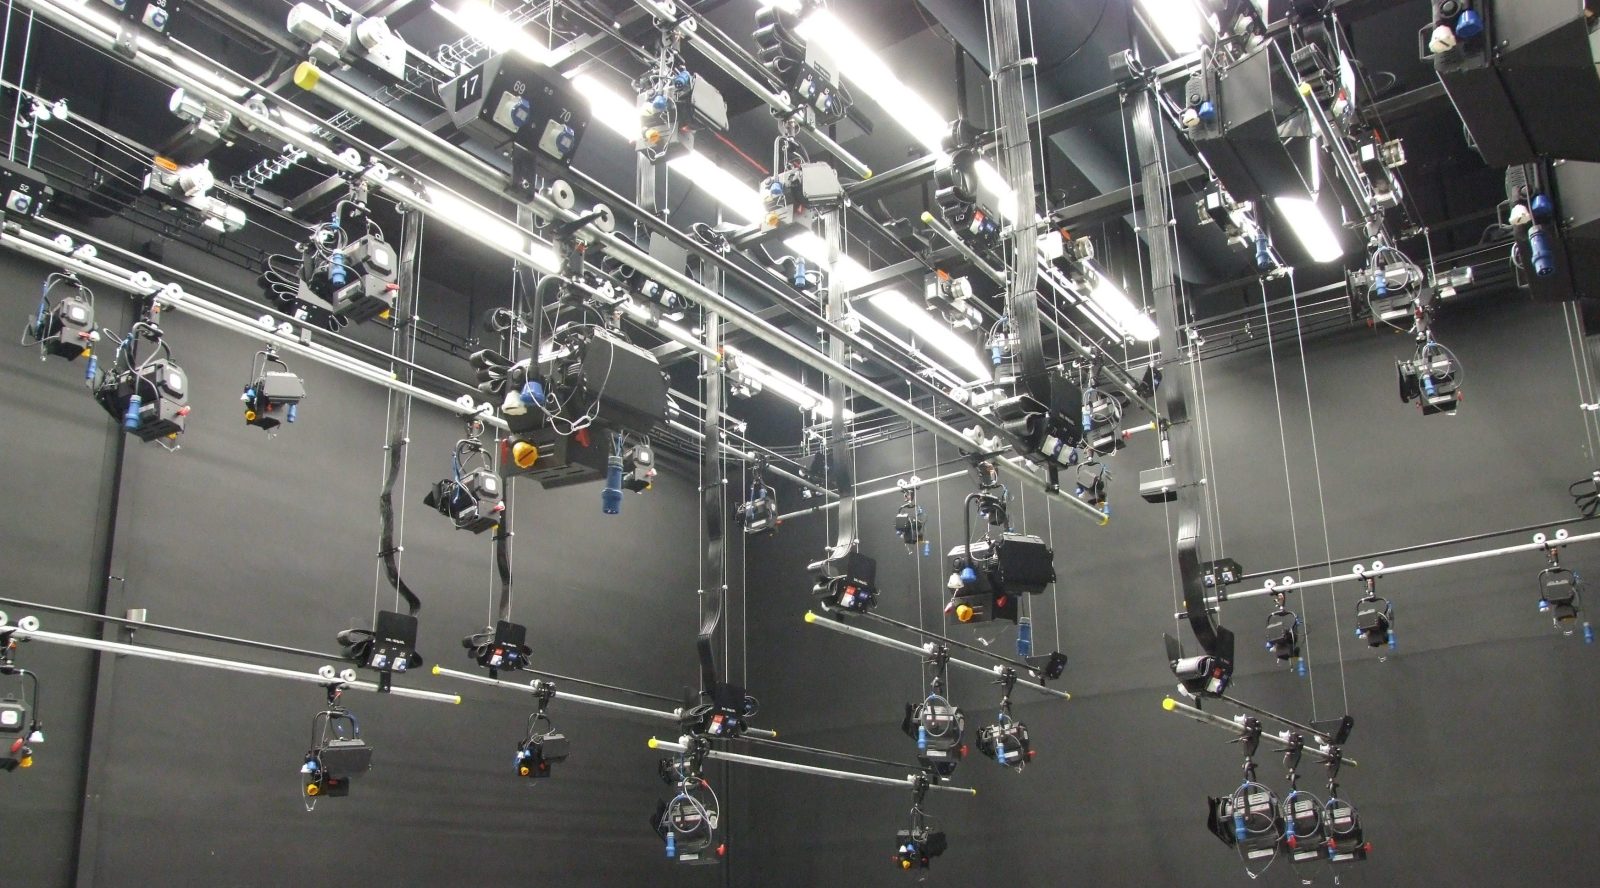
📷 Photo by pinterest.com
The goal is “shadowless” lighting. This is achieved by utilizing larger light sources or heavy diffusion. When the light source is physically larger than the subject area, the light wraps around the objects, softening the transitions between illuminated areas and shadows. This clarity is essential for viewers to appreciate the texture of a canvas or the fine details of a miniature painting.
Essential Components for Your Rig
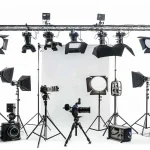
Building a reliable rig requires a combination of structural support and high-quality illumination. Do not underestimate the weight of your equipment; a falling light panel is a hazard to both the artist and the artwork. Always prioritize heavy-duty stands or secure ceiling mounts over lightweight tripod options that may wobble.
| Component | Purpose | Recommendation |
|---|---|---|
| C-Stand with Boom Arm | Support and positioning | Steel construction for maximum stability |
| LED Panel (Bi-Color) | Primary light source | CRI 95+ for accurate color rendering |
| Softbox / Diffusion | Softens light output | Large grid or silk sheet for even spread |
| Sandbags | Safety and counterweight | Minimum 15lb weight per stand base |
Step-by-Step Setup Guide
Read also: How to Protect Traditional Artwork During Shipping to Art Collectors
Following a systematic approach to assembly ensures safety and efficiency. Follow these steps to build your overhead station:
- Position your table in a space with enough clearance to place two C-stands on opposite ends or a single heavy-duty C-stand with a long boom arm.
- Assemble the C-stand base and ensure the legs are fully extended; place sandbags on the base before attaching the boom arm to prevent tipping.
- Attach the LED panel to the end of the boom arm, ensuring the yoke is tightened firmly so the light does not rotate under its own weight.
- Mount your diffusion material or softbox to the light panel to ensure the light is soft rather than directional.
- Connect the power supply and position the light directly above the center of your workspace, angled slightly toward the front to avoid glare from the camera lens.
- Test the setup by placing your hand in the workspace; if you see a sharp shadow, move the light closer to the surface or increase the size of your diffusion.
Common Mistakes to Avoid
One of the most frequent errors artists make is using a single, point-source light. This creates high-contrast, “punchy” light that makes colors look muddy and textures appear exaggerated in an unflattering way. Always aim for a soft, ambient wash. Another common mistake is failing to account for “light bounce.” If your studio has white walls, light will reflect off them and back onto your desk, potentially creating unwanted color casts or uneven lighting. Using black foam boards as flags can help control light spill and keep the focus purely on the tabletop.
Managing Color Temperature
Color accuracy is non-negotiable in art. If your lighting is too warm, your blues will look dull; if it is too cool, your reds will lack vibrancy. Use LED panels that allow you to set the Kelvin temperature manually. A setting between 5000K and 5600K is typically considered “daylight balanced,” which provides the most neutral base for capturing colors as they appear in natural light. Always check the Color Rendering Index (CRI) of your lights; anything below 90 will result in inconsistent color representation that is frustrating to correct in post-production.
Safety and Ergonomics
Because your rig involves overhead equipment, safety is the primary concern. Always use safety cables to secure the light fixture to the boom arm itself. If the mounting mechanism fails, the safety cable will prevent the light from crashing onto your workspace. Furthermore, consider your own ergonomics. If the rig is too low, you will constantly bump your head or arms, leading to frustration during long sessions. Ensure the boom arm is high enough to allow free movement but low enough that the diffusion remains effective.
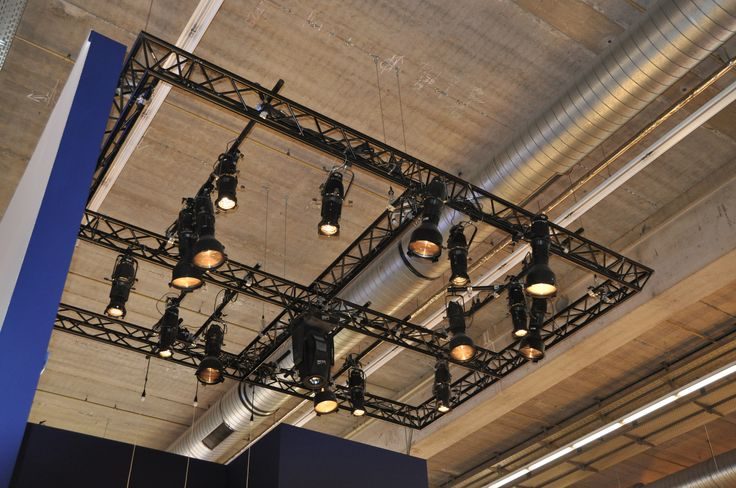
📷 Photo by pinterest.com
Frequently Asked Questions
Q: Should I use one light or two for my tabletop setup?
A: Using two lights positioned on opposite sides of the table is ideal. This cross-lighting technique fills in the shadows cast by the opposite light, providing a professional, flat, and even illumination perfect for detailed art demonstrations.
Q: How do I stop glare from glossy surfaces like paint or varnished wood?
A: Glare is caused by the light source reflecting directly into the camera lens. Move your lights slightly further to the sides or increase the diffusion. You can also use a Circular Polarizer (CPL) filter on your camera lens to cut through surface reflections effectively.
Q: Is it better to mount lights to the ceiling or use stands?
A: C-stands are better for flexibility if you change your desk layout or work in a rented space. Ceiling mounts are superior for permanent studios because they clear the floor space, remove trip hazards, and provide a consistent, repeatable setup every time you sit down to work.
Final Thoughts on Consistency
Once you have found a lighting configuration that works for your specific art style, document it. Mark the positions of your stands on the floor with tape and note the brightness and Kelvin settings of your lights. Consistency is the hallmark of a professional creator; by streamlining your setup, you spend less time adjusting equipment and more time focusing on the creative process.
📷 Photo by freepik.com