



Innerspark.us – Cross-polarization lighting is the most effective technique to eliminate unwanted glare and specular highlights on oil paintings by placing polarizing filters on both the light sources and the camera lens to block reflected light waves.
Oil paintings are notorious for their texture and glossy varnish, both of which create significant challenges for photographers. When light hits the surface of a painting, it reflects at specific angles, creating “hot spots” that obscure the brushwork and color accuracy. Cross-polarization solves this by aligning light waves in a single orientation at the source and then filtering them out at the lens, effectively neutralizing the reflection before it hits your sensor.
The Physics Behind the Glare
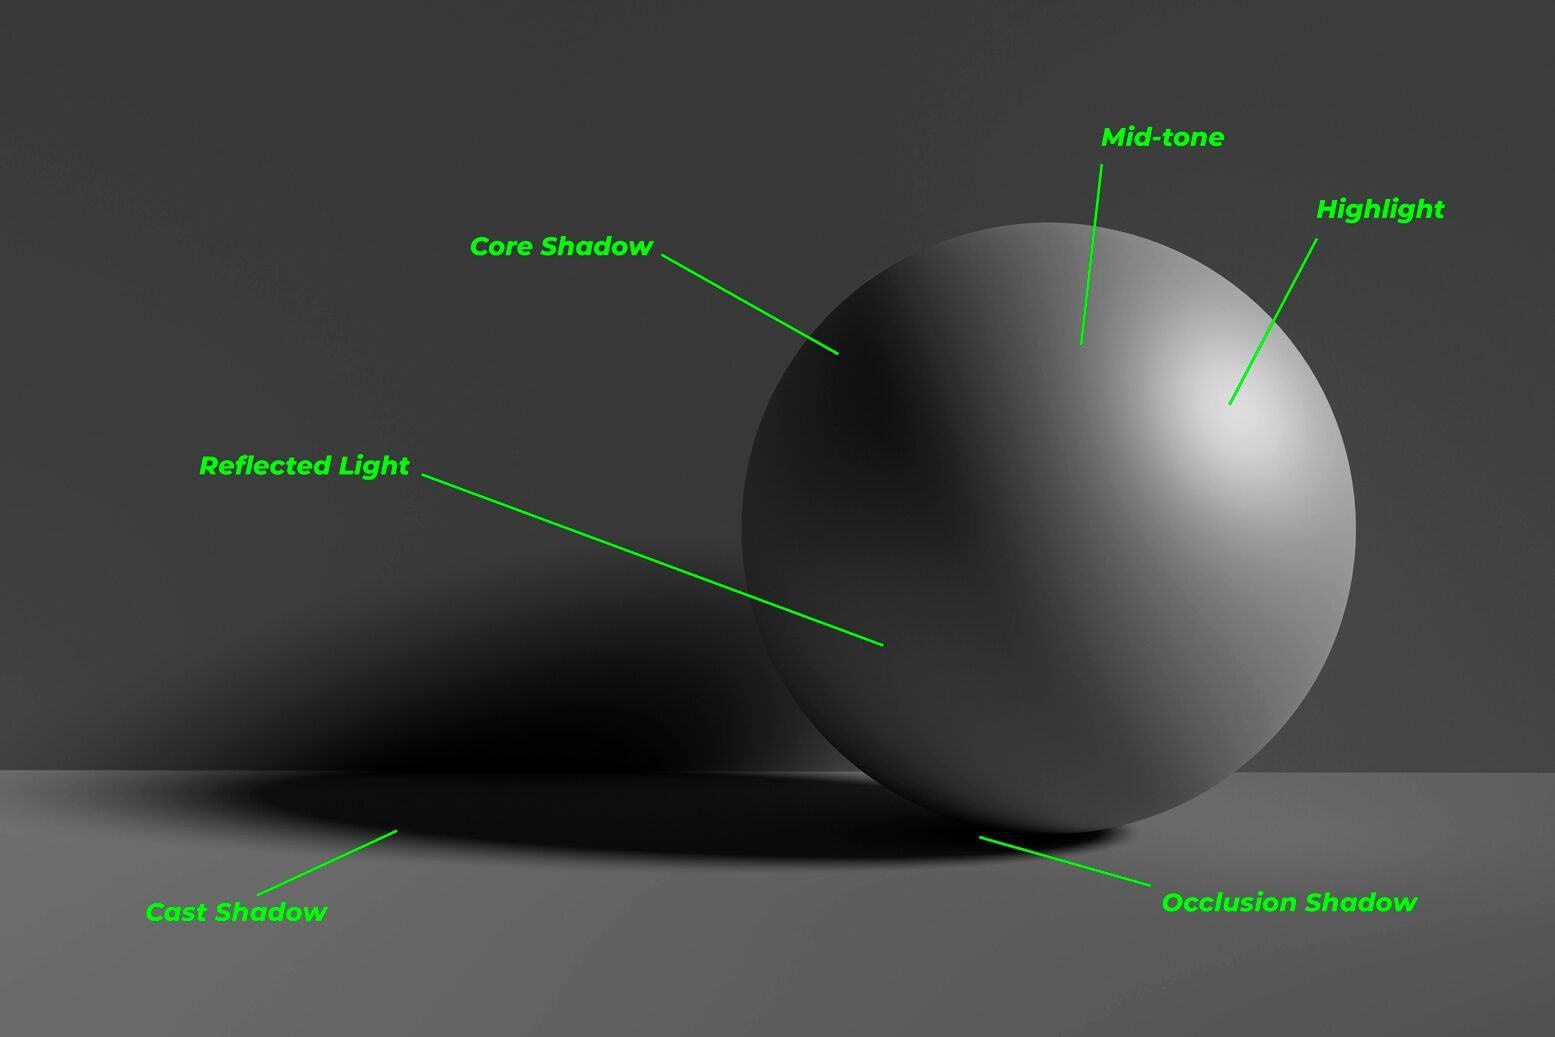
To understand why this works, you must recognize that light reflected from a non-metallic surface—like varnish—becomes polarized. When light hits the surface, it bounces off in a way that aligns the light waves. By placing a polarizing gel over your studio lights, you force the light to vibrate in a specific plane. When that light hits the painting, it retains that orientation. By placing a circular polarizer on your lens and rotating it to the 90-degree position, you block those specific light waves from entering the camera.
The result is a flat, matte-looking image that preserves the actual pigments of the paint without the interference of the studio strobes or ambient light. This is the industry standard for high-end art reproduction and archival work.
Equipment Checklist for Successful Polarization
Before beginning your setup, you need to ensure your gear is compatible. Not all polarizing filters are created equal, and the quality of your lighting gels matters significantly.
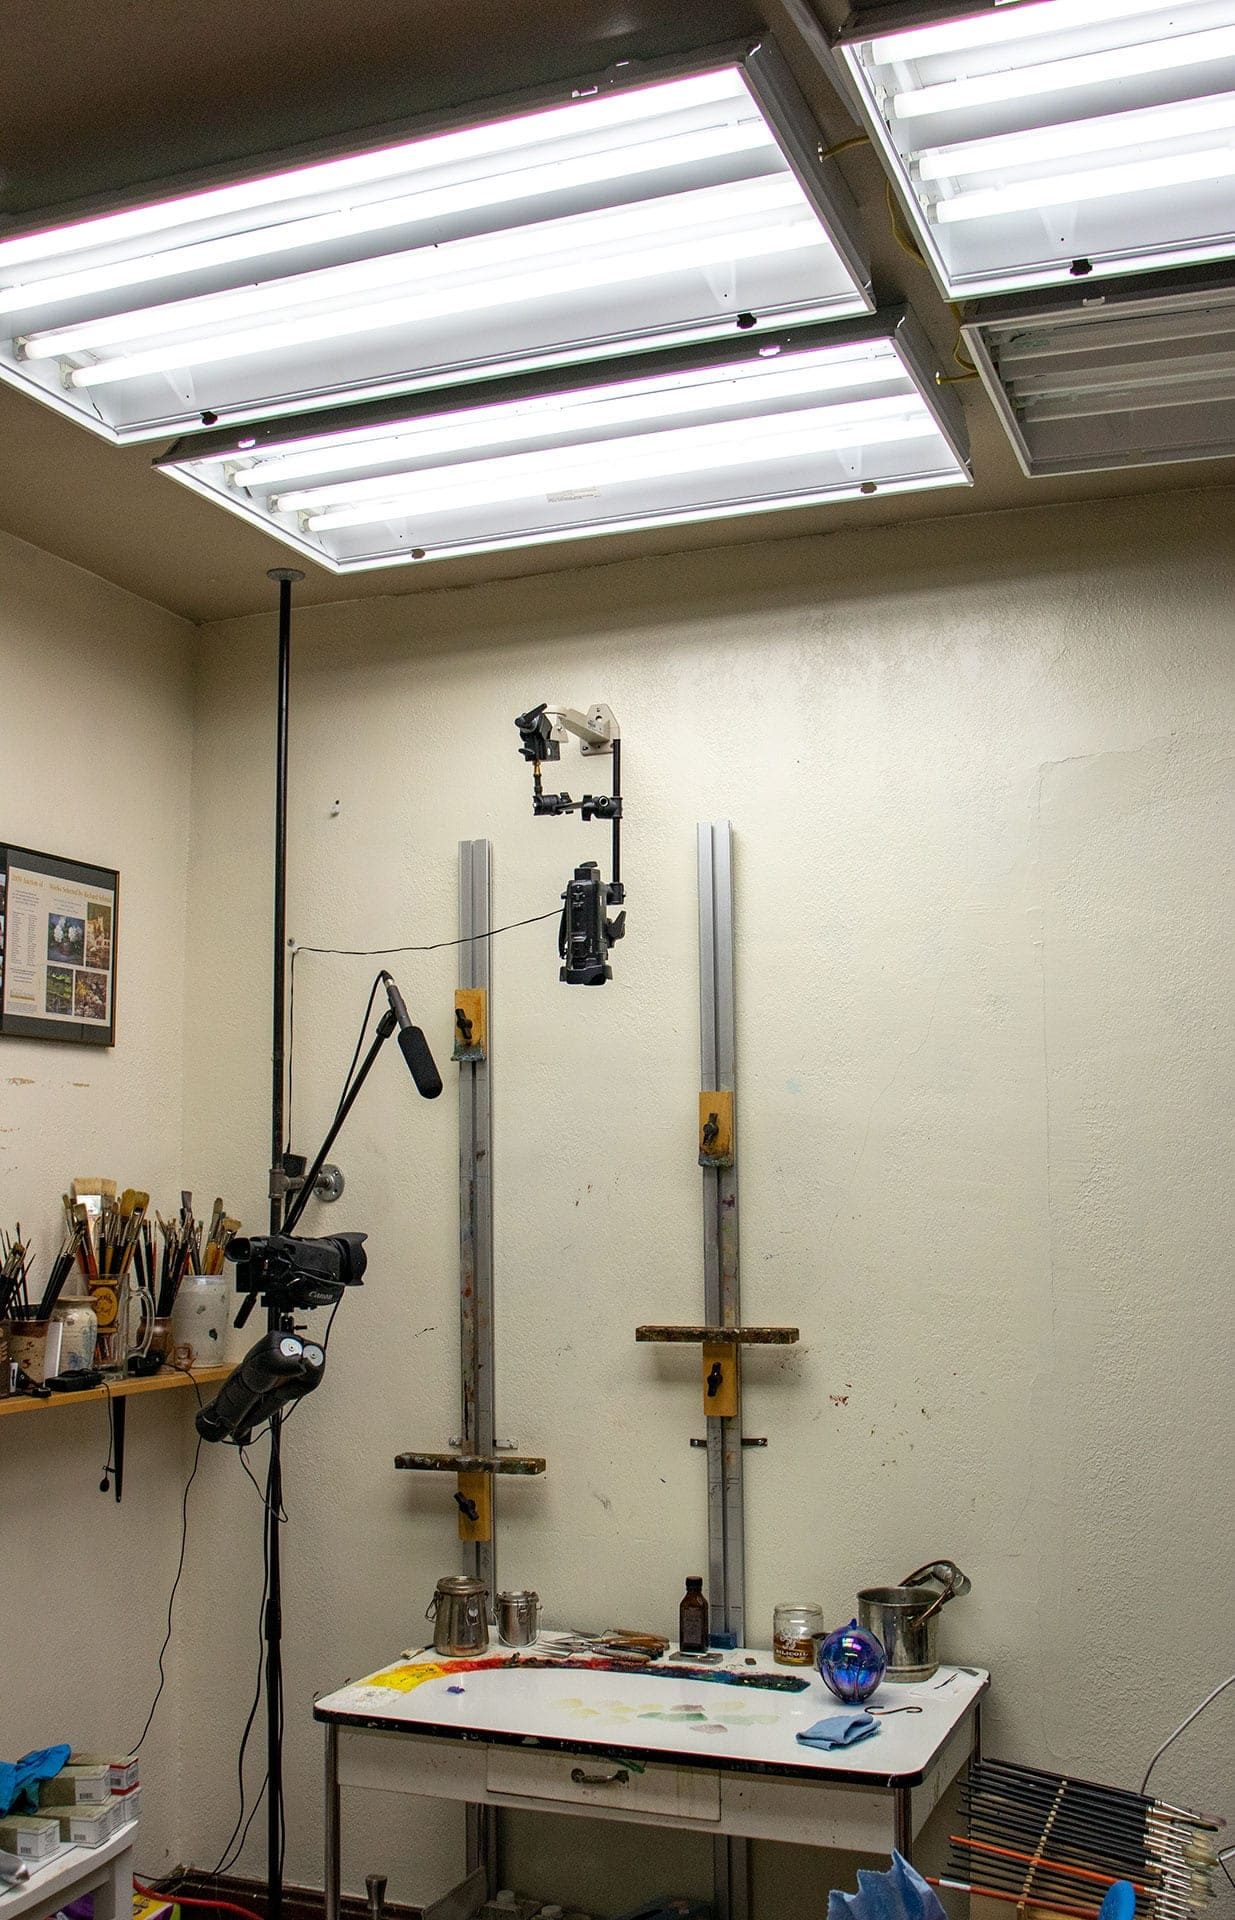
📷 Photo by masteroilpainting.com
| Equipment | Role | Requirement |
|---|---|---|
| Circular Polarizer (CPL) | Lens Filter | High-quality glass to avoid color cast. |
| Polarizing Gels | Light Filters | Must be large enough to cover the entire light source. |
| Studio Strobes | Light Source | Constant color temperature is essential. |
| Light Stand/Boom | Positioning | Must allow for precise 45-degree angles. |
Step-by-Step Implementation Guide
Achieving the perfect cross-polarization setup requires precision. Follow these steps to ensure your lighting is balanced and the reflections are completely nullified.
- Position your camera directly in front of the center of the painting at eye level to minimize perspective distortion.
- Place two lights at 45-degree angles on either side of the painting to ensure even coverage across the canvas surface.
- Attach the polarizing gels to your lights. Ensure they are secured firmly so they do not melt or shift during the session.
- Mount your circular polarizer onto your camera lens.
- Look through your viewfinder or at your tethered screen while slowly rotating the lens filter. You will see the glare on the painting disappear as you rotate the filter to the point of maximum extinction.
- Take a test shot and check your histogram to ensure you have full dynamic range without any blown-out highlights.
Common Mistakes to Avoid
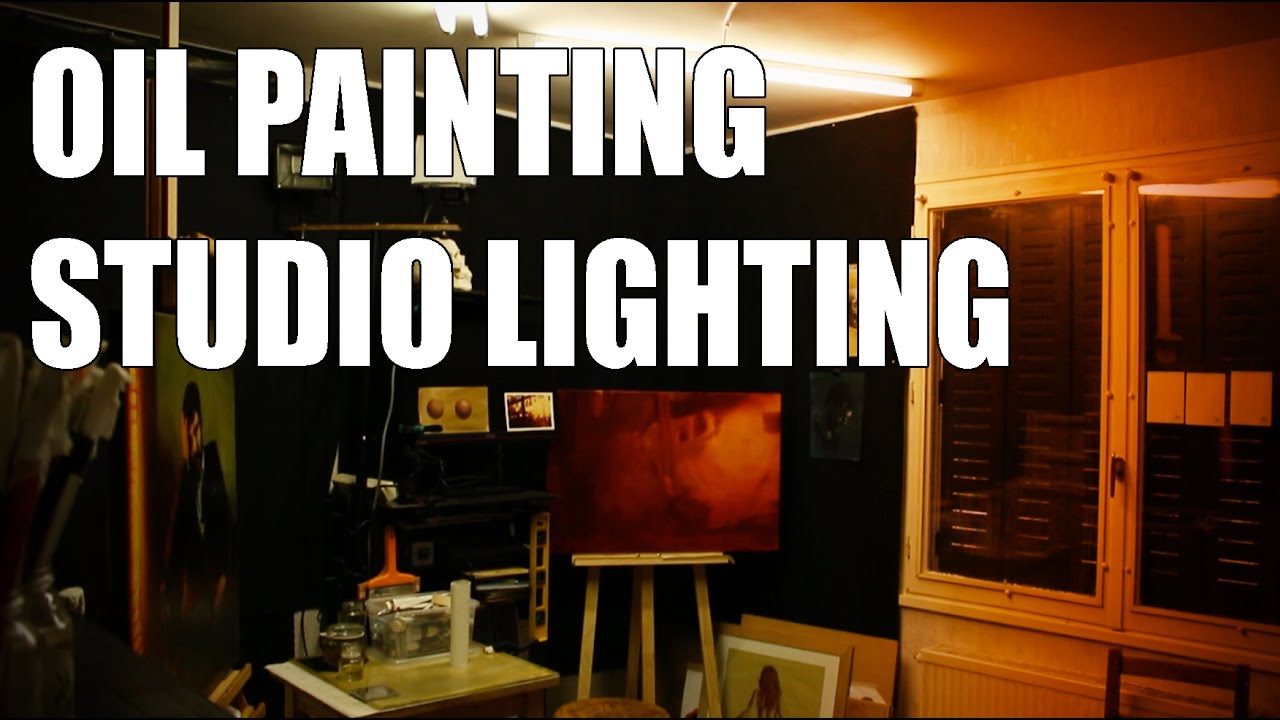
Even with the right equipment, many photographers encounter issues due to improper technique. One of the most frequent errors is failing to account for ambient light. If you have windows in your studio, the light entering through them is not polarized. This stray light will introduce reflections that your lens filter cannot block. Always work in a darkened room or block out all external light sources to ensure the only light hitting the canvas is coming from your polarized strobes.
Another common mistake is placing the lights too close to the canvas. If the lights are too close, the angle of incidence changes rapidly across the surface, meaning the polarization will be perfect in the center but fail at the edges. Maintain a distance of at least two to three times the width of the painting to ensure uniform light distribution.
The Role of Varnish and Texture
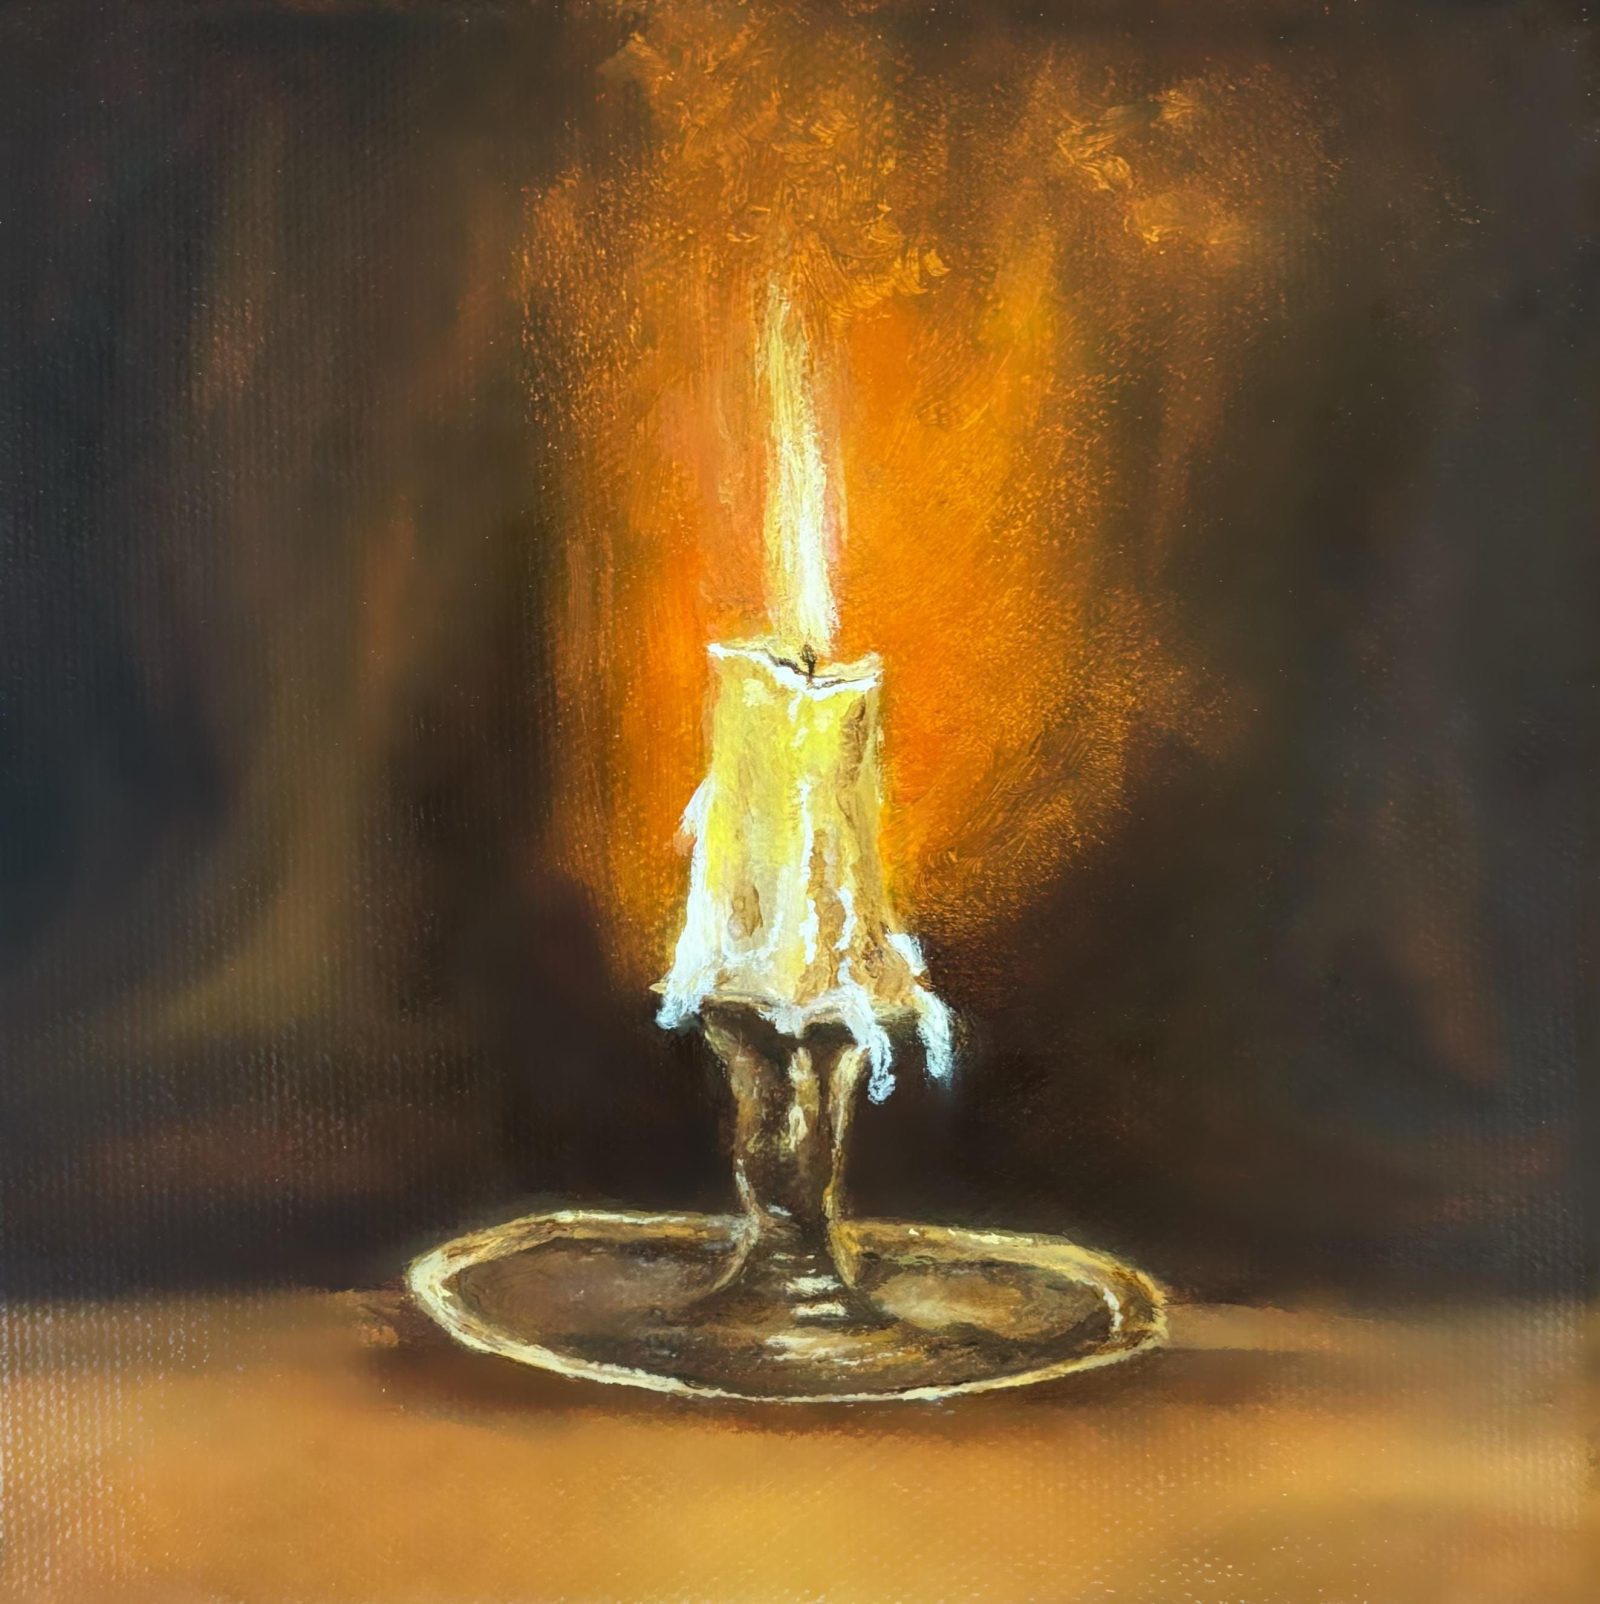
Oil paintings often feature impasto—a technique where paint is laid on the canvas in very thick layers. Because each brushstroke has a different angle, it is physically impossible to eliminate 100 percent of the reflection from every tiny facet of the paint. However, cross-polarization remains the best tool for the job. If you still see small glints, it is often due to the physical shape of the paint rather than the lighting setup itself. In these cases, minor post-processing cleanup is acceptable and expected.
Be aware that polarizing gels can be heat-sensitive. If you are using hot halogen lights, you risk melting the gels. Always use LED or strobe lighting, which generates significantly less heat, to protect your equipment and prevent potential fire hazards.
Frequently Asked Questions
Q: Does cross-polarization affect the color of the painting?
A: Yes, it can slightly shift the color temperature, typically making it look a bit warmer. Always use a color checker card in your first shot to perform a custom white balance in post-production.
Q: Can I use a linear polarizer instead of a circular one?
📷 Photo by oilpaintingbykevin.com
A: While a linear polarizer will work for the physics of the light, most modern digital cameras require a circular polarizer to ensure the autofocus and metering systems continue to function correctly.
📷 Photo by pinterest.com
Q: Is it necessary to polarize all lights in the room?
A: Yes. Any light source that is not polarized will contribute to glare. If you cannot polarize every light, you must turn them off and rely entirely on your cross-polarized setup.
Final Considerations for Professional Results
The beauty of this technique lies in its ability to reveal the true texture of the artist’s work. By removing the veil of reflection, you allow the viewer to see the brushstrokes, the depth of the impasto, and the exact hue of the pigments as the artist intended. While the initial investment in polarizing gels and high-quality filters may seem significant, the improvement in image quality for fine art reproduction is undeniable. Always calibrate your monitor after the shoot to ensure that the colors you captured are the colors being displayed, as the removal of glare can sometimes alter the perceived contrast of the work.
📷 Photo by youtube.com