



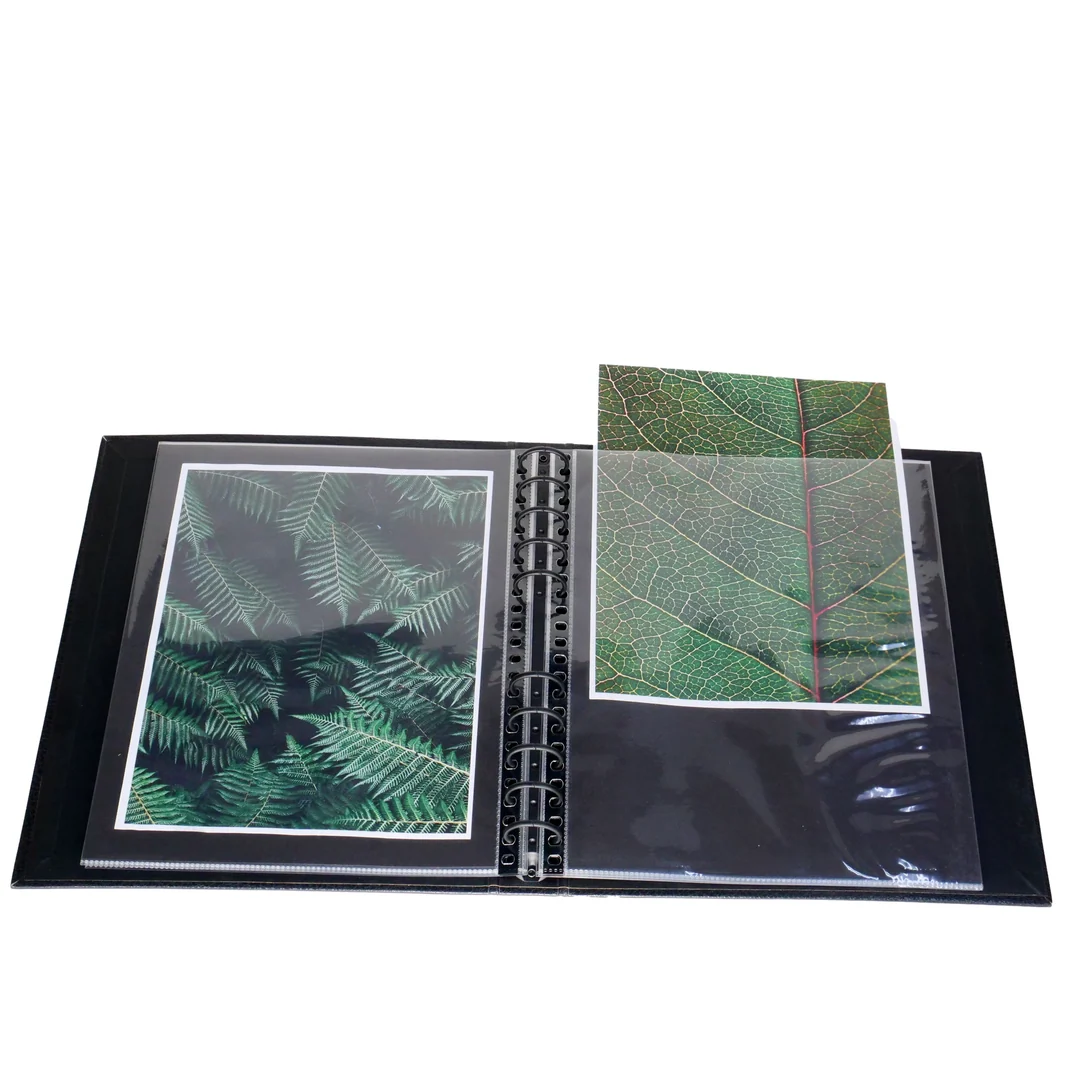
Innerspark.us – A professional hardcover artist portfolio book is constructed by mounting individual art prints onto rigid substrates and binding them into a sturdy, wrap-around cover using archival-grade adhesives and bookbinding cloth. This method ensures your artwork remains flat, protected, and presented with a gallery-quality finish that standard soft-cover portfolios cannot replicate.
Why Choose Hardcover Over Standard Portfolios?
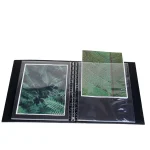
Most artists start with plastic-sleeve portfolios, but these often cause prints to curl, glare, or stick to the vinyl over time. A custom hardcover book changes the narrative. It turns your body of work into a tactile, curated experience. When a potential client or gallery owner holds a hardcover book, the weight and craftsmanship signal professionalism. It forces the viewer to slow down and engage with each page as an individual piece of art rather than a fleeting image in a binder.
Essential Materials for Professional Binding
Before you begin, gather materials that are acid-free and archival to ensure your prints do not yellow or degrade. Using cheap office supplies is a common mistake that ruins the longevity of your portfolio.
| Material | Purpose | Recommendation |
|---|---|---|
| Book Board | Structural rigidity | 2mm or 3mm Davey board |
| PVA Adhesive | Permanent bonding | pH-neutral archival glue |
| Book Cloth | Exterior hinge and spine | Rayon or cotton-based cloth |
| Spacer Shims | Spine gap management | Cardstock or thin chipboard |
Preparing Your Prints for the Book
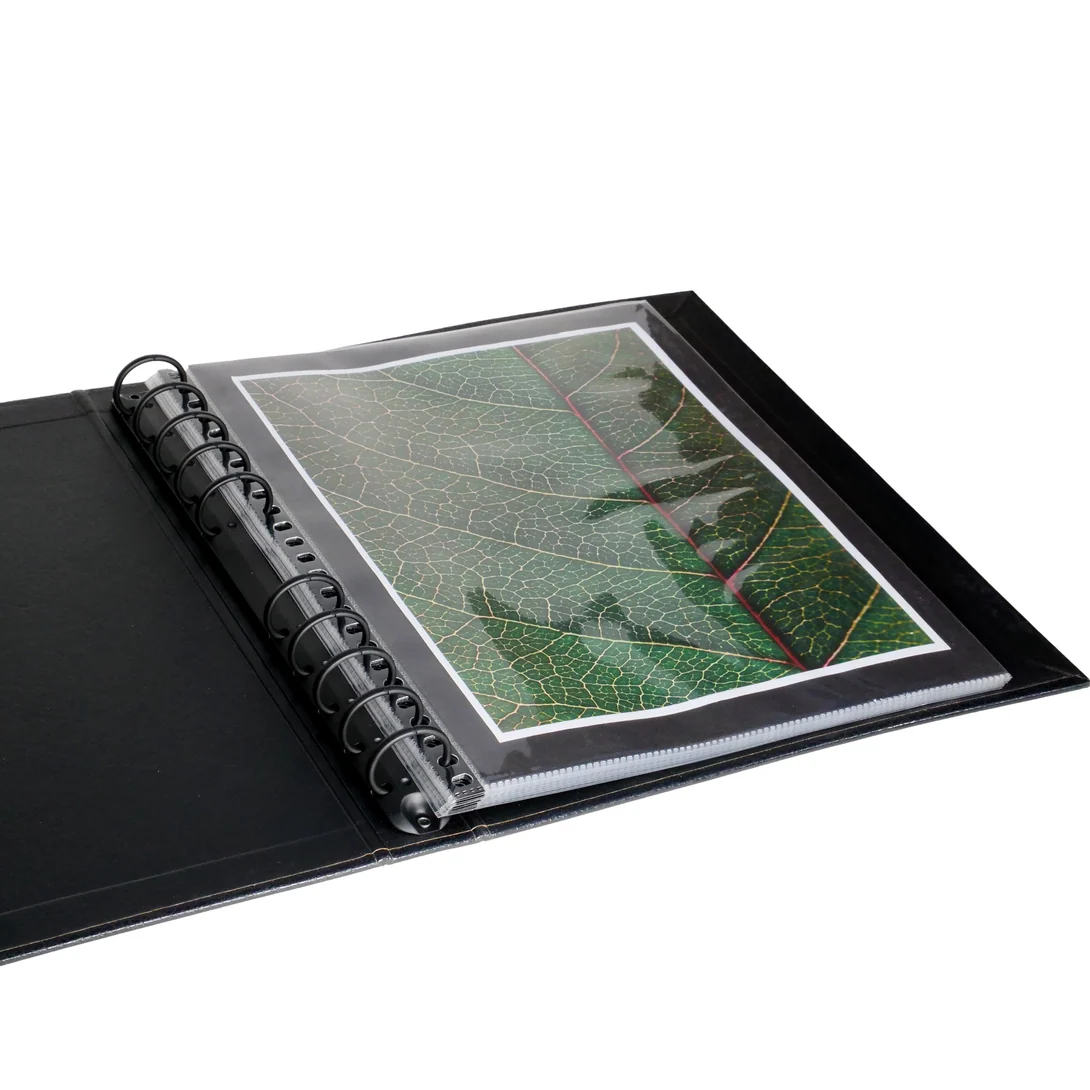
📷 Photo by portfolios-and-art-cases.com
The most critical step is print preparation. If you are printing on heavy-weight paper, you must account for the spine thickness. For a hardcover book, you should ideally use a “hinged” layout. This means adding an extra 1/4 inch of blank paper on the binding edge of every print. This hinge allows the page to open fully flat without pulling against the spine, which prevents the paper from tearing or the binding from cracking.
Step-by-Step Binding Process
Follow these steps to assemble your professional portfolio from scratch:
- Cut your book boards to 1/8 inch larger than your prints on the top, bottom, and outer edge.
- Apply a thin, even layer of PVA glue to your book cloth and lay the two boards down, leaving a gap in the center equal to the thickness of your stacked prints plus 1/4 inch for the spine.
- Fold the edges of the book cloth over the boards, mitering the corners at a 45-degree angle for a clean, professional finish.
- Create a “hinge” for your pages by folding the extra 1/4 inch of your print paper; this creates a tab that will be glued to your endpapers.
- Assemble your page block by gluing these tabs together in a cascading fashion or by sewing them into a signature if you are experienced in traditional bookbinding.
- Attach the finished page block to the interior of the hardcover using heavy-duty endpapers, ensuring the spine gap is centered.
- Place the entire book under a heavy weight or in a book press for 24 hours to allow the adhesive to cure completely.
Common Mistakes to Avoid
One of the most frequent errors is using too much glue. When PVA glue is applied too heavily, it introduces moisture into the paper, leading to “cockling” or warping of the prints. Always use a silicone glue brush to spread the adhesive in a thin, translucent layer. Another mistake is ignoring the grain direction of the paper. Paper expands when wet; if the grain runs parallel to the spine, your book will open smoothly. If the grain runs perpendicular, the pages will fight the binding and resist staying open.
The Importance of the Spine
The spine is the heartbeat of your portfolio. If it is too tight, the book will snap shut; if it is too loose, the pages will wobble. Measure the exact thickness of your accumulated prints using digital calipers. Add 1/8 inch of “wiggle room” to this measurement to ensure the pages turn without friction. Using a flexible spine liner, such as mull or super, will reinforce the binding and provide the structural integrity needed to handle frequent handling during client meetings.
Read also: How to Write Case Studies for Illustration and Branding Projects
Maintenance and Longevity Tips
To keep your portfolio looking pristine for years, store it horizontally in a climate-controlled environment. Avoid direct sunlight, which can fade archival inks, and humidity, which can cause the book cloth to loosen. If you find your pages are slightly bowing over time, keep the book pressed between two heavy boards when not in use. This simple habit maintains the flat profile of the prints and prevents the spine from becoming rounded or misshapen.
FAQ
Q: Can I bind prints that have already been mounted on rigid board?
A: Yes, but you must use a “stub binding” method where you attach the rigid boards to flexible fabric hinges, which are then glued into the hardcover spine.
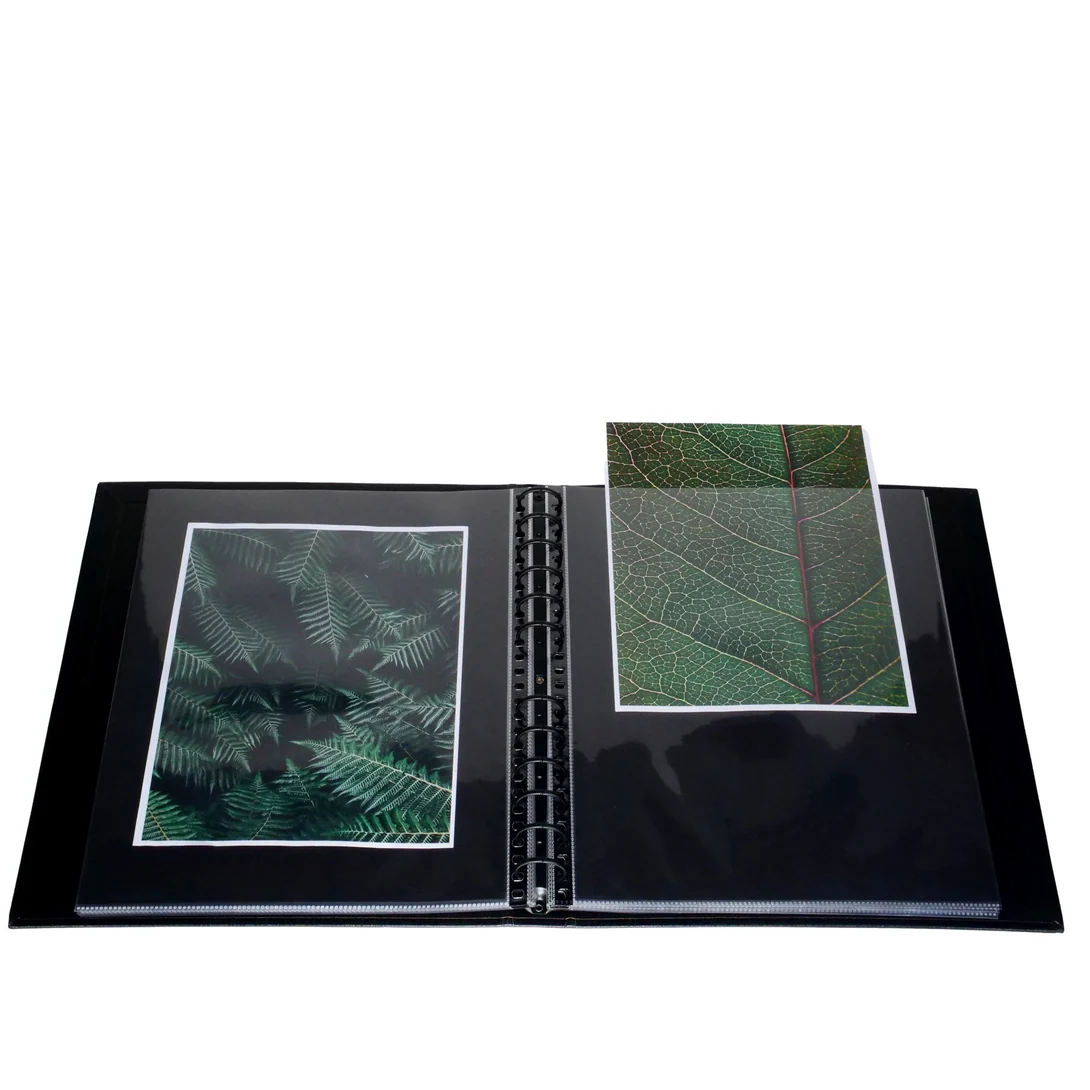
📷 Photo by portfolios-and-art-cases.com
Q: Is it better to use double-sided tape or glue for the pages?
A: Avoid double-sided tape for long-term archival projects, as the adhesive can break down and yellow over time; high-quality archival PVA glue is the industry standard for professional portfolios.
Q: How do I choose the right cover material?
A: Choose a buckram or high-quality linen book cloth; these materials are moisture-resistant and can withstand the friction of being slid in and out of a carrying case without fraying.
Final Thoughts on Presentation
Your portfolio is an extension of your artistic voice. By investing the time to construct a custom hardcover book, you are signaling to the world that your work is permanent, valuable, and worthy of preservation. While the process requires patience and precision, the result is a one-of-a-kind object that serves as the ultimate marketing tool for any serious artist.
📷 Photo by portfolios-and-art-cases.com