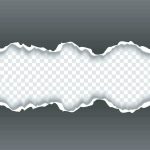



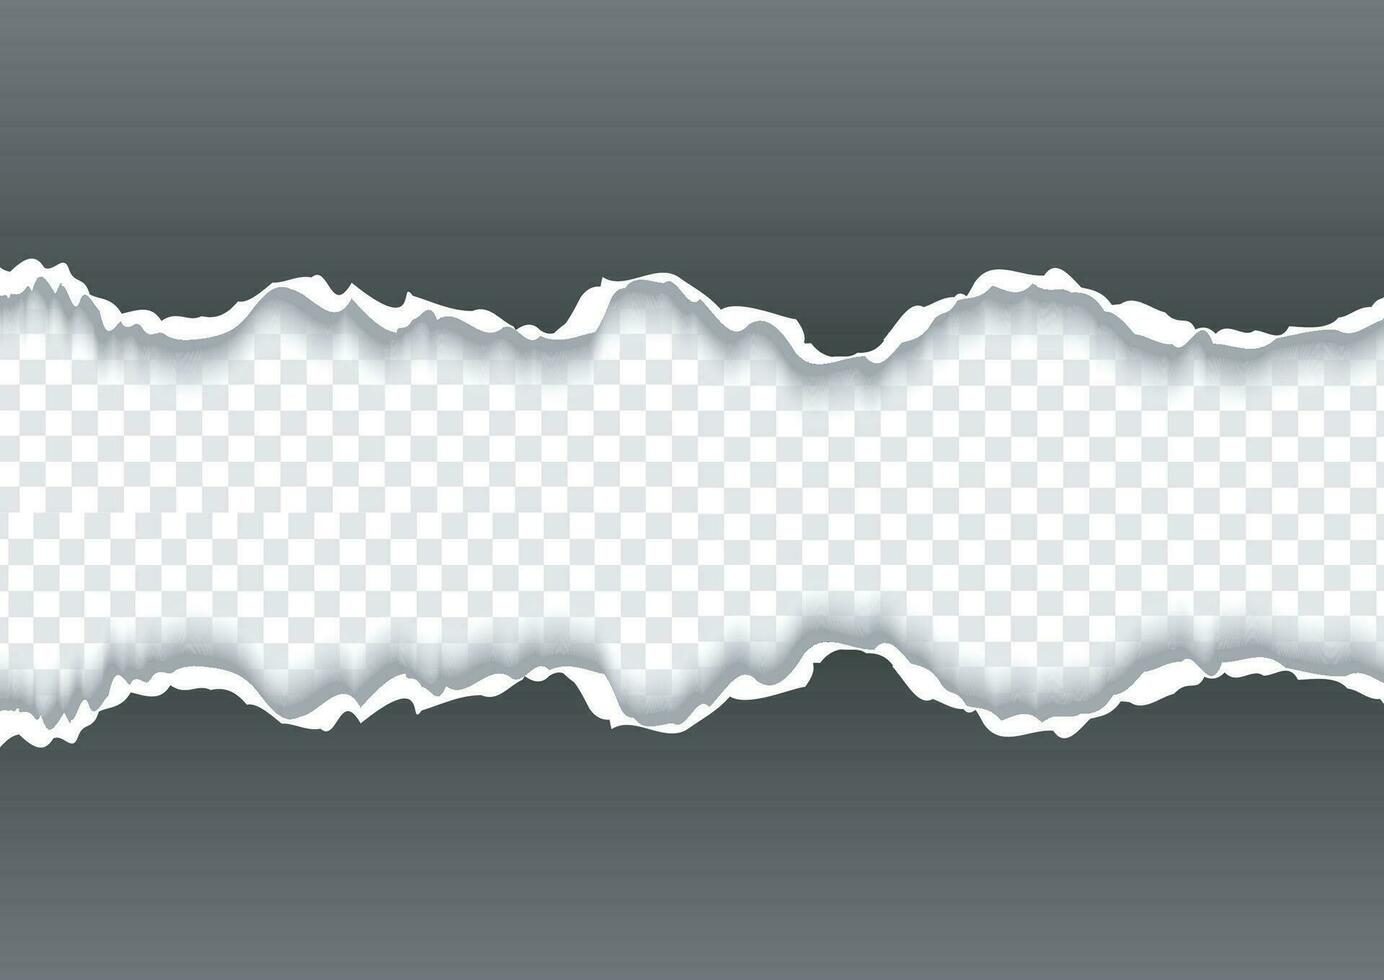
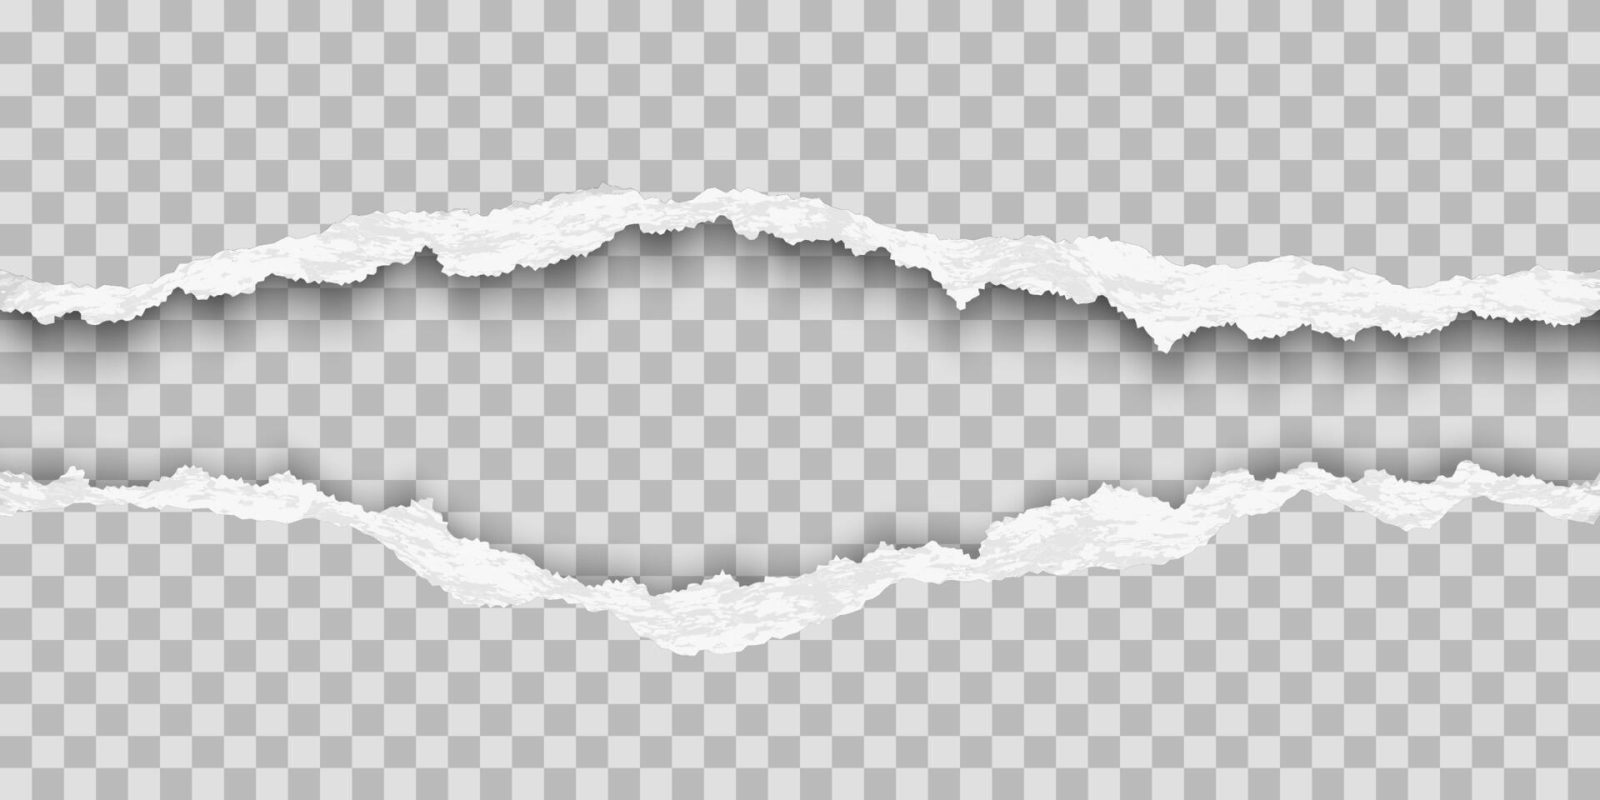
Innerspark.us – Deckle edge archival paper features a naturally feathered, uneven border created during the papermaking process, which artists replicate manually by tearing heavy-weight cotton rag paper against a straight edge to achieve an authentic, organic finish for fine art prints.
The Aesthetic Value of Deckle Edges
A deckle edge is more than just a stylistic choice; it is a hallmark of quality and craftsmanship. Historically, this edge occurred naturally when wet pulp seeped between the deckle (the frame) and the mold during traditional handmade papermaking. In the world of fine art photography and archival printmaking, these soft, frayed edges provide a tactile depth that standard machine-cut edges lack. They signal to the viewer that the work is printed on premium cotton rag paper, often intended for gallery display or limited-edition portfolios.
When you choose to hand-tear your paper, you are essentially mimicking the historical integrity of artisanal paper. It softens the transition between the image and the surrounding white space, drawing the eye toward the center of the print. This technique is particularly effective for black-and-white photography, botanical illustrations, and minimalist typography.
Essential Tools for Professional Tearing
Before you begin, realize that the quality of your result depends entirely on the paper weight and the tool used. You cannot achieve a soft, feathery deckle with low-quality wood-pulp paper; it will simply snap or leave a hard, jagged line. Always use 100% cotton rag paper, preferably with a weight of at least 250gsm to 300gsm.
| Tool | Function | Best For |
|---|---|---|
| Metal Ruler (Cork-backed) | Provides a firm, non-slip grip against the paper. | Precise straight-line tearing. |
| Bone Folder | Creases the paper fibers to weaken the structure. | Controlled, clean edge separation. |
| Water Pen/Brush | Softens the fibers for a fluffier, more organic edge. | Soft, traditional deckle effect. |
| Cutting Mat | Protects surfaces and provides alignment grids. | All tearing projects. |
Step-by-Step Guide to Creating Hand-Torn Edges
Achieving a professional-grade deckle requires patience and a steady hand. Follow these steps to ensure you do not ruin your expensive archival stock.
- Measure your desired print area carefully, marking the back of the paper lightly with a graphite pencil.
- Place your metal ruler firmly along the pencil mark, ensuring the cork backing prevents any sliding.
- Run a water pen along the edge of the ruler to dampen the paper fibers; this is the secret to a fluffy, fibrous edge rather than a sharp tear.
- Wait approximately 10 to 15 seconds for the water to soak into the fibers, then press down firmly on the ruler with your non-dominant hand.
- Gently pull the paper upward and toward you at a slight angle against the ruler, maintaining consistent pressure across the entire length.
- Allow the torn edges to air dry completely before attempting to feed them into a printer or mounting them for framing.
Common Mistakes to Avoid
The most frequent error beginners make is rushing the tearing process. If you pull too quickly, the paper will tear inconsistently, creating “hard” spots where the fibers didn’t separate properly. Always maintain a slow, rhythmic motion. Another common mistake is using a plastic ruler; plastic lacks the rigid edge required to guide the tear accurately, often resulting in a wavy or uneven line that looks sloppy rather than intentional.
Additionally, be mindful of the paper grain. Most high-quality archival paper has a dominant grain direction. Tearing with the grain is significantly easier and yields a cleaner result than tearing against it. If you are unsure of the grain direction, perform a small test tear on a scrap piece of the same paper stock first.
Risks and Preservation Tips
Because deckle edges are essentially exposed, raw paper fibers, they are more susceptible to bending or “dog-earing” during handling. When storing prints with deckle edges, avoid stacking them directly on top of each other without interleaving acid-free tissue paper. The friction of the feathered edges can cause them to interlock and fray further if they are handled too roughly.
📷 Photo by vecteezy.com
When framing these prints, consider a “floating mount.” This technique uses archival-safe hinges to attach the print to a backing board, allowing the entire paper—including the deckle edges—to be visible behind the glass. This prevents the mat board from covering up the very detail you spent time creating, while also protecting the delicate edges from physical damage.
Frequently Asked Questions
Q: Can I use a deckle-edge blade or trimmer instead of hand-tearing?
A: While deckle-edge blades exist, they often produce a repetitive, mechanical pattern that looks artificial. Hand-tearing creates unique, organic variations that are impossible for a machine to replicate, which is why it is preferred for high-end fine art.
Q: Does tearing the paper affect its archival rating?
A: As long as you use clean tools and avoid touching the paper with bare hands (to prevent oil transfer), tearing does not compromise the archival nature of the paper. Always wear cotton gloves when handling the finished edges to maintain the pristine condition of the cotton fibers.
Q: Should I tear the paper before or after printing?
A: It is generally safer to tear the paper after printing if your printer supports custom paper sizes. Tearing beforehand can sometimes lead to paper jams or feed errors if the feathered edge is too soft or irregular for the printer’s rollers to grip correctly.
📷 Photo by vecteezy.com