






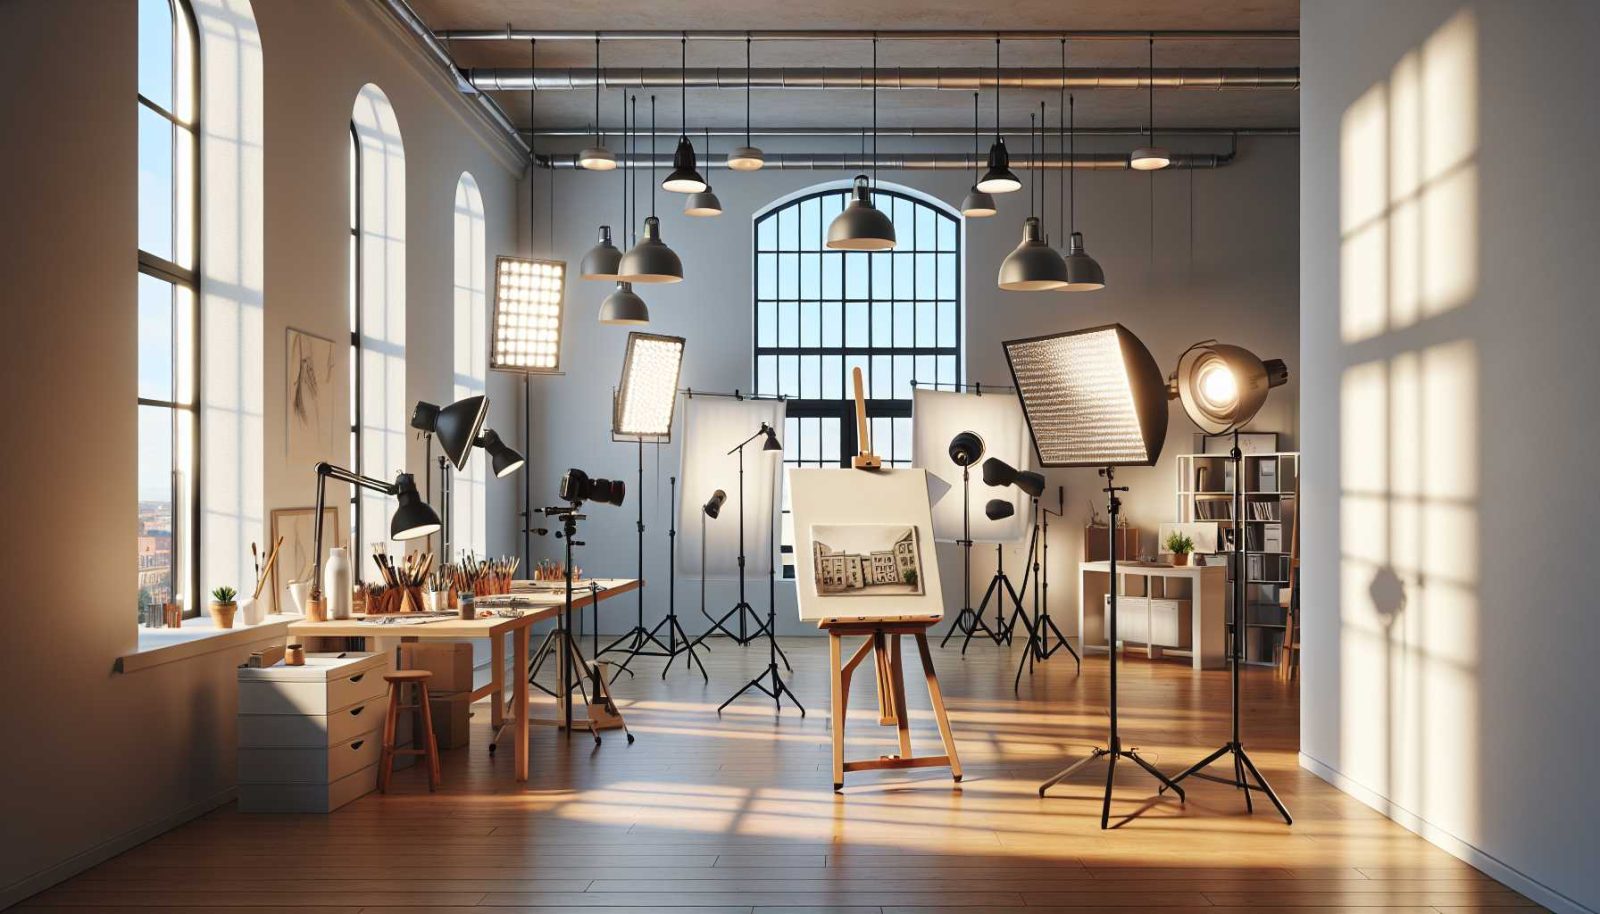
Innerspark.us – Achieving professional-grade documentation for sculpture requires a strategic balance between primary key lighting to define form and controlled secondary light sources to manage drop-shadows, ensuring the three-dimensional essence of the artwork is preserved in two-dimensional media.
Sculpture photography is fundamentally different from flat art reproduction because it relies entirely on the interplay of light and shadow to communicate volume, texture, and depth. Without proper lighting positioning, a sculpture will appear flat, losing its tactile quality and artistic intent. The goal is to create a dynamic range where the highlights define the highest points of the work, and the shadows reveal the hidden recesses.
Understanding the Role of Drop-Shadows
Drop-shadows are often perceived as a nuisance in product photography, but in the context of sculpture, they are essential visual cues. A drop-shadow provides a sense of grounding, indicating where the sculpture meets its base or the surrounding floor. If the shadow is too harsh or pitch-black, it distracts the viewer; if it is completely absent, the sculpture may appear to be floating in a void, which creates a cognitive dissonance for the observer.
To control these shadows, photographers use diffusion and fill light. Soft shadows are generally preferred in fine art documentation because they transition gradually across the surface of the sculpture, highlighting subtle curves rather than obscuring them with sharp, jagged edges.
Studio Lighting Setup Strategies
The most effective setup for sculpture involves a three-point lighting system modified for depth. The key light should be placed at a 45-degree angle to the side and slightly above the subject to create a natural “sunlight” effect that reveals texture. A fill light, significantly lower in intensity, is placed on the opposite side to soften the shadows cast by the key light without eliminating them entirely.
The back light or rim light is the secret weapon for sculpture. By placing a light source behind the sculpture, you create a thin halo of light along the edges of the form. This separates the object from the background, adding a professional polish that makes the sculpture “pop” from the frame.
Technical Comparison of Lighting Modifiers
| Modifier | Effect on Sculpture | Best Use Case |
|---|---|---|
| Softbox | Gentle, wrapping light | Large, smooth stone or ceramic pieces |
| Beauty Dish | Crisp highlights with moderate fall-off | Metallic or highly textured surfaces |
| Grid/Honeycomb | Directional, narrow beam of light | Highlighting specific details or crevices |
| Reflector/Bounce Card | Natural fill light | Softening harsh shadows on delicate areas |
Step-by-Step Guide to Positioning Your Lights
- Begin by positioning your main key light. Place it at a 45-degree angle from the front and slightly elevated. Take a test shot to ensure the light reveals the primary texture of the material.
- Add a fill light or a white foam board on the side opposite the key light. Adjust the distance until the shadows are visible but transparent, allowing the viewer to see the detail within the shadowed areas.
- Introduce a rim light behind the subject, aimed slightly toward the back of the sculpture. This will create a separation line that defines the silhouette against the background.
- Check for “hot spots.” If the sculpture is made of reflective material like bronze or polished marble, move your lights further away or add more diffusion layers to soften the specular highlights.
- Review your drop-shadows on the surface. If the shadow is too dark, move your fill light closer; if the shadow is too diffuse and distracting, tighten the lighting with a grid or flag to control the spill.
Common Mistakes to Avoid
One of the most frequent errors is using a light source that is too small relative to the sculpture. A small, bare bulb creates harsh, high-contrast shadows that can make a complex sculpture look chaotic. Always prioritize larger light sources or heavy diffusion to ensure the light wraps around the contours of the piece.
Another common mistake is failing to consider the texture of the background. A busy background will fight for attention with the sculpture. Use a neutral, matte-finish backdrop—usually grey or black—to ensure that the viewer’s eye remains locked on the artwork. If the sculpture is dark, use a light grey background; if the sculpture is light-colored, a dark background provides the necessary contrast.
The Importance of Light Quality
The color temperature of your lights must be consistent. Mixing daylight-balanced strobes with tungsten modeling lamps can create color casts that ruin the accuracy of the artwork’s documentation. Always ensure all your light sources are calibrated to the same Kelvin rating, typically 5600K for standard daylight reproduction.
Read also: How to Structure Client Testimonials on Your Visual Portfolio
Furthermore, consider the physical placement of the lights in relation to the sculpture’s material. Translucent materials like alabaster or resin respond beautifully to backlighting, which can make the material glow from within. Conversely, opaque materials like heavy cast iron require more side-lighting to emphasize their weight and rugged surface characteristics.
Q: Should I use multiple lights for a small sculpture?
A: Yes, even for small pieces, a two-light setup (key and fill) is usually necessary to maintain depth. A single light often leaves too much of the sculpture in total darkness, obscuring critical artistic details.

📷 Photo by perfectfitliving.com
Q: How do I prevent harsh shadows on the sculpture’s base?
A: Use a large diffuser or a softbox positioned closer to the sculpture. The larger the light source relative to the subject, the softer the transition between light and shadow will be.
Q: Is it okay to use ambient room lighting?
A: Generally, no. Ambient light is often inconsistent and can introduce unwanted color casts or cross-shadows that clash with your studio setup. Turn off all auxiliary room lights to maintain total control over the environment.
Mastering the relationship between light and shadow is a lifelong pursuit for photographers. By systematically adjusting the position, intensity, and diffusion of your lights, you can translate the physical presence of a three-dimensional sculpture into a compelling digital image that honors the artist’s original vision.
📷 Photo by artandme.eu