


Innerspark.us – Shooting high-quality Reels of your creative process requires a combination of stable top-down or eye-level lighting, consistent frame rates, and a clear narrative structure that highlights the transformation from raw materials to a finished masterpiece.
The Importance of Setup and Lighting
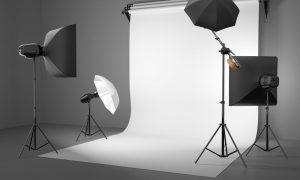
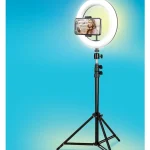
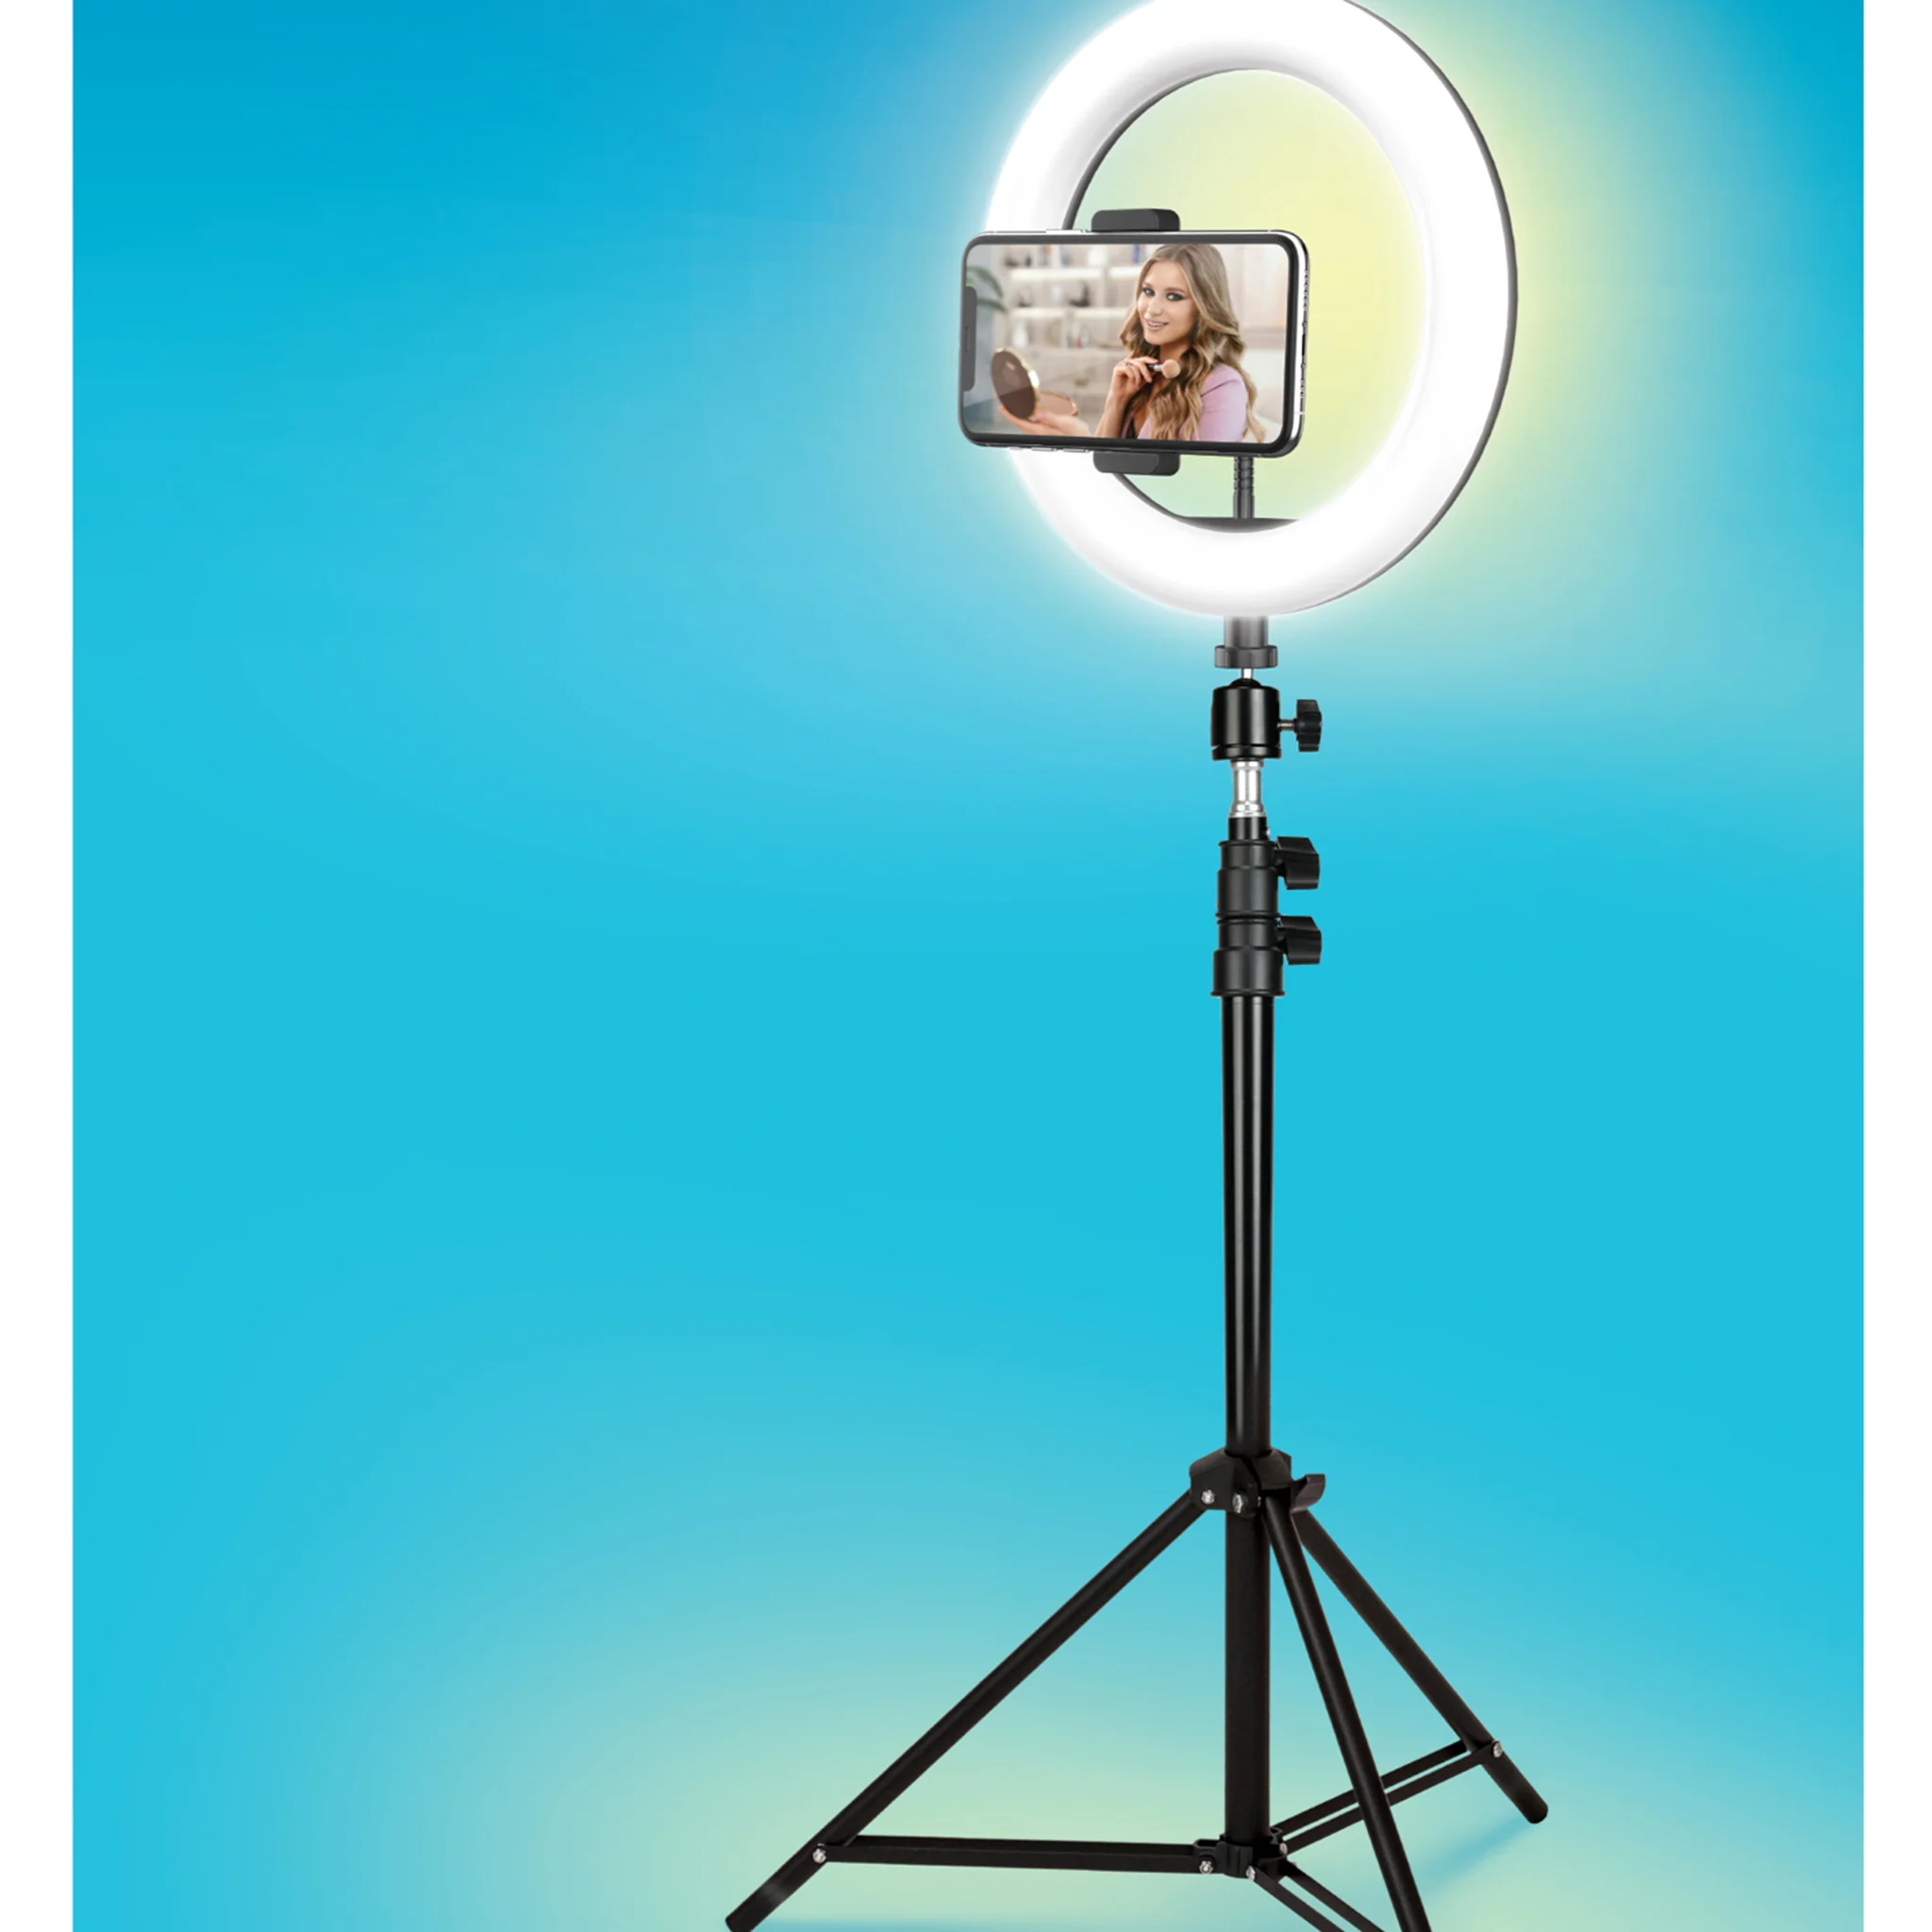
The biggest mistake creators make when filming their process is relying on overhead room lighting, which creates harsh shadows and unflattering color casts. To achieve professional results, you must prioritize diffused lighting. If you are filming at a desk, position a softbox or a large ring light at a 45-degree angle to your workspace rather than directly above it.
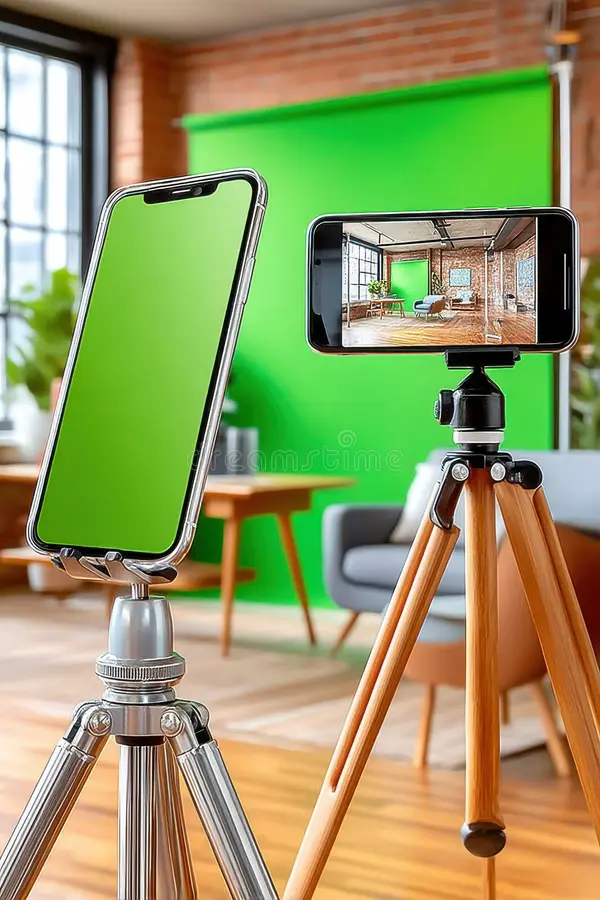
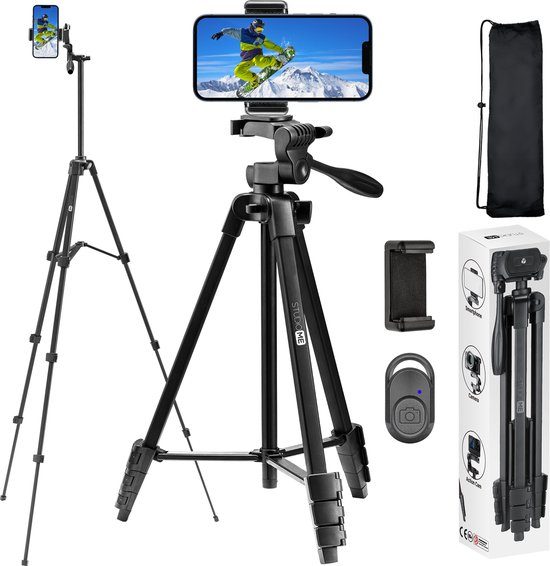
Consistency is your best friend. Ensure your background is clean and uncluttered so the viewer stays focused on your hands and your project. Using a tripod is non-negotiable; handheld footage, while sometimes artistic, often feels amateurish and distracting in process videos. A stable shot communicates professionalism and allows your audience to appreciate the intricate details of your craft.
Essential Gear Checklist for Creators
You do not need a cinema camera to create viral-worthy content. A modern smartphone is more than capable, provided you support it with the right accessories. Here is a breakdown of the gear that will elevate your production quality immediately.
| Equipment | Purpose | Pro Tip |
|---|---|---|
| Adjustable Tripod | Provides stability for top-down shots. | Ensure it has a horizontal boom arm. |
| LED Softbox | Eliminates harsh shadows on your work. | Set color temperature to 5600K for daylight. |
| External Microphone | Captures crisp ASMR or voiceover audio. | Use a lapel mic if you are talking while working. |
| Lens Cleaning Cloth | Prevents blurry or hazy footage. | Wipe your phone lens before every single take. |
Steps to Filming Your Creative Process
Filming a process video is not just about hitting record; it is about storytelling. Follow these steps to ensure you have enough footage to edit a compelling Reel.
- Plan your shots before you start. Identify the three most important stages of your project: the beginning (raw materials), the middle (the hard work/messy stage), and the reveal (the finished product).
- Set up your tripod at a top-down angle for detailed work and an eye-level angle for personality-driven shots.
- Record in short, intentional clips rather than one long, continuous take. Aim for 5-10 second clips of specific actions, like mixing paint, cutting fabric, or soldering a joint.
- Clean your workspace between major stages to maintain a polished look, unless the “mess” is part of the story you are trying to tell.
- Review your footage immediately after finishing your project to ensure you have enough coverage for your final edit.
Common Pitfalls to Avoid
One of the most frequent errors creators commit is filming in the wrong orientation. Always shoot in vertical (9:16) format for Reels. Cropping horizontal footage later often leads to losing critical details or having your hands cut out of the frame. Additionally, avoid excessive zooming during the recording process. It is almost always better to record at a wider angle and crop in during the editing phase to maintain high resolution.
Another issue is audio quality. If you want to include ASMR elements—like the sound of a pencil scratching paper or the snip of scissors—ensure your environment is quiet. Turn off air conditioners or fans that might create a low-frequency hum. If you are narrating your process, record your voiceover in a separate, quiet room after the video is finished to ensure the audio is clear and free of background noise.
Understanding Narrative Flow
Your video should feel like a journey. Start with a “hook” that shows the finished result for a split second, then jump back to the very beginning. This technique, known as a reverse-chronological reveal, keeps viewers engaged because they know what to expect at the end. Use rapid cuts for the repetitive parts of your process and slow down the footage for the most satisfying or intricate parts of the craft.
📷 Photo by dreamstime.com
Color grading also plays a massive role in perceived quality. Avoid heavy filters that distort the natural colors of your materials. Instead, perform basic color correction by slightly increasing the contrast and sharpening the image in your editing app. This makes the textures of your work pop and makes the video look significantly more professional.
Frequently Asked Questions
📷 Photo by bol.com
Q: Should I use a high frame rate for my process videos?
A: Yes, shooting in 60 frames per second (fps) is recommended. It allows you to slow down the footage in post-production to create smooth, professional-looking slow-motion sequences of your movements.
Q: How do I keep my phone from overheating while filming long projects?
📷 Photo by flipkart.com
A: Remove your phone case to allow better heat dissipation, and avoid filming in direct sunlight. If you are filming a project that takes several hours, take breaks and stop the recording to let the processor cool down.
Q: Is it better to edit inside the Instagram app or use external software?
A: Use external editing software like CapCut or Premiere Rush. These tools offer much more precision for trimming clips, managing audio levels, and applying color corrections compared to the native Instagram editor.
Final Thoughts on Consistency
Quality comes from repetition. Your first few videos might feel clunky, but by documenting your process regularly, you will begin to notice which angles work best for your specific craft. Keep your lighting setup consistent, focus on capturing high-quality audio, and always tell a story with your edits. Your audience is not just buying a product; they are invested in the effort and creativity you put into making it.
📷 Photo by slideusa.com