


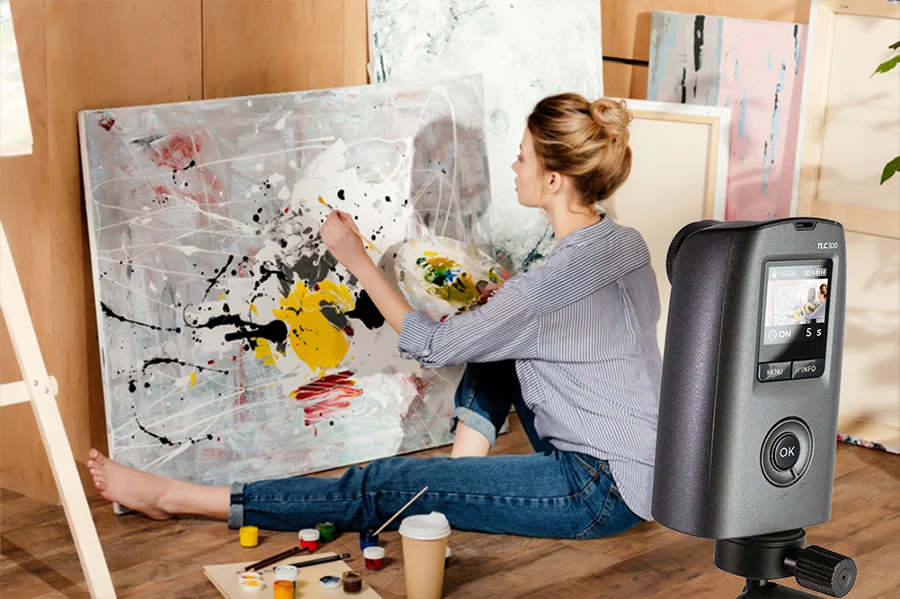
Innerspark.us – Creating satisfying time-lapse art videos requires a combination of consistent lighting, a perfectly stable tripod setup, and strategic editing to compress hours of creative labor into a seamless, high-retention visual experience.
📷 Photo by garagefarm.net
Time-lapse videos act as powerful social proof because they provide tangible evidence of your skill, patience, and the intricate process behind your finished work. In the digital age, audiences are often skeptical of final results; showing the “how” builds immediate authority and trust with your viewers.
The Foundation of Stability
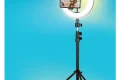
The most common mistake beginners make is using a shaky handheld setup or a flimsy stand that gets bumped during the process. If your camera moves even a millimeter during a multi-hour session, the final time-lapse will appear jittery and unprofessional. You need a dedicated overhead rig or a heavy-duty tripod that can withstand the duration of your project.
Lighting is equally critical. If you are filming near a window, the natural light will shift, causing the video to flicker between bright and dark frames. This “flicker” is the fastest way to lose a viewer’s attention. To avoid this, film in a room with controlled artificial lighting or use blackout curtains to maintain a constant environment throughout the entire session.
Essential Gear and Setup Checklist
Before you begin, ensure your workspace is optimized for long-term filming. Use the following guide to prepare your equipment for a professional-grade capture.
| Equipment Component | Purpose | Pro Tip |
|---|---|---|
| Overhead Tripod Arm | Provides a top-down view of the canvas. | Ensure the arm is weighted to prevent tipping. |
| External Power Bank | Prevents battery death during long sessions. | Use a “dummy battery” adapter for infinite power. |
| High-Speed SD Card | Handles large file sizes without errors. | Use at least 128GB to avoid mid-session swaps. |
| Neutral Density Filter | Balances exposure in bright rooms. | Essential if filming near sunny windows. |
Step-by-Step Guide to Filming Your Process
Capturing the art is only half the battle; the other half is the technical execution of the recording. Follow these steps to ensure your footage is ready for editing.
- Clear your workspace of unnecessary clutter to ensure the viewer focuses entirely on the artwork.
- Set your camera to manual mode. Manually lock your focus, white balance, and exposure to prevent the camera from adjusting settings automatically as the light changes.
- Position your camera to capture the full canvas, but leave enough room around the edges so the viewers can see your tools and hand movements.
- Start the recording at least five seconds before you touch the canvas to give yourself a buffer for editing.
- Periodically check the camera’s battery and storage levels without moving the tripod or disturbing the frame.
- Once finished, record a final close-up of the completed piece to serve as the high-resolution “reveal” at the end of your video.
Editing for Maximum Retention
Social media algorithms favor videos that keep users watching until the very end. Your time-lapse should not be a raw, unedited dump of footage. Instead, cut out the moments where you are cleaning brushes, mixing paint for too long, or stepping away to grab a drink. Aim for a final length between 15 and 45 seconds for platforms like Instagram Reels or TikTok.
Music selection plays a massive role in the “satisfying” aspect of your content. Choose audio that matches the rhythm of your strokes. If you are doing delicate line work, use calm, ambient lo-fi tracks. If your process is energetic and fast-paced, choose a track with a clear, steady beat to keep the viewer engaged.
Common Pitfalls to Avoid
One major error is forgetting to clean your camera lens. A small smudge on the glass can ruin hours of work, and because you are filming a time-lapse, you might not notice it until you are already finished. Always wipe your lens with a microfiber cloth before hitting record.
Another mistake is poor framing. If your camera is too far away, the intricate details of your art will be lost on mobile screens. If it is too close, the viewer will feel claustrophobic and lose the context of the overall piece. Aim for a “Goldilocks” framing where the entire canvas is visible with a slight margin of negative space.
Finalizing for Social Proof
When you post your video, include a call to action that encourages engagement. Ask questions like “Which part of the process was the most surprising?” or “What should I paint next?” This turns a passive viewing experience into an active community discussion, which further strengthens your authority and social proof in the art niche.
Q: Should I film in 4K or 1080p for social media?
A: Always film in 4K if your device allows it. Even if the platform compresses the video, starting with a 4K source ensures the highest possible quality for your audience.
Q: How do I stop the “flicker” effect in my time-lapse?
A: The flicker is caused by your camera’s auto-exposure trying to compensate for changing light. Always lock your exposure settings (ISO, Shutter Speed, and Aperture) manually before you start recording.
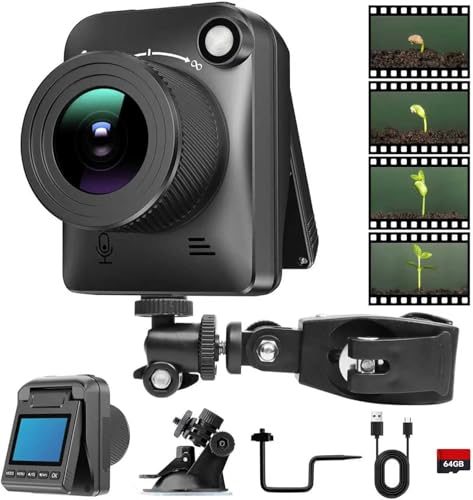
📷 Photo by lensviewing.com
Q: How long should the actual recording be?
A: A good rule of thumb is to record for at least 60 to 90 minutes. This provides enough footage to create a dense, satisfying 30-second time-lapse without the need for excessive speed-ramping.
By focusing on stability, consistent lighting, and tight, intentional editing, you transform a simple recording into a professional asset. This content does not just show what you made; it proves your expertise, making it an invaluable tool for building your personal brand.
📷 Photo by brinno.com