


Innerspark.us – A Color Checker Passport workflow ensures perfect art reproductions by creating custom camera profiles and white balance presets that neutralize lighting inconsistencies and guarantee accurate color fidelity. By capturing a reference target under the exact same conditions as the artwork, photographers can bridge the gap between physical pigments and digital representation.
The Foundation of Color Accuracy
Art reproduction demands a level of precision that standard white balance settings cannot provide. When digitizing paintings, watercolors, or mixed-media works, the interaction between light sources and surface texture often leads to color casts. A Color Checker Passport acts as a standardized reference point that software uses to build a DNG profile, essentially teaching your raw processor exactly how your sensor perceives the specific light spectrum in your studio.
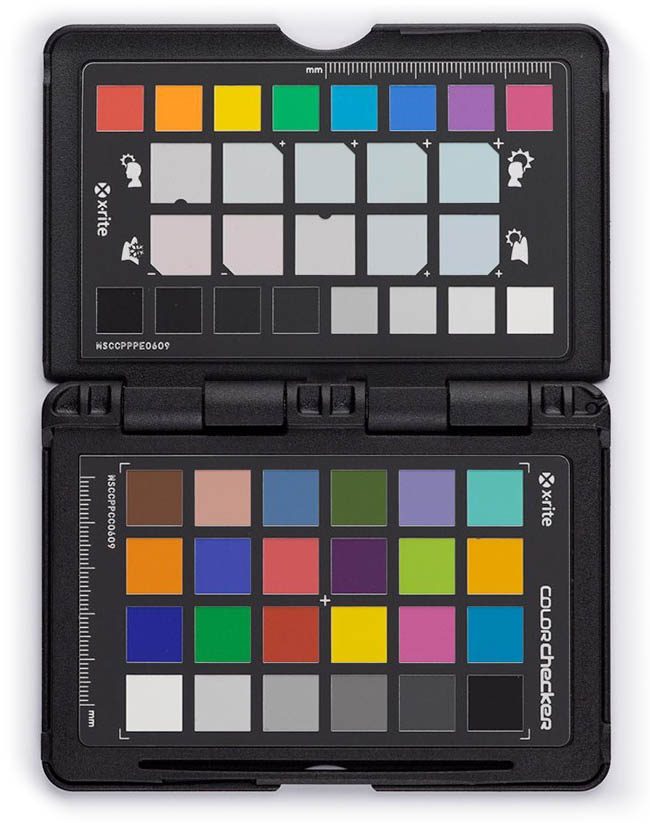
📷 Photo by slrlounge.com
Without this workflow, you are relying on guesswork. Even professional-grade cameras struggle to render subtle variations in blues, greens, and earthy tones found in traditional art. By using a target, you remove the subjectivity of the editing process, ensuring that the digital file serves as a true-to-life representation of the artist’s original intent.
Understanding the Workflow Components
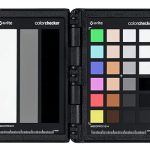
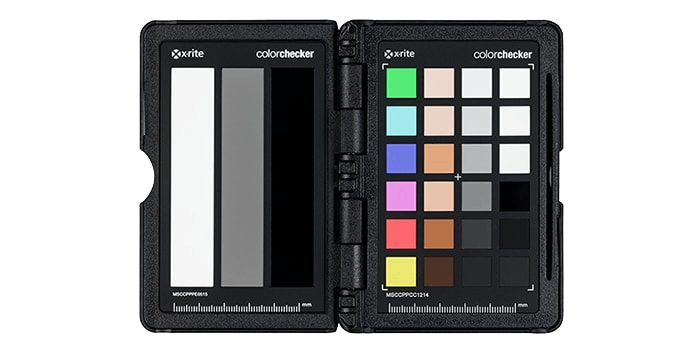
To master this process, you must understand the relationship between the target and your software. The Color Checker Passport typically includes several patches: the white balance target, the classic 24-patch target for profile creation, and enhancement targets for creative adjustments. The goal is to isolate the color data from the lighting environment, allowing for a neutral baseline.
Comparative Analysis of Color Management Tools
| Tool Type | Primary Function | Best Use Case |
|---|---|---|
| Color Checker Passport | DNG Profile Creation | High-end gallery art reproduction |
| Grey Card | White Balance Only | Fast-paced event or casual shooting |
| SpyderCheckr | Calibration & Matching | Large production studios with multiple cameras |
| White Balance Caps | Ambient Light Correction | On-location architectural or mobile art capture |
Step-by-Step Implementation for Art Capture
Implementing this workflow requires discipline in your shooting environment. Follow these steps to ensure consistent, high-quality results for every piece of art you digitize:
- Position the artwork and your lighting setup to ensure even illumination across the entire surface, avoiding glare or hot spots.
- Place the Color Checker Passport target in the same plane as the artwork or directly on top of the surface if the size permits.
- Capture a reference photograph with the target in the frame, ensuring the patches are well-lit and not obscured by shadows.
- Remove the target and capture the final high-resolution photograph of the artwork without changing any lighting or exposure settings.
- Import both the reference shot and the artwork shot into your raw processing software.
- Use the dedicated calibration software to generate an ICC or DNG profile based on the reference shot, then apply this profile to your final image.
Common Pitfalls and How to Avoid Them
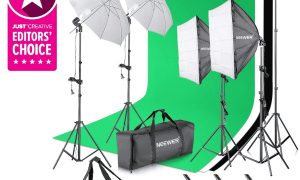
One of the most frequent errors in art reproduction is uneven lighting. If your light sources are too close to the artwork, you will create a “fall-off” effect where the center is brighter than the edges. This makes it impossible for the software to apply a uniform color profile across the entire piece. Always use large softboxes or diffused light sources positioned at 45-degree angles to the artwork to ensure even coverage.
Another common mistake is neglecting the impact of “flare.” If the room is not dark enough, ambient light bouncing off walls can contaminate the colors. Always work in a controlled environment with neutral-colored walls. If you are shooting in a gallery or a non-studio space, use black flags or matte boards to block stray light from hitting the lens or the surface of the art.
The Role of Surface Texture
Art with heavy impasto or glossy varnish presents a unique challenge. Light hitting these textures creates micro-shadows that can trick the camera sensor into recording inaccurate color values. By using a Color Checker Passport, you are essentially establishing a “ground truth” for the colors beneath the texture. This allows you to correct the overall hue and saturation while preserving the integrity of the brushwork and physical depth of the piece.
Risk Mitigation in Color Reproduction
The primary risk when skipping this workflow is the “metamerism failure,” where colors look identical under one light but completely different under another. This is a nightmare for artists selling prints, as customers may complain that the digital preview does not match the physical print. By utilizing a standardized target, you provide a stable digital foundation that can be accurately mapped to various output devices, including professional inkjet printers and high-end monitors.
Frequently Asked Questions
Q: How often do I need to re-calibrate my camera using the target?
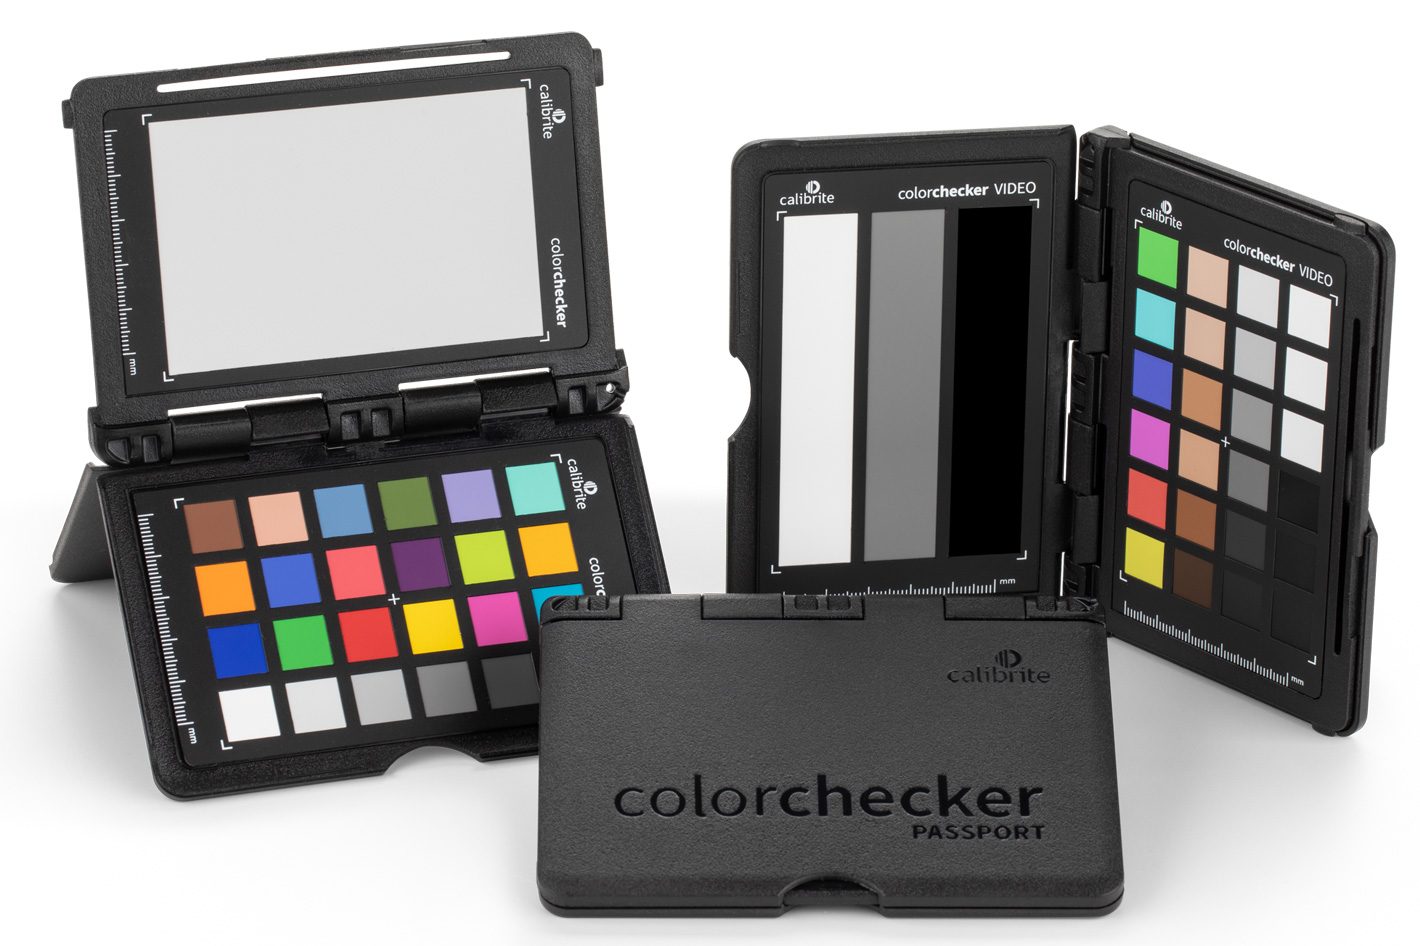
📷 Photo by provideocoalition.com
A: You should capture a new reference shot every time your lighting environment changes, such as moving to a new room or switching to a different set of light bulbs.
Q: Does the Color Checker Passport replace the need for monitor calibration?
A: No, they are two separate parts of the same pipeline. The target calibrates your camera’s input, while a hardware monitor calibrator ensures that what you see on your screen is accurate to the file you created.
Q: Can I use the same DNG profile for different types of artwork?
A: It is not recommended. Different pigments have different spectral responses. For the highest level of accuracy, always capture a reference shot for each session or each major shift in the color palette of the artwork.
Final Thoughts on Maintaining Consistency
Consistency is the hallmark of a professional art reproduction service. Once you have established a workflow that includes the Color Checker Passport, you can batch-process images with confidence. This efficiency allows you to focus on the nuances of the artwork rather than spending hours manually adjusting sliders in post-production. By investing the time to set up your files correctly at the point of capture, you ensure that the digital legacy of the artwork remains faithful to the original for years to come.
📷 Photo by xrite.com