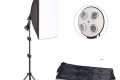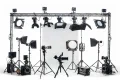
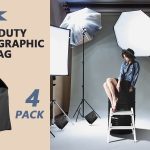




Innerspark.us – Light stand sandbags prevent studio lights from tipping by lowering the center of gravity and providing a stable, weighted base that counteracts the leverage of heavy modifiers. Proper placement and weight distribution are the primary defenses against expensive equipment damage caused by accidental falls.
Every photographer or videographer has experienced the heart-stopping moment of a light stand wobbling precariously. Whether you are using a heavy-duty strobe with a large softbox or a lightweight LED panel in a breezy outdoor location, gravity is your constant adversary. When you extend a light stand to its full height, you create a long lever arm; even a slight bump or a gentle gust of wind can transform that setup into a falling projectile.
Why Sandbags Are Non-Negotiable
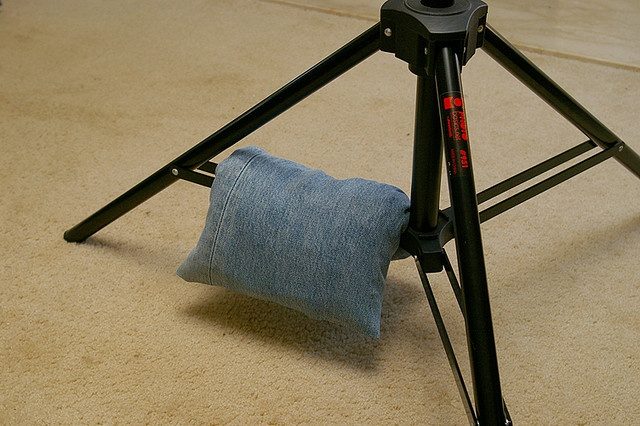
📷 Photo by pinterest.com
The physics of studio lighting is simple: stability is a function of base width and ballast weight. Most professional light stands have a footprint that is too narrow to support the weight of a large parabolic modifier once it is tilted or extended. A sandbag acts as a physical anchor, forcing the center of gravity downward toward the floor rather than the top of the stand.
Beyond the obvious benefit of preventing equipment damage, sandbags provide peace of mind. When you are working with talent or clients, the last thing you want to worry about is a stand crashing into someone. Using sandbags shows professionalism and ensures that your workflow remains uninterrupted by safety hazards.
Choosing the Right Weight and Material
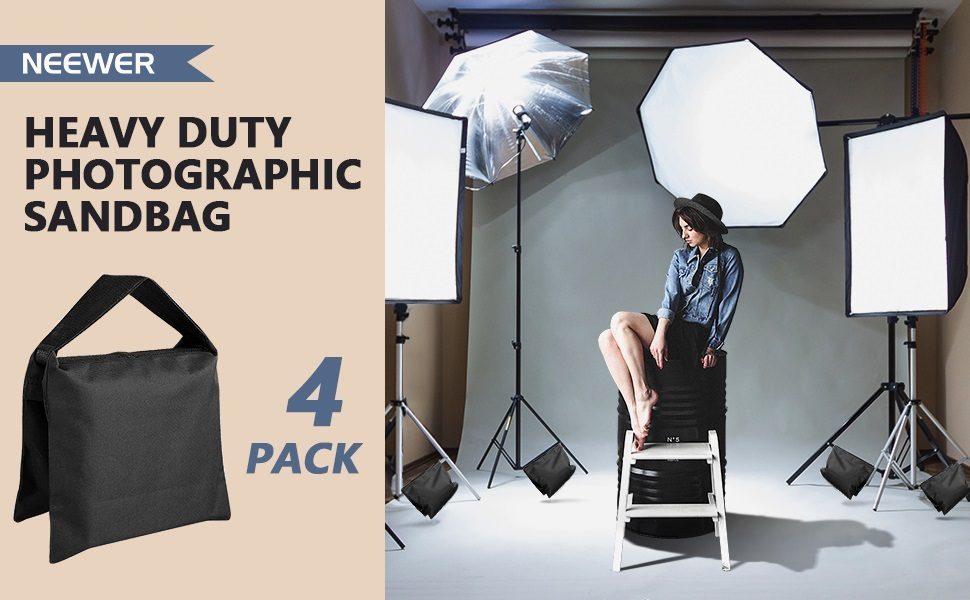
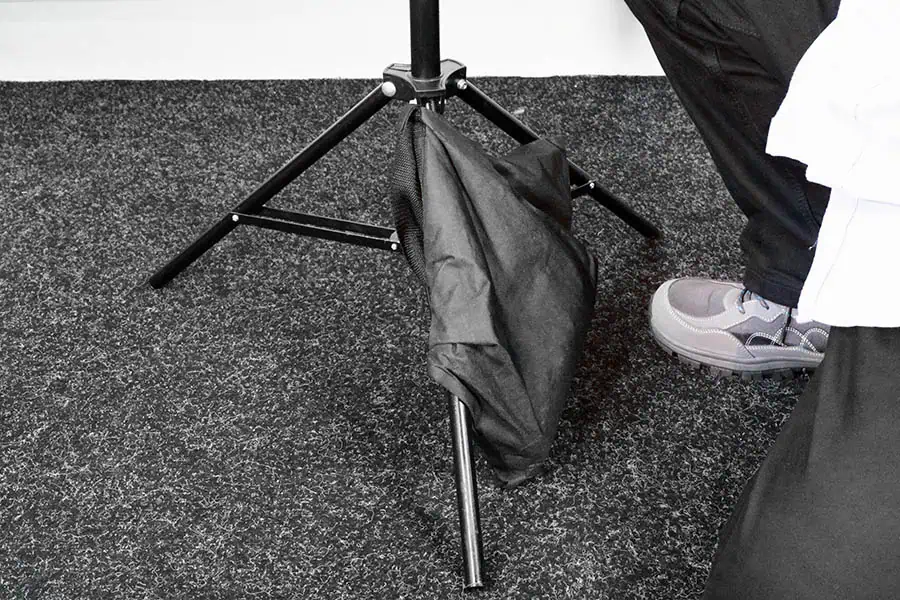
Not all sandbags are created equal. The most effective bags are often referred to as “saddlebags” because they drape over the legs of the stand, distributing the weight evenly across two sides. Avoid cheap, thin fabrics that might leak sand onto your studio floor or gear.
Common Mistakes in Sandbagging
One of the most frequent errors is placing the sandbag on the ground rather than on the stand legs. If the bag is just sitting on the floor, it provides no downward force to the stand itself. Another mistake is using too little weight. For a standard 10-foot stand with a medium softbox, you should aim for at least 10 to 15 pounds of ballast to ensure stability.
Guidelines for Effective Sandbagging
| Equipment Type | Recommended Weight | Placement Strategy |
|---|---|---|
| Small LED Panel | 5 lbs | Single bag on the longest leg |
| Strobe with Softbox | 10–15 lbs | Saddlebag draped over two legs |
| Boom Arm Setup | 20+ lbs | Counterweight on stand + heavy base bags |
| Outdoor/Windy Conditions | 20–30 lbs | Double-bagging for maximum security |
Step-by-Step Guide to Securing Your Light Stand
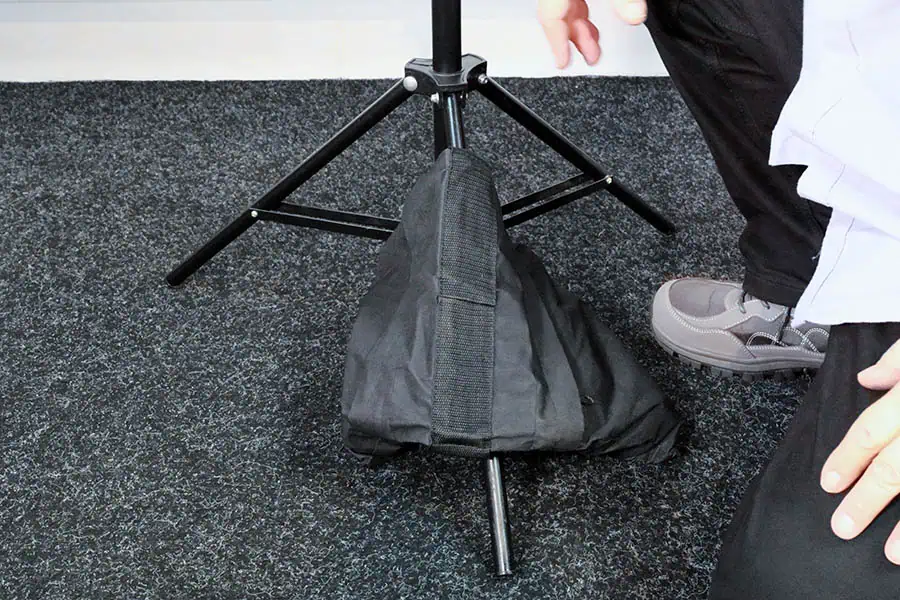
📷 Photo by diyvideostudio.com
- Position your light stand legs so that one leg points in the exact direction the light head is facing. This is the most stable orientation for the stand.
- Ensure the tripod collar is tightened securely so the stand cannot telescope down unexpectedly.
- Take your saddlebag and drape it over the leg pointing toward the light head, ensuring the weight is balanced equally on both sides of the metal leg.
- If you are using a boom arm, place the sandbag as close to the base of the stand as possible to maximize the counter-leverage.
- Check the stand for any rocking or wobbling; if it moves, add an additional bag to the opposite leg until the stand feels anchored firmly to the floor.
Identifying Risks and Warning Signs
You should inspect your light stands regularly for signs of wear. A bent leg or a stripped locking knob significantly reduces the structural integrity of the stand, making it more prone to tipping regardless of how many sandbags you use. If you notice a stand leaning when it is supposed to be vertical, retire it immediately.
Another risk factor is the surface you are working on. Slippery studio floors or uneven outdoor terrain can cause the legs of the stand to slide outward. In these instances, consider using rubber feet or a dedicated sandbag base to keep the legs locked in place. Never assume that a stand is safe just because it is heavy; heavy stands can still tip if the weight is distributed improperly.
📷 Photo by diyvideostudio.com
The Importance of Counterbalancing
When working with boom arms, the sandbag serves two purposes: stabilizing the base and acting as a counterweight. If you do not counterbalance the boom arm, the weight of the light head will cause the stand to twist or tip over the moment you let go of the handle. Always ensure that the counterweight on the boom is roughly equal to the weight of the light and modifier combined, then add extra sandbags to the stand base for safety.
Q: Can I use water jugs instead of sandbags?
A: While water jugs provide weight, they are prone to leaking and splashing, which can damage electrical equipment. Sandbags are safer, more durable, and do not shift as easily as liquid contents.
Q: How many sandbags do I need for an outdoor shoot?
A: Outdoor environments require at least double the weight you would use indoors due to unpredictable wind gusts. Aim for a minimum of 20 to 30 pounds per stand to ensure your gear remains stationary.
Q: Is it better to hang sandbags from the stand or lay them on the legs?
A: Always lay them across the legs. Hanging bags from the top of the stand creates a pendulum effect, which can actually increase the likelihood of the stand tipping over if it is bumped.
By implementing these practices, you protect your investment and create a safer environment for everyone on set. Consistency is key—make sandbagging a mandatory step in your setup process, not an afterthought. Your gear, your clients, and your peace of mind will thank you.
📷 Photo by amazon.com