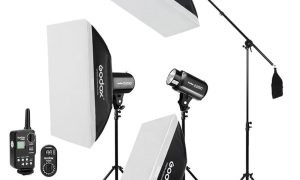






Innerspark.us – A 3-point studio lighting setup creates professional-grade portraits by using a key light, fill light, and backlight to balance exposure, soften shadows, and separate the subject from the background.
Mastering the 3-point lighting technique is the single most effective way to elevate your portrait photography from amateur snapshots to high-end studio work. This classic setup provides a structured approach to controlling light, allowing you to sculpt the subject’s face and create a sense of depth that a single, flat light source simply cannot achieve.
The Components of the 3-Point System
To execute this setup, you need three distinct lights, each serving a specific purpose in your frame. The key light is your primary source of illumination, responsible for defining the subject’s features and setting the overall exposure. It is usually placed at a 45-degree angle to the subject.
The fill light is softer and placed on the opposite side of the key light. Its function is to reduce the harshness of the shadows created by the key light without eliminating them entirely. If you lose all shadows, the portrait will look flat and two-dimensional.
The backlight, often called the rim or hair light, is positioned behind the subject, aimed at the back of their head or shoulders. This light creates a subtle glow around the edges of the subject, effectively “popping” them away from the background and adding a professional polish to the final image.
Technical Specifications and Placement Guide
Understanding the placement and intensity of these lights is crucial for achieving a balanced look. Use the following guide to calibrate your studio environment for consistent results.
| Light Type | Placement Position | Relative Intensity | Primary Function |
|---|---|---|---|
| Key Light | 45 degrees to the side | 100% (Baseline) | Main illumination |
| Fill Light | Opposite side of Key | 30% to 50% | Softens shadows |
| Backlight | Behind subject, elevated | 60% to 80% | Separation/Rim light |
Step-by-Step Setup Procedure
Setting up your lighting should be done systematically. By adding one light at a time, you can troubleshoot issues before they become permanent problems in your workflow.
- Position the subject comfortably in the center of your studio space, ensuring they are a few feet away from the backdrop to avoid unwanted shadows.
- Place the key light at a 45-degree angle to the subject’s face, elevated slightly above eye level, and adjust the brightness until your camera meter shows a perfect exposure.
- Introduce the fill light on the opposite side of the key light, ensuring it is diffused or set to a lower power level so it does not overpower your main light source.
- Set up the backlight behind the subject, aiming it toward their hair or shoulders to create a distinct separation from the background.
- Take a test shot and check your histogram to ensure you have detail in both the highlights and the shadows, adjusting light distances as necessary.
Common Mistakes to Avoid
A frequent error among beginners is placing the fill light at the same intensity as the key light. This results in “flat” lighting, which removes the natural contours of the human face and makes the subject look like a cardboard cutout. Always keep the fill light significantly dimmer than the key light to maintain depth.
Read also: How to Balance Personal Projects and Client Work in Your Portfolio
Another pitfall is light spill. If your backlight is too bright or positioned too far to the side, it may hit your camera lens, causing unwanted flare or haze. Use barn doors, grids, or snoots to restrict the light beam so it only hits the subject and not your lens or the entire room.
The Importance of Light Modification
The lights themselves are only half the equation; how you modify that light determines the mood of your portrait. A bare bulb creates harsh, high-contrast shadows that can be unflattering. Using a softbox or an umbrella increases the surface area of the light source, which wraps around the subject’s face and creates softer transitions between light and shadow.
If you are shooting high-fashion portraits, you might choose a smaller modifier to keep shadows sharp and dramatic. Conversely, for corporate headshots or bridal photography, a large softbox is preferred to create a gentle, forgiving look that hides skin imperfections and provides a clean, professional aesthetic.
Managing Shadows and Contrast
Shadows are not inherently bad; they provide the “shape” in portrait photography. The ratio between your key light and fill light is known as the lighting ratio. A 2:1 ratio is standard for most studio portraits, providing a clean and bright look. A 4:1 or 8:1 ratio creates moodier, more dramatic portraits often seen in film noir or artistic photography.
Always observe the catchlights in your subject’s eyes. These are the small reflections of your light sources. If you see them, it indicates the light is hitting the subject correctly. If they are absent, the subject may look “dead” or disconnected from the viewer.
Frequently Asked Questions
Q: Can I use natural light combined with studio lights?
A: Yes, but be careful. Natural light changes constantly, which can lead to inconsistent exposure across a session. If you mix them, ensure your studio lights are powerful enough to overpower or complement the ambient light consistently.
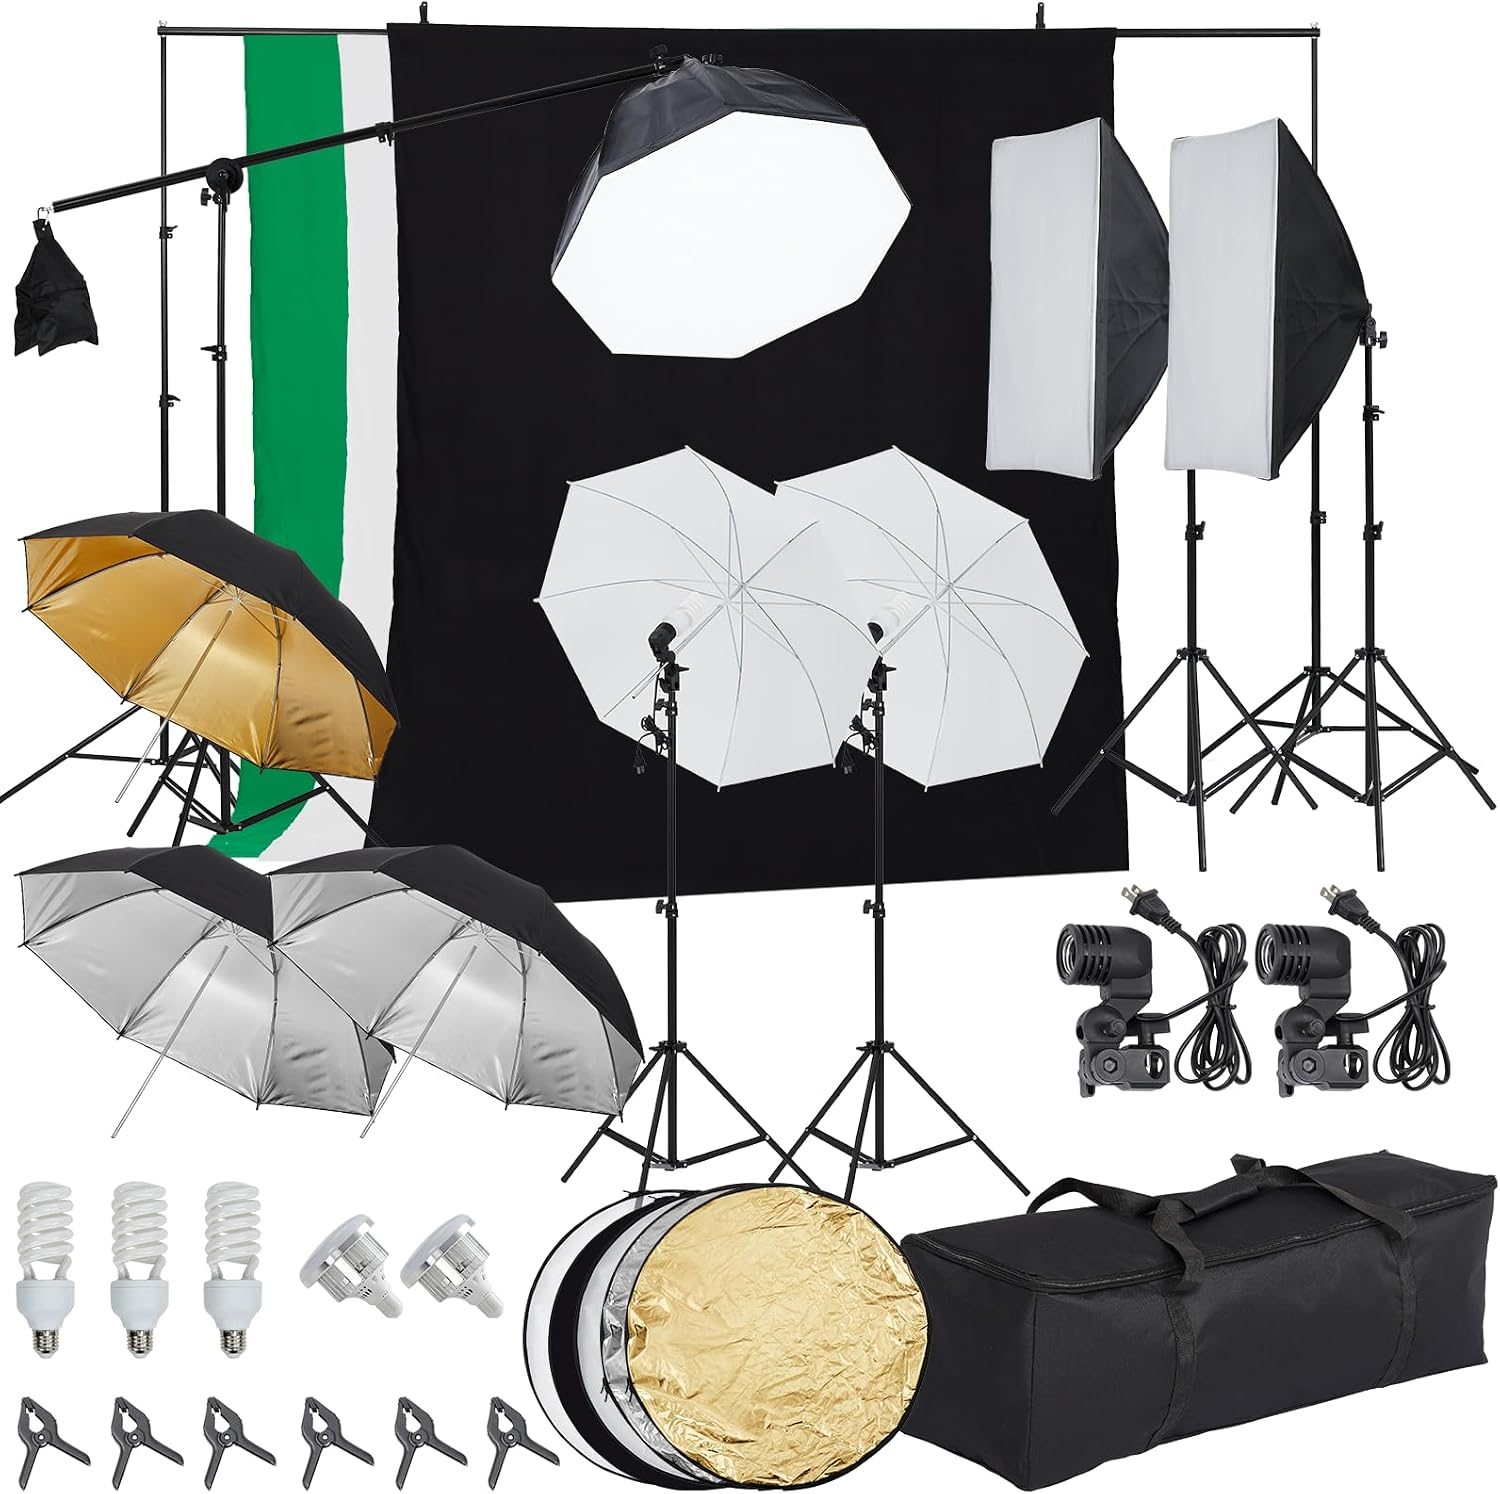
📷 Photo by amazon.com
Q: What if I only have two lights instead of three?
A: You can use a reflector as a substitute for the fill light. By placing a white or silver reflector opposite your key light, you can bounce the existing light back onto the subject to soften shadows without needing an additional electrical power source.
Q: How do I know if my backlight is positioned correctly?
A: Look through your viewfinder while the backlight is on. If you see a subtle halo of light on the subject’s hair or shoulders without the light spilling onto their nose or cheeks, you have achieved the perfect rim light effect.
Consistent practice is the only way to internalize these principles. Start by setting up the lights in a dark room to see exactly how each source interacts with the subject. Once you understand how these lights shape light and shadow, you will be able to adapt your setup to any environment, regardless of the space limitations or the specific aesthetic you want to achieve for your portrait project.
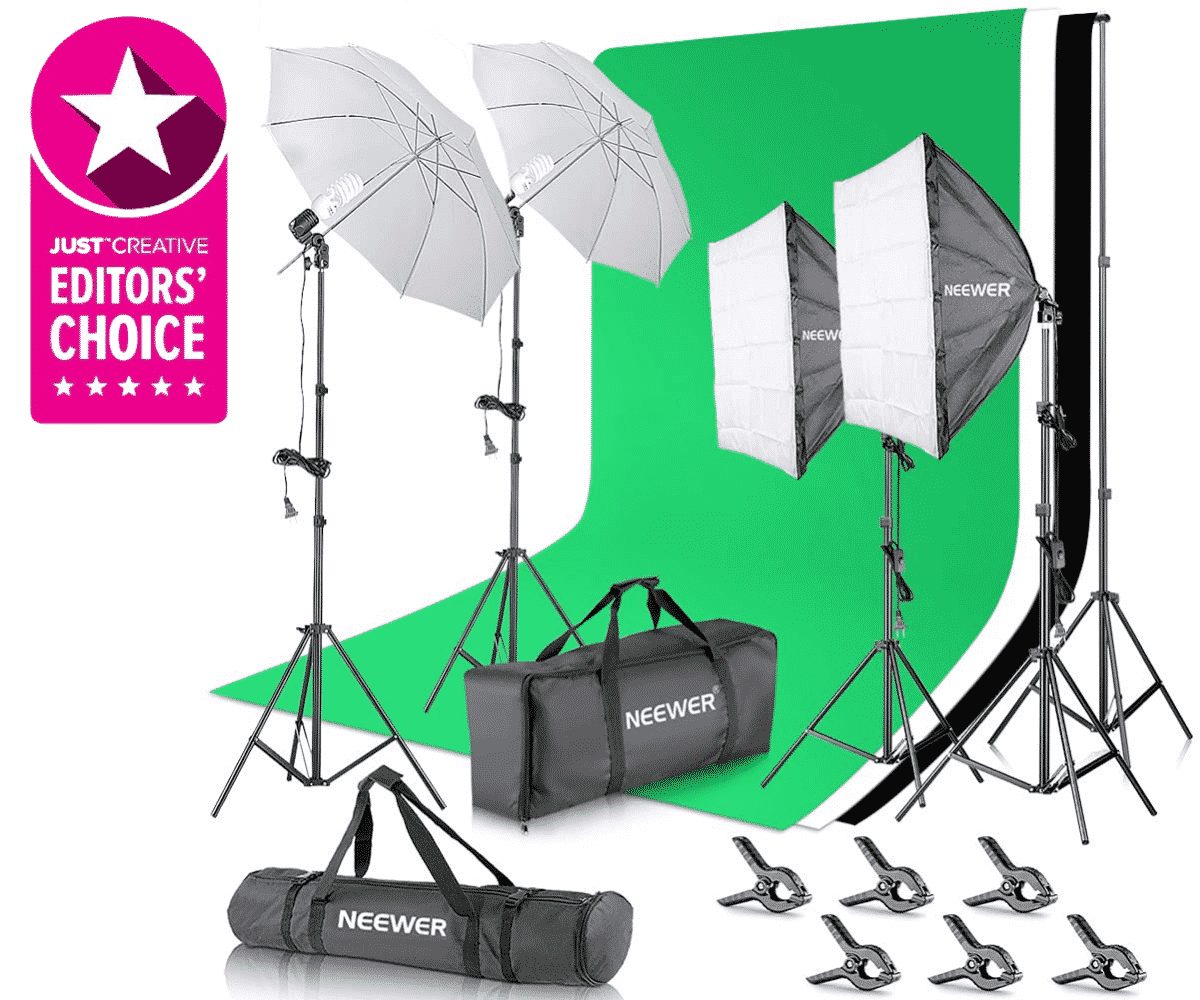
📷 Photo by justcreative.com