




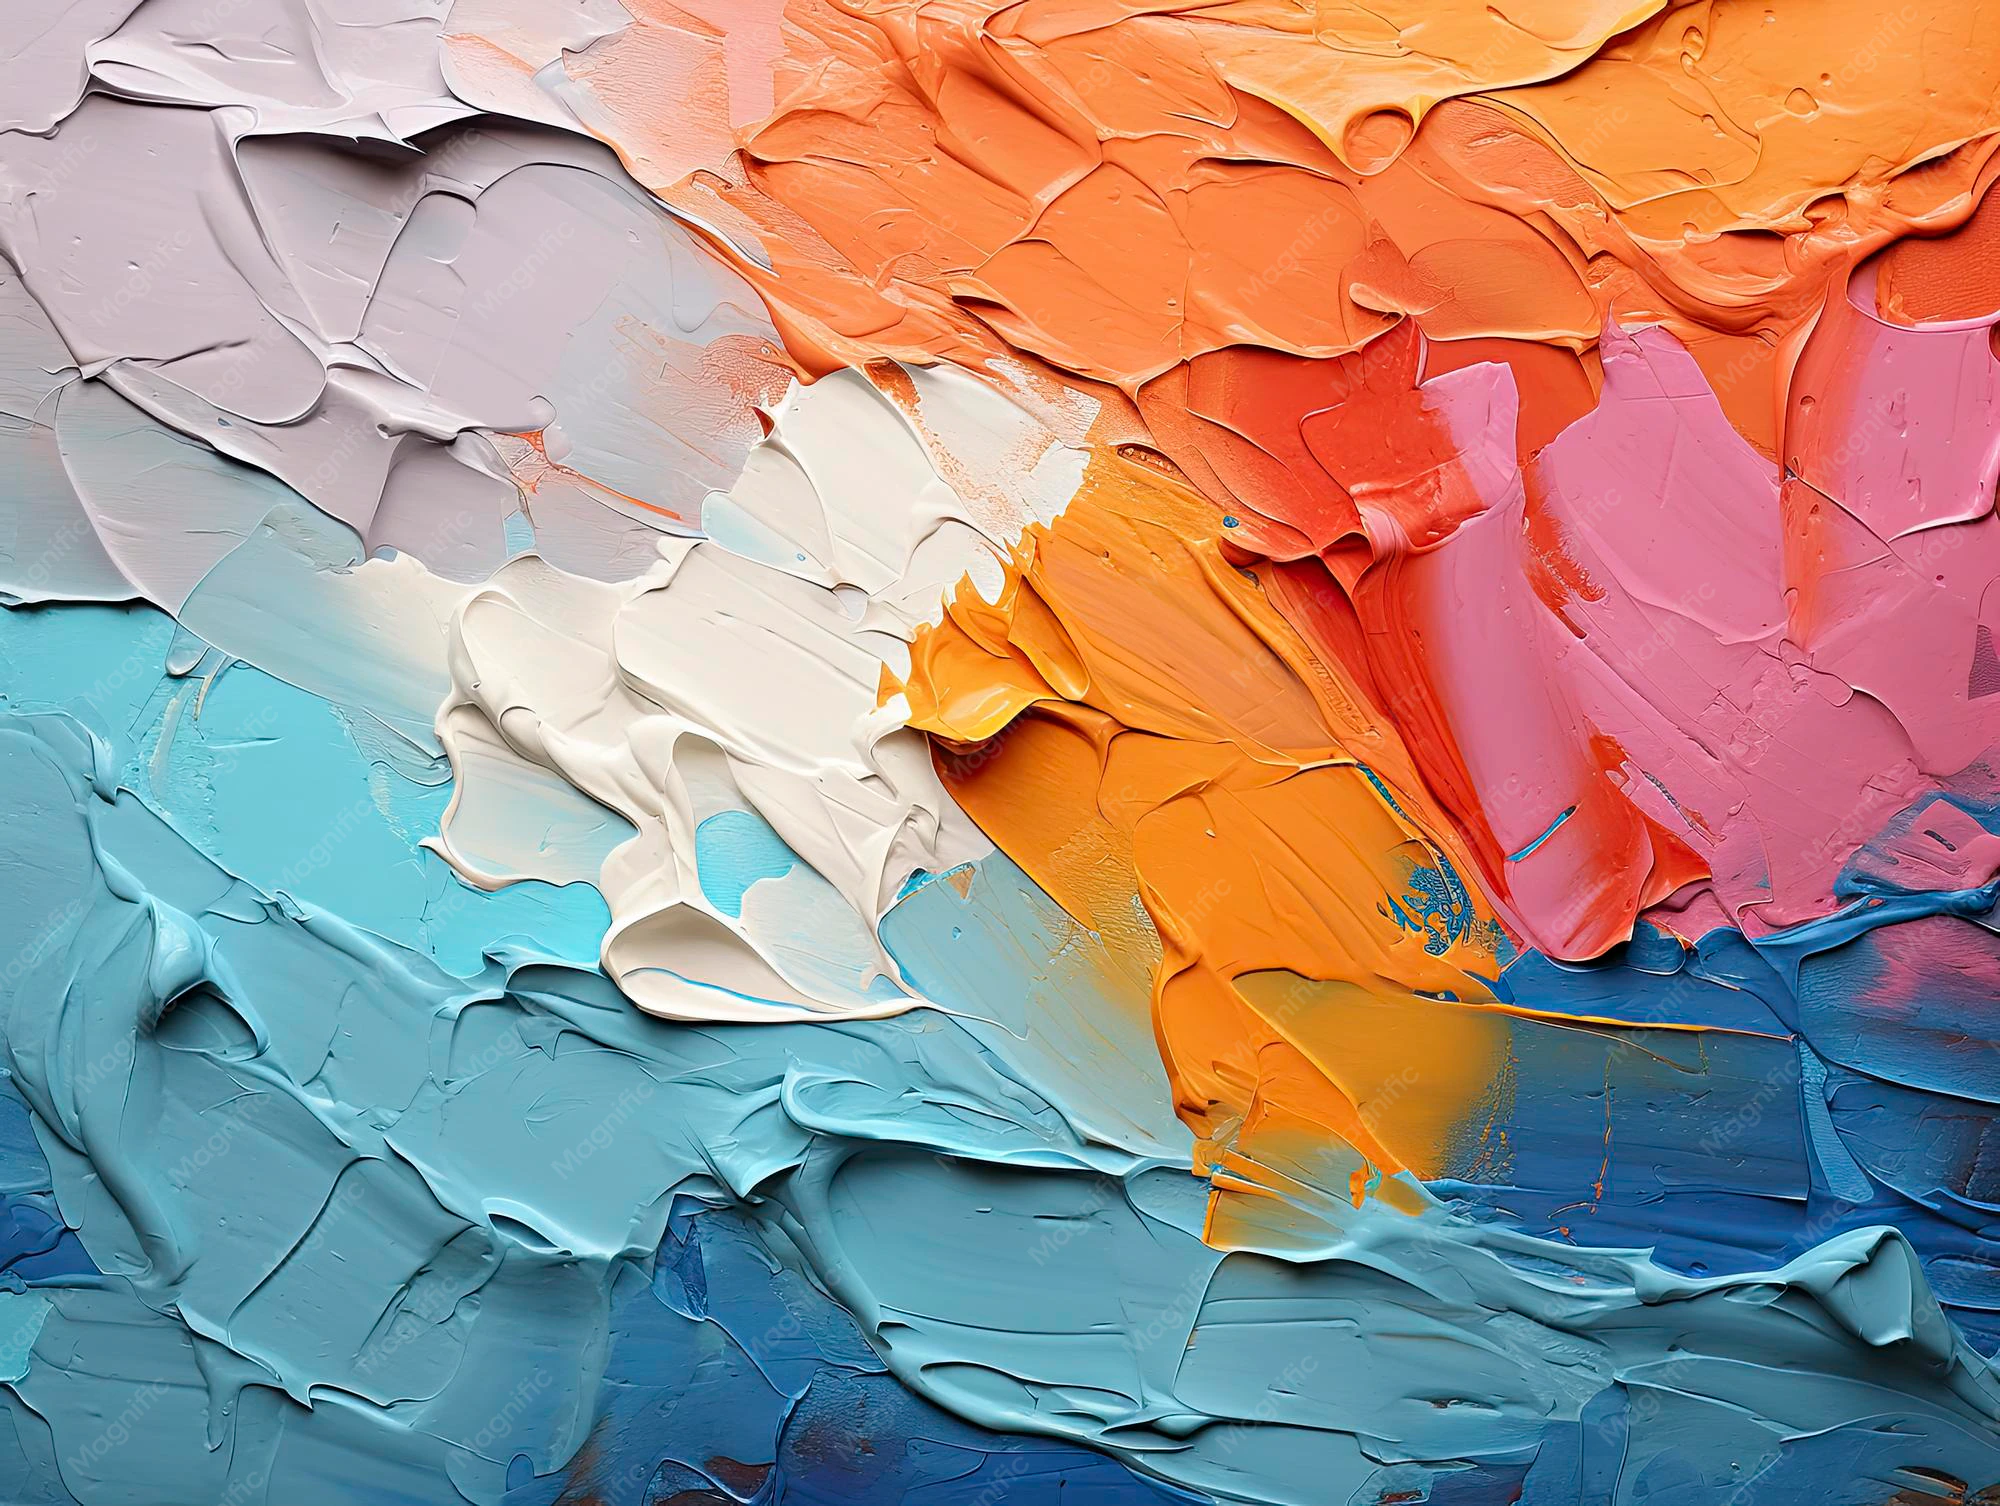
Innerspark.us – To effectively reveal the texture of a painting, you must position your light source at a shallow, grazing angle—typically between 15 to 30 degrees relative to the surface—to create deep, high-contrast shadows within the paint’s impasto.
Lighting a textured painting is more than just making it visible; it is about sculpting the surface. When you place a light source directly in front of a painting, the light fills the crevices, effectively flattening the image and erasing the tactile quality of the brushwork. By shifting the angle, you manipulate the play of light and shadow, transforming a flat image into a three-dimensional landscape of oil or acrylic.
Understanding the Physics of Grazing Light
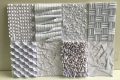
The core principle behind revealing texture is grazing light. Imagine the sun at sunset; its low position casts long shadows that define the terrain of a landscape. The same logic applies to art. When light hits the peaks of the paint at a sharp angle, the “valleys” created by the brush or palette knife remain in shadow. This contrast is what the human eye interprets as physical depth.
If the light source is too steep (closer to 90 degrees), you lose that contrast. Conversely, if the light is too shallow (less than 10 degrees), you might inadvertently highlight dust, canvas weave irregularities, or imperfections in the varnish rather than the artist’s intended texture. Finding the “sweet spot” depends on the thickness of the paint application.
Variables Influencing Your Lighting Setup
Not all paintings are created equal. An impasto piece with heavy, sculpted ridges requires a different approach than a piece with subtle, layered glazes. Below is a reference guide for adjusting your lighting based on the specific surface characteristics of your art.
Read also: How to Cull Photography Shoots to Pick the Strongest Portfolio Shots
| Texture Type | Recommended Angle | Light Intensity |
|---|---|---|
| Heavy Impasto | 15 to 20 Degrees | High Contrast |
| Medium Brushwork | 25 to 35 Degrees | Moderate/Soft |
| Smooth/Glazed | 45+ Degrees | Diffused/Soft |
Step-by-Step Implementation for Gallery-Quality Lighting
Achieving the perfect look requires a systematic approach to positioning your fixtures. Follow these steps to ensure you are highlighting the artist’s hand rather than creating glare.
- Mount your track light or wall-washer fixture at a distance from the wall that is roughly one-third of the painting’s height to establish a baseline angle.
- Turn on the light and stand at the primary viewing position to check for “hot spots” or reflections on the varnish, which often occur if the light is too close to the surface.
- Adjust the angle of the lamp head by 5-degree increments. As you move the light further away from the painting, the angle becomes shallower, deepening the shadows.
- Use a dimmable LED bulb to control the intensity; if the shadows appear too harsh or “muddy,” increase the diffusion of the light source rather than changing the angle.
- Lock the fixture in place once the texture pops without distorting the colors or creating distracting glare on the frame.
Common Mistakes and How to Avoid Them
One of the most frequent errors is using a light source that is too small or concentrated, such as a bare bulb. This creates “specular highlights”—tiny, blinding points of light that reflect off the varnish or oil medium, obscuring the detail underneath. Always prioritize a diffused light source, such as a lens or a frosted filter, to soften the transition between shadow and light.
Another mistake is ignoring the color temperature. Cool light (4000K and above) tends to sharpen the appearance of textures, making them look more dramatic but potentially harsh. Warm light (2700K to 3000K) softens the edges of the paint, which can be more flattering for older, delicate works. Always aim for a high Color Rendering Index (CRI) of 90 or above to ensure the pigments retain their integrity under the grazing light.
The Role of Distance and Coverage
The distance between the light and the wall is just as vital as the angle. If the light is too close, the top of the painting will be washed out while the bottom remains in darkness. Aim for a balanced distribution where the light fall-off is gradual. If you are lighting a large canvas, consider using two lights from slightly different angles to prevent one side of the painting from having deeper shadows than the other, unless that is an intentional artistic choice.
Frequently Asked Questions
Q: Does the varnish type affect how I should light the painting?
A: Yes. High-gloss varnishes are prone to glare. If your painting is heavily glossed, you must use a more diffused light source and potentially a slightly steeper angle to prevent the light from bouncing directly back into the viewer’s eyes.
Q: Can I use multiple light sources to reveal texture?
A: Using multiple lights can be tricky. If they come from opposite sides, they will cancel out the shadows and flatten the texture. It is generally better to use one primary, strong light source to define the texture and a very faint, secondary source for general illumination.
Final Thoughts on Texture Preservation
Lighting is an extension of the painting process itself. By carefully selecting your angles, you are effectively curating how the viewer experiences the physical labor behind the work. Take your time to experiment with the positioning; even a shift of a few inches can completely change the personality of a textured piece. Remember that the goal is to reveal the depth, not to distract from the subject matter, so subtle adjustments are almost always superior to dramatic, sweeping changes.
📷 Photo by freepik.com