




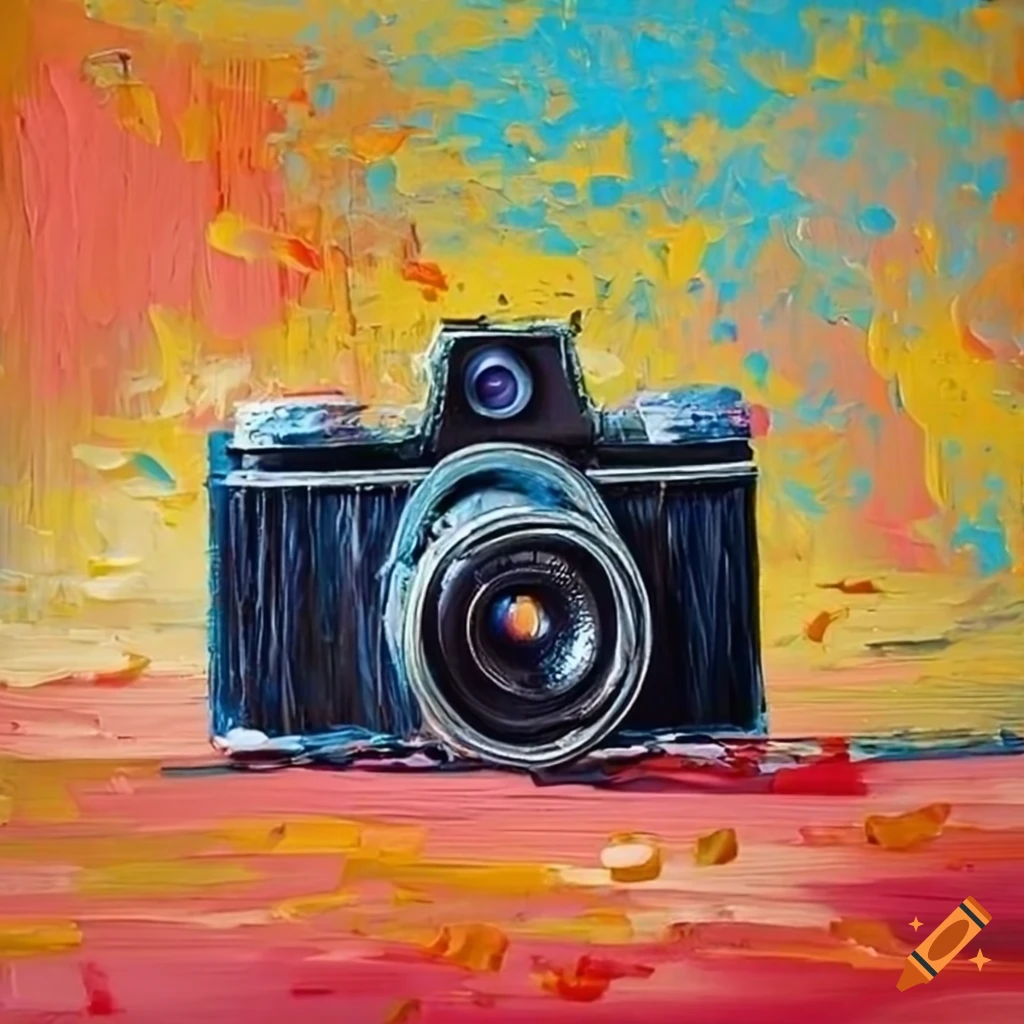
Innerspark.us – Photographing glossy acrylic paintings requires using indirect, diffused lighting and a polarizing filter to eliminate harsh glare while preserving the vibrant color saturation of the paint.
📷 Photo by pinterest.com
Capturing the true essence of a glossy acrylic painting is notoriously difficult because the reflective surface acts like a mirror, catching every stray light source in your studio. When you take a standard photo, the glossy finish often results in “hot spots”—bright white patches that obscure the texture and color of the artwork. Professional results depend on your ability to control the light quality rather than simply increasing the intensity of your camera settings.
The Physics of Reflective Surfaces
Acrylic paint, especially when finished with a high-gloss varnish, creates a specular reflection. This means light bounces off the surface at a single, predictable angle. If your light source is directly in front of the painting, it will bounce back into your lens, creating an unwanted glare. To photograph these pieces successfully, you must master the concept of the family of angles, which dictates that the angle of incidence equals the angle of reflection. By positioning your lights at 45-degree angles to the canvas, you force the glare to bounce away from the lens rather than into it.
Equipment Essentials for Glare-Free Shots
You do not need a professional studio to achieve gallery-quality images, but you do need a few specific tools to manage light. A circular polarizer filter (CPL) is the single most effective tool for this job. When rotated, this filter cuts through reflected light, effectively “seeing” past the glossy sheen to the paint layers beneath. Additionally, using a tripod is non-negotiable. Because you will likely be using a lower ISO and a smaller aperture to maximize depth of field, your shutter speed will be slow, making any hand-held movement detrimental to image sharpness.
| Equipment | Purpose | Pro Tip |
|---|---|---|
| Circular Polarizer (CPL) | Eliminates surface glare | Rotate until the sheen disappears in the viewfinder |
| Tripod | Ensures image stability | Use a 2-second timer to prevent camera shake |
| Diffused Softboxes | Softens harsh light | Place at 45-degree angles to the canvas |
| Gray Card | Corrects white balance | Shoot the card first to set custom white balance |
Step-by-Step Guide to Setting Up Your Shot
Follow these steps to ensure your acrylic paintings look professional and color-accurate for your web showcase:
- Position the painting vertically on an easel or against a wall, ensuring it is perfectly parallel to your camera sensor.
- Place two light sources on either side of the painting at 45-degree angles, ensuring the light is diffused through a softbox or a white sheet.
- Set your camera on a tripod at the exact height of the center of the painting to prevent perspective distortion.
- Attach the circular polarizer filter to your lens and rotate it slowly while looking at the painting until the glare on the glossy surface vanishes.
- Set your camera to “Manual” mode, using a low ISO (100 or 200) for the highest image quality and an aperture of f/8 or f/11 for optimal sharpness across the entire canvas.
- Use a remote shutter release or the camera’s self-timer to trigger the exposure, avoiding any physical contact with the camera.
Common Mistakes to Avoid
The most frequent error artists make is using a camera flash. A direct flash will almost always result in a white explosion of light in the center of your painting, rendering the colors underneath invisible. Even if you bounce the flash off the ceiling, it can create inconsistent lighting across the surface. Always opt for continuous lighting or natural, indirect window light if you lack studio strobes.
Another common oversight is failing to calibrate for color. Acrylic colors can shift under different light temperatures—yellowish indoor bulbs versus cool daylight. Always include a color checker card in your first test shot. This allows you to adjust the white balance in post-production software accurately, ensuring that the blues, reds, and greens in your painting match the physical original exactly.
📷 Photo by craiyon.com
📷 Photo by easypeasyandfun.com
Post-Production Considerations
Once you have captured the raw file, your work isn’t quite finished. Even with perfect lighting, you may need to perform minor adjustments. Use your editing software to crop out the edges of the easel or the wall, ensuring the final image is a clean, rectangular representation of the painting. Be careful with “Contrast” and “Clarity” sliders; applying too much of these can artificially exaggerate the texture of the acrylic, which might look jarring on a glossy finish. Subtle adjustments are always better for maintaining the integrity of the artwork.
Frequently Asked Questions
Q: Can I use natural window light instead of studio lamps?
A: Yes, provided the light is indirect. Avoid direct sunlight, which is too harsh and creates deep shadows. A north-facing window provides the most consistent, soft light throughout the day.
Q: Why does my painting look distorted in the photo?
A: Perspective distortion occurs when your camera is not perfectly parallel to the canvas or if you are using a wide-angle lens. Use a 50mm or 85mm lens to ensure a natural, flat perspective.
Q: Is it better to photograph the painting before or after varnishing?
A: It is much easier to photograph the painting before applying a high-gloss varnish, as the matte surface reflects significantly less light. If you must photograph it after varnishing, the circular polarizer is mandatory.
Taking the time to set up your environment correctly pays off by reducing the hours spent in photo editing. By focusing on light diffusion, proper angle alignment, and the strategic use of a polarizing filter, you can showcase the true depth and vibrancy of your acrylic work, ensuring that potential buyers see the art exactly as you intended.
📷 Photo by craiyon.com