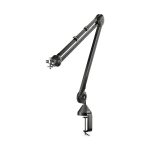





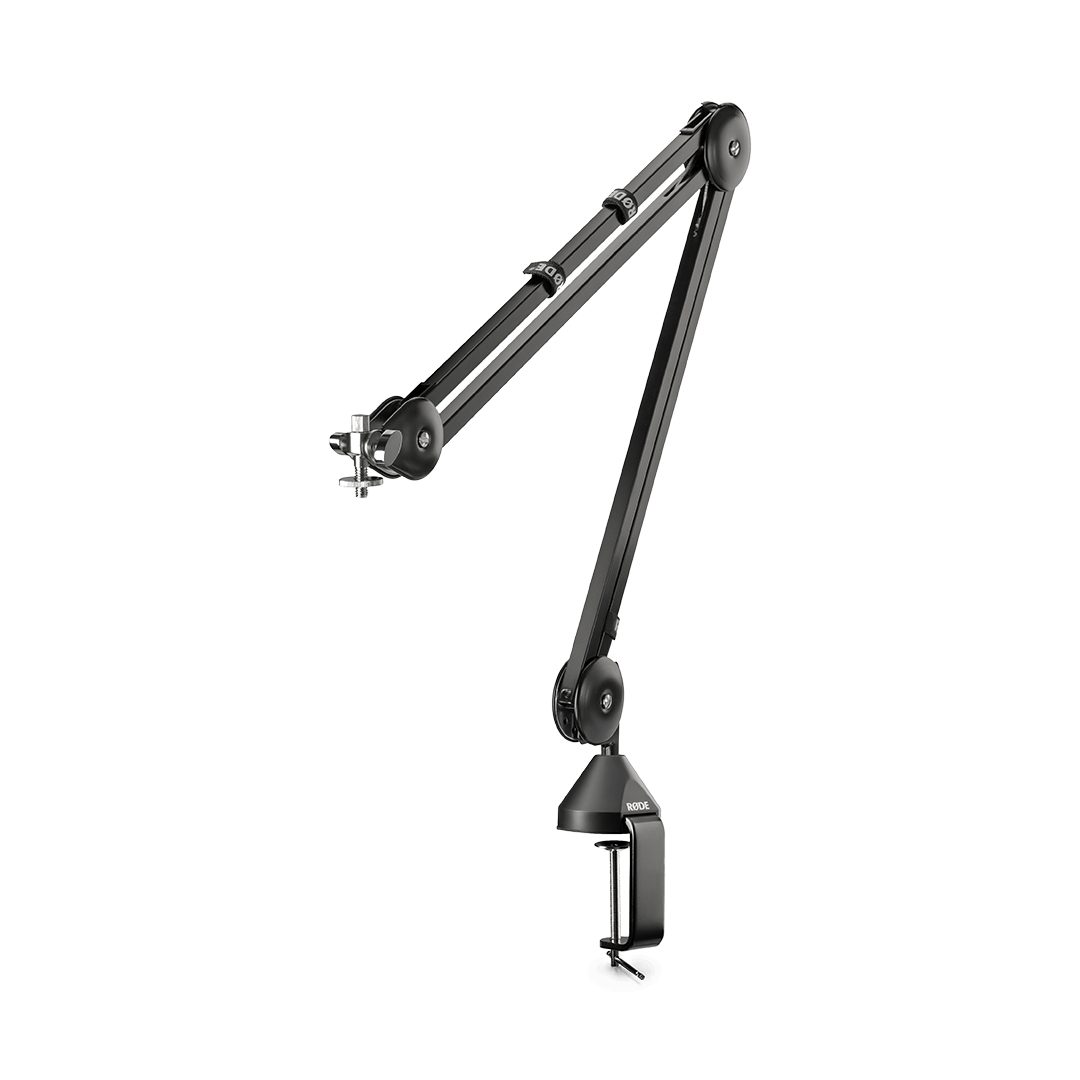
Innerspark.us – A studio lighting boom arm allows photographers and videographers to position light sources directly overhead by extending a weighted arm horizontally, effectively mimicking natural top-down sunlight or creating dramatic rim lighting while keeping stands out of the frame.
Achieving the perfect overhead lighting setup is a hallmark of professional studio photography. Whether you are aiming for a classic butterfly lighting pattern or need to illuminate a product from a bird’s-eye view, the boom arm is your most essential tool. Unlike standard light stands that only go vertical, the boom arm introduces the critical element of reach, allowing you to manipulate light from angles that would otherwise be physically impossible.
Understanding the Physics of the Boom Arm
The primary challenge with overhead lighting is gravity. When you extend a light fixture horizontally, you create significant leverage against the stand. This is why every boom arm system requires a counterbalance. Without proper weight on the tail end of the arm, the entire apparatus will become front-heavy, leading to equipment damage or injury.
Most professional boom arms utilize a sliding counterweight system. The further you extend the arm, the more weight you must apply to the opposite end to maintain equilibrium. Always ensure that your stand is heavy-duty enough to handle the combined weight of the light, the modifier, and the counterweight. A lightweight travel stand is rarely sufficient for a large softbox positioned directly overhead.
Essential Safety Protocols
Safety is not optional when working with heavy lighting gear suspended above a subject’s head. Before you even mount your light, ensure that your light stand is placed on a flat, stable surface. Using sandbags is non-negotiable; you should place at least two sandbags on the base of the stand to prevent tipping, especially if you are using a heavy strobe or a large octa-box.
Another common mistake is failing to secure the cables. If a cable is dangling from the light, it can be easily snagged by a subject or an assistant. Always tape the power cable along the length of the boom arm, leaving enough slack at the light head for movement, but ensuring the rest of the cord is anchored firmly to the stand’s vertical column.
Step-by-Step Guide to Positioning Overhead Lights
- Position your heavy-duty light stand in the desired location and lock the wheels or base securely.
- Attach the boom arm to the stand’s mounting stud and tighten the grip head firmly to ensure it does not rotate under the weight of the light.
- Mount your lighting unit and the required light modifier (such as a softbox or grid) to the tip of the boom arm.
- Attach the counterweight to the rear of the boom arm and slide it until the arm remains balanced even when the adjustment knobs are loosened.
- Slowly extend the arm to the desired overhead position, ensuring the light is angled downward toward the subject’s position.
- Lock all tension knobs on the grip head and the pivot joints to prevent the arm from drifting during your shoot.
- Double-check the stability by gently nudging the stand to ensure no wobbling occurs before starting the session.
Comparison of Boom Arm Configurations
| Arm Type | Best For | Load Capacity | Portability |
|---|---|---|---|
| Mini Boom | Small LED panels, reflectors | Low | Excellent |
| C-Stand with Boom | Heavy strobes, large softboxes | High | Moderate |
| Heavy-Duty Crank Boom | Cinema lights, large overhead rigs | Very High | Low |
Common Mistakes to Avoid
One of the most frequent errors beginners make is over-extending the arm without adjusting the pivot point. When you push the arm out too far, you increase the stress on the internal locking mechanisms. If you find yourself needing maximum extension, it is safer to use a dedicated C-stand with a long grip arm rather than trying to push a standard studio boom to its absolute limit.
Another issue is ignoring the “sag” factor. Softboxes are heavy, and gravity will eventually cause the arm to tilt downward over time. To combat this, aim the light slightly higher than your target position. Once you lock the knobs, the weight of the modifier will pull the arm down slightly, usually settling exactly where you wanted it to be in the first place.
The Importance of Modifiers
When positioning lights overhead, the quality of light is just as important as the position. Because overhead lights can create deep shadows in eye sockets, using a large softbox or a diffusion panel is highly recommended. This softens the transition between light and shadow, creating a flattering look for portraits.
If you are shooting a top-down product shot, consider using a grid or a snoot. These modifiers restrict the spread of light, allowing you to highlight the texture of the product without washing out the background. The overhead boom arm provides the surgical precision required to place these modifiers exactly where they are needed to accentuate the product’s features.
Frequently Asked Questions
Q: Do I need a C-stand for my boom arm?
A: Yes, a C-stand is the industry standard for boom arms because of its heavy base and superior stability, which prevents the arm from toppling over under heavy loads.
Q: How much counterweight do I need?
A: You generally need a counterweight that is at least equal to the weight of your light fixture and modifier combined, though this can vary based on the length of the extension.
Q: Is it safe to leave a boom arm fully extended unattended?
A: No, you should always lower the light or remove the weight if you are stepping away from the set for an extended period to prevent accidents.
Mastering the boom arm takes practice, but once you understand how to balance the weight and secure the stand, you open up a world of creative possibilities. Always prioritize safety over convenience, and your studio work will reflect the professional quality you are striving to achieve.
📷 Photo by rode.com