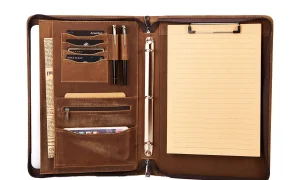




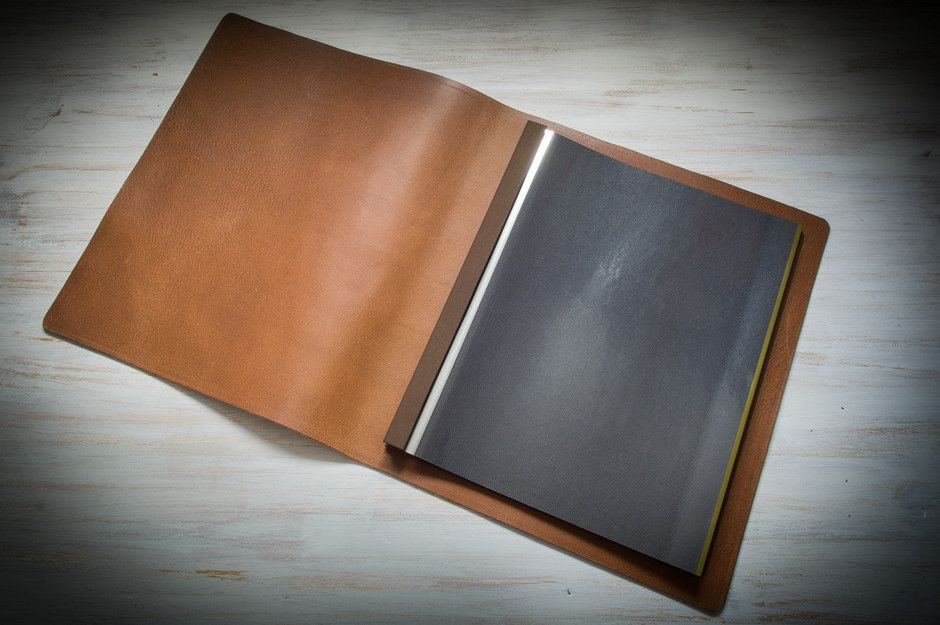
Innerspark.us – A slim presentation book serves as a refined, tactile portfolio that provides photography clients with a permanent, high-end physical reminder of their session, effectively bridging the gap between digital delivery and tangible memorabilia.
In the digital age, most photographers deliver work via cloud galleries or USB drives. While efficient, these methods often leave the client experience feeling transient. A slim, professionally bound presentation book acts as a physical touchpoint that elevates the perceived value of your services. Unlike bulky, expensive coffee table albums, a slim presentation book is designed for portability, quick browsing, and immediate impact, making it an ideal “leave-behind” piece that sits comfortably on a coffee table or a bookshelf.
Why Slim Presentation Books Matter for Your Brand
When a client receives a physical product, the emotional connection to the images deepens. A slim book—typically ranging from 10 to 24 pages—is not meant to be an exhaustive archive of every shot taken. Instead, it serves as a curated “greatest hits” collection. This curation process demonstrates your expertise as an editor and a storyteller. By providing this as a leave-behind, you are placing a physical piece of your brand in the client’s home, which serves as a conversation starter when their friends and family visit.
Key Design Considerations for Slim Formats
Design is the most critical element when working with limited page counts. Because you have less space, every image must earn its spot. Focus on high-impact full-bleed spreads that showcase the emotion of the session rather than trying to cram too many photos onto a single page. Minimalism is your best friend here. Use white space intentionally to let the images breathe, and choose a cover material that feels premium, such as matte linen or soft-touch velvet.
Comparison of Presentation Formats
| Feature | Slim Presentation Book | Traditional Lay-flat Album | Digital Gallery |
|---|---|---|---|
| Page Count | 10–24 Pages | 40–100+ Pages | Unlimited |
| Production Time | Fast (1–2 days) | Slow (2–4 weeks) | Instant |
| Primary Purpose | Marketing/Gift | Heirloom/Archival | Delivery/Sharing |
| Cost per Unit | Low to Moderate | High | Zero |
How to Curate the Perfect Leave-Behind Book
The goal of a leave-behind is to remind the client of the experience you provided. Follow these steps to ensure your book hits the right notes:
- Select the top 15-20 images that represent the narrative arc of the session, starting with a strong establishing shot.
- Sequence the images to follow the flow of the shoot, ensuring a mix of wide, medium, and close-up shots to create visual rhythm.
- Keep text to an absolute minimum; perhaps include only the date, the location, and a short, meaningful quote or the client’s family name on the inside cover.
- Choose a high-quality paper stock, such as archival matte, to ensure the colors remain vibrant and the texture feels substantial in the hand.
- Add a subtle branding element, such as a small embossed logo on the back cover, to reinforce your professional identity without distracting from the photos.
Common Mistakes to Avoid
Many photographers fall into the trap of over-designing these books. Avoid using busy backgrounds, complex frames, or excessive text. If the design is too loud, it competes with the photography. Another common error is using low-resolution images for print. Always ensure your files are exported with the correct color profile—typically sRGB or Adobe RGB depending on your printer’s specifications—and that they meet the minimum DPI requirements for the book’s specific dimensions.
Risks and Practical Tips
The biggest risk with physical products is the potential for damage during shipping or handling. Always order a sample copy for yourself before committing to a bulk order for clients. Check for binding quality and color accuracy. If the colors on the physical page don’t match your calibrated monitor, the client may perceive the quality as low. Additionally, consider the longevity of the book. Use acid-free paper to prevent yellowing over time, ensuring your photography remains a pristine keepsake for years to come.
Integrating the Book into Your Workflow
You do not need to provide a custom book for every single client. Instead, consider including it in your highest-tier packages or offering it as a post-session upsell. By positioning the book as a “luxury add-on” or a “thank you gift” for premium clients, you increase your average order value while simultaneously enhancing the client’s perception of your brand. It turns a digital transaction into a tactile experience that justifies a higher price point.
Frequently Asked Questions
Q: What is the ideal size for a slim presentation book?
A: A 5×7 or 8×8 inch format is generally considered ideal, as it is large enough to showcase detail but small enough to be easily stored or displayed on a desk.
Q: How can I keep costs down for these books?
A: Order in small batches from professional labs that offer “proof book” or “softcover” options, which are significantly cheaper than high-end leather-bound albums.
Q: Should I include my contact information inside the book?
A: Yes, place your website URL and contact info on the final page or the back cover. It acts as a subtle business card that stays in the client’s home indefinitely.
By investing in a slim presentation book, you are doing more than just delivering files; you are providing a physical piece of art. This strategy differentiates you from competitors who only offer digital links, helping you build a reputation for quality, thoughtfulness, and professionalism that clients will remember long after the session ends.
📷 Photo by pinterest.com